Printer features: Laser, multifunction, color
Lexmark CX942 Support
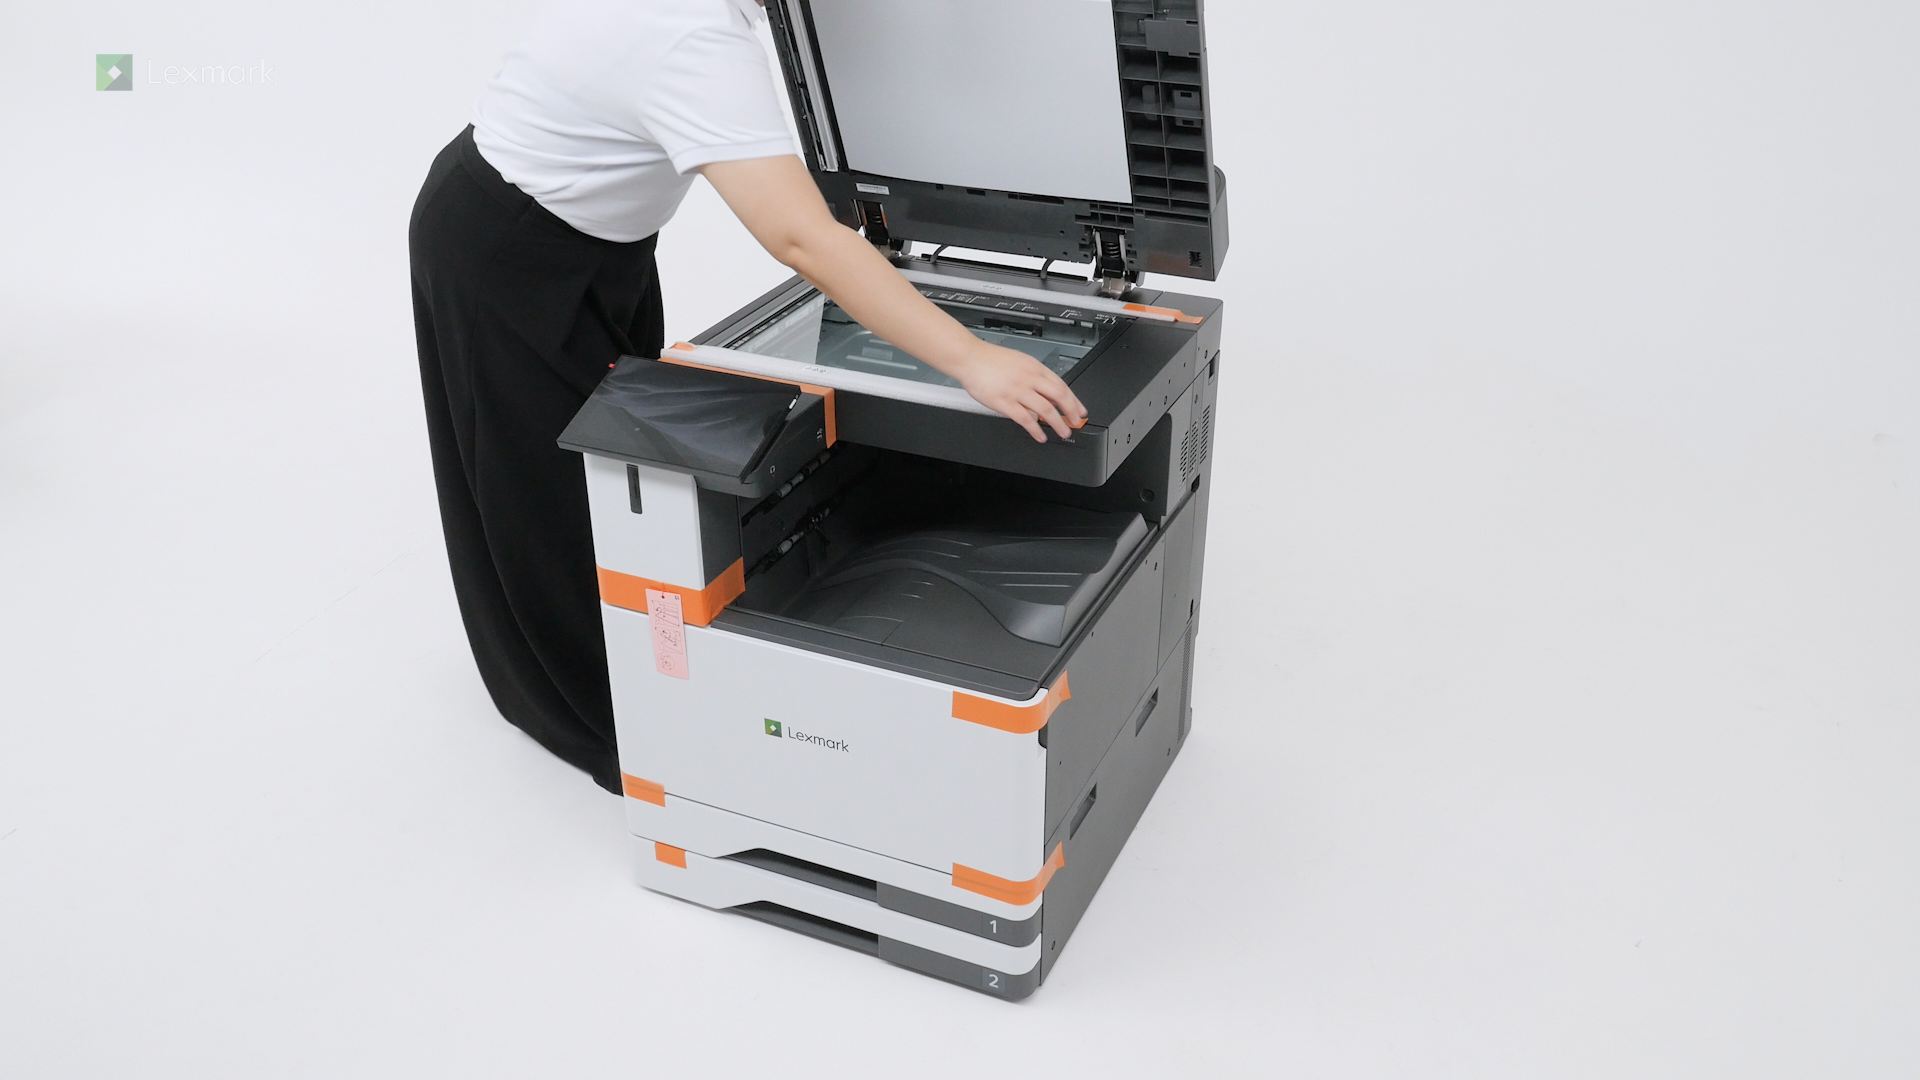
Learn how to set up your new printer.
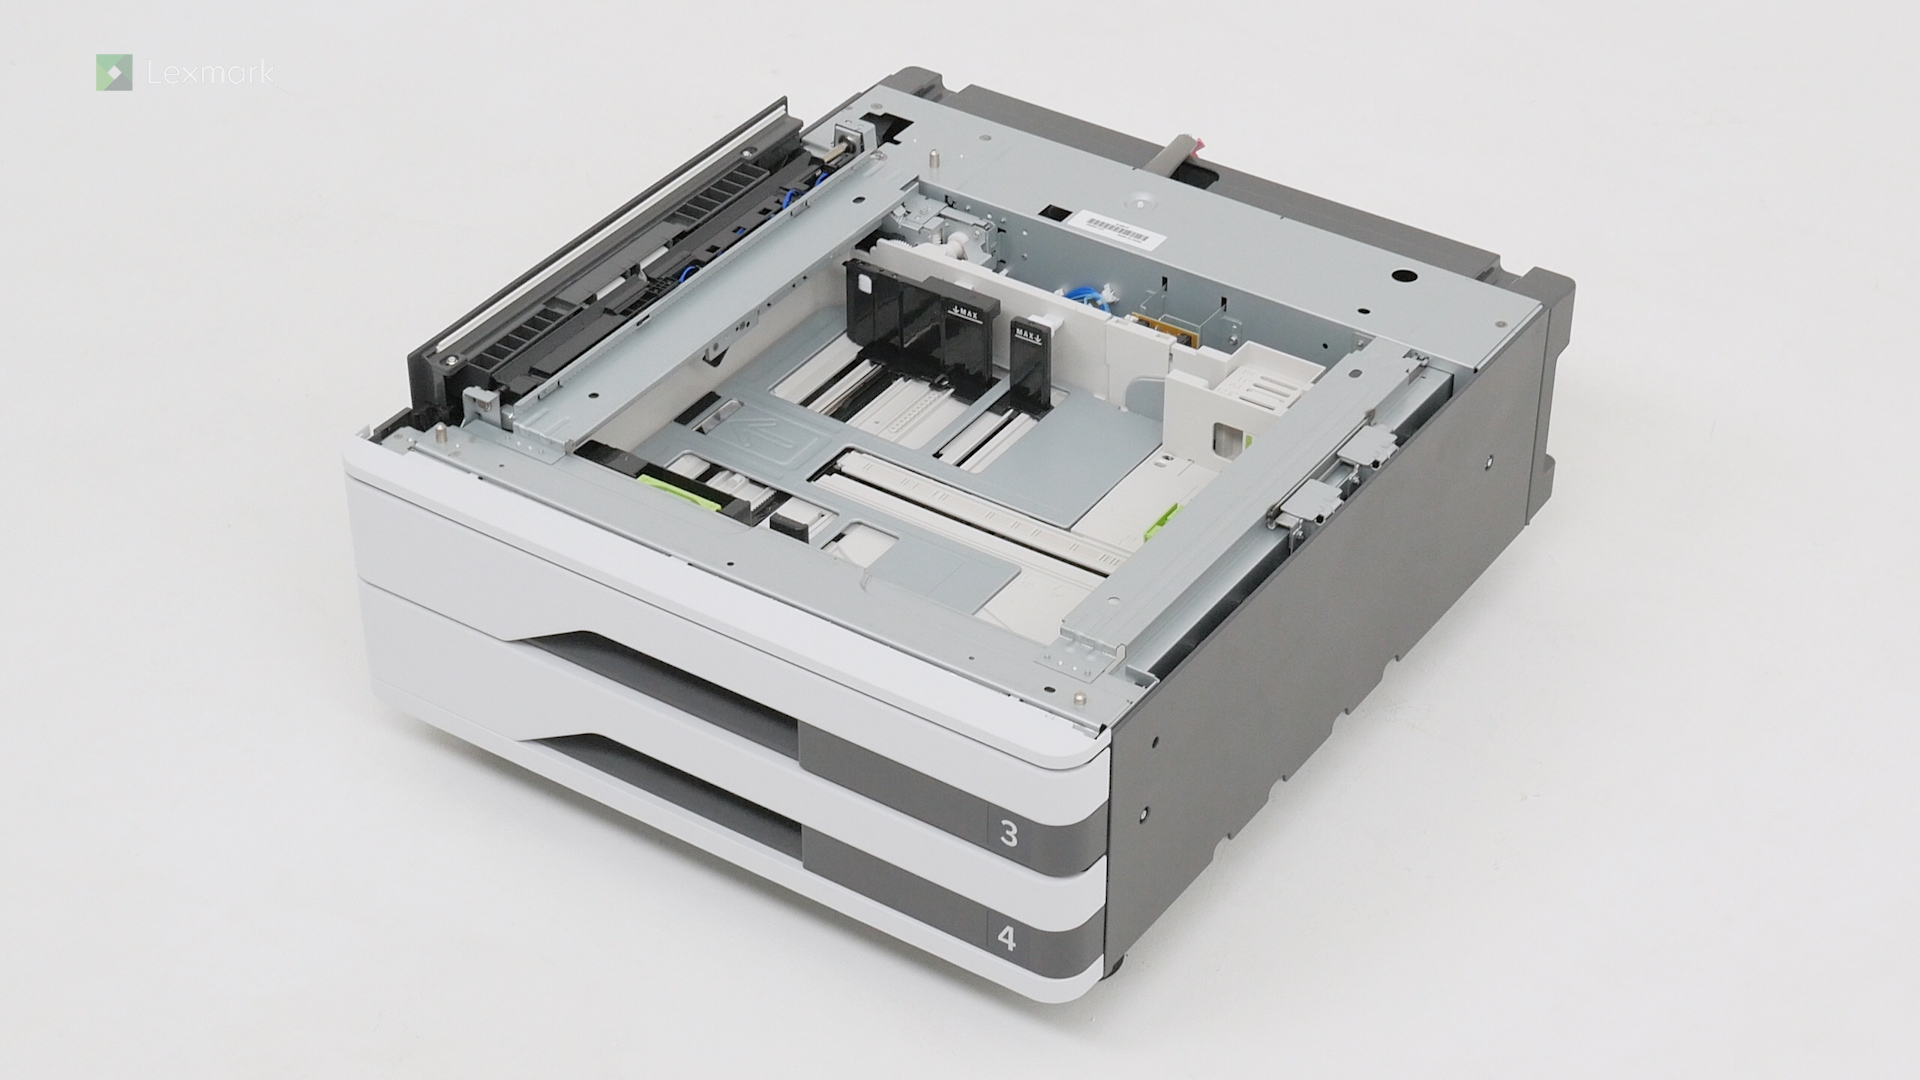
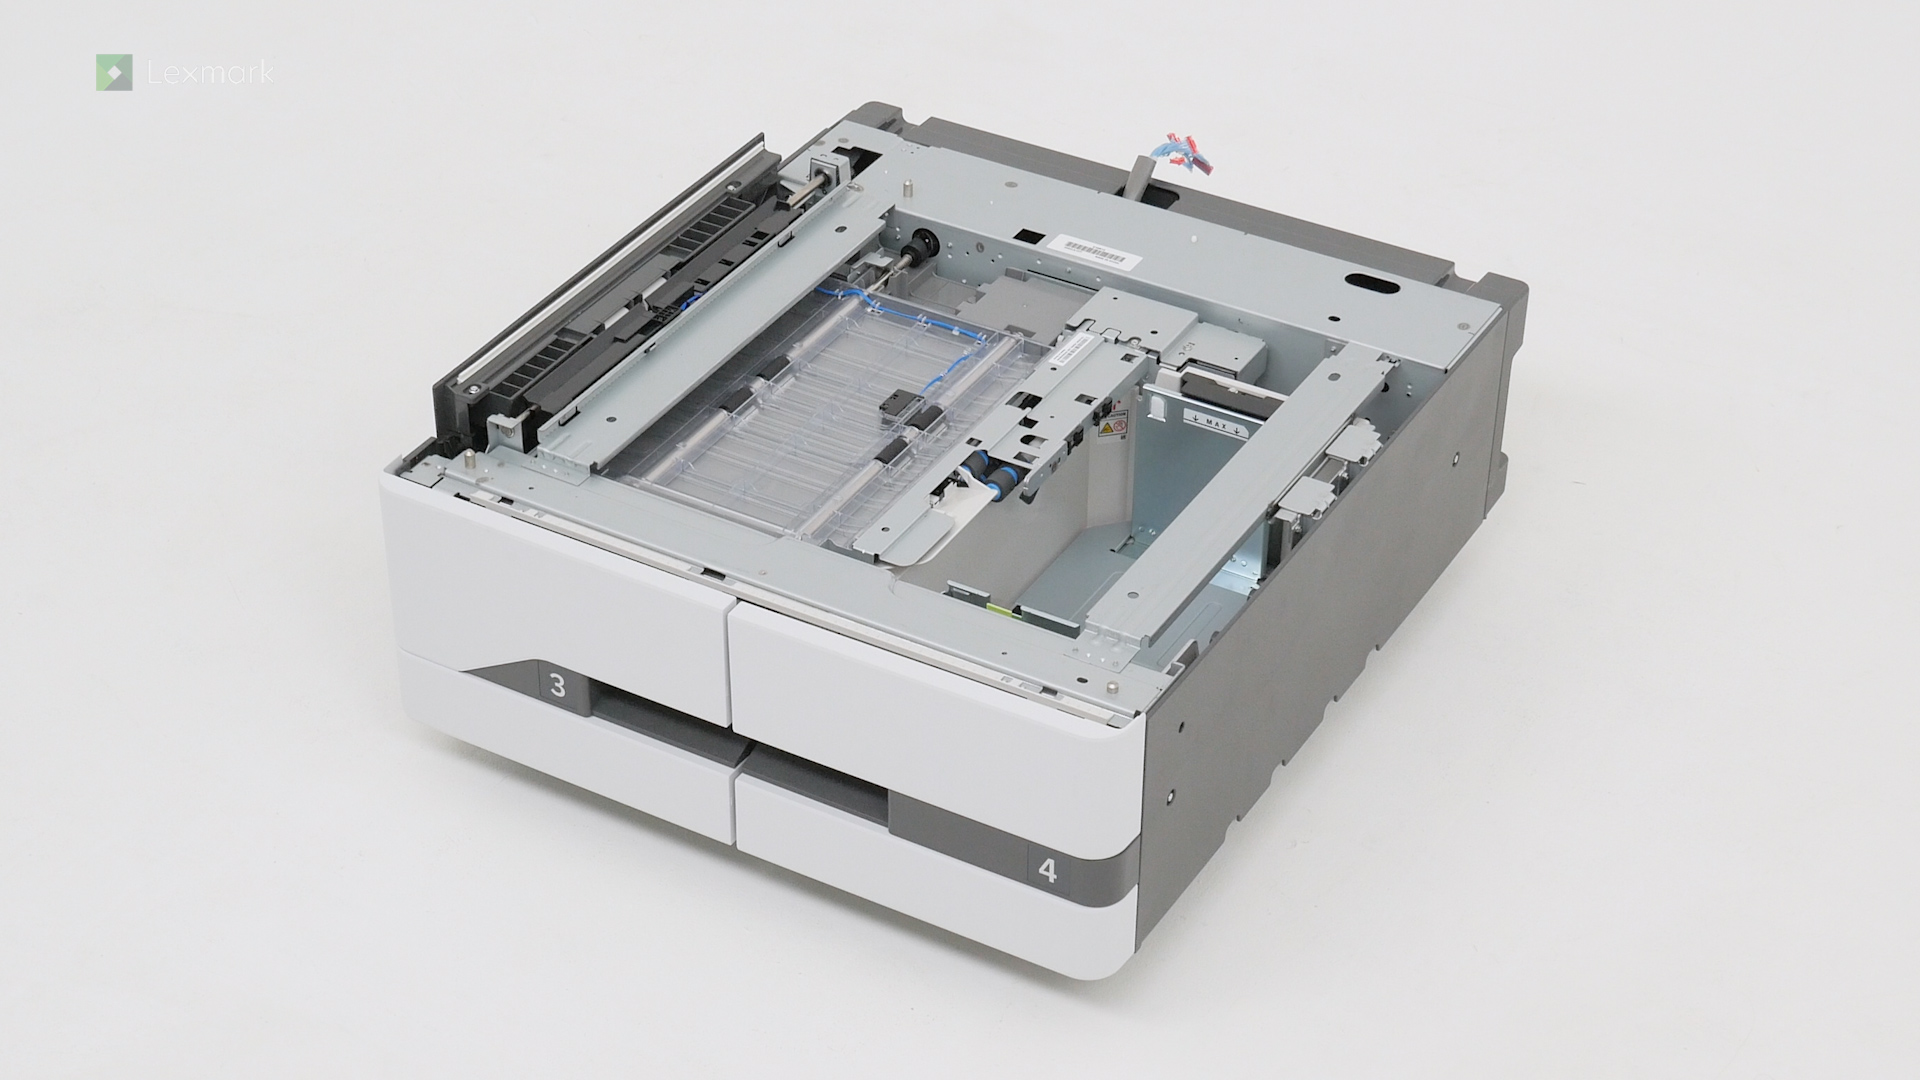
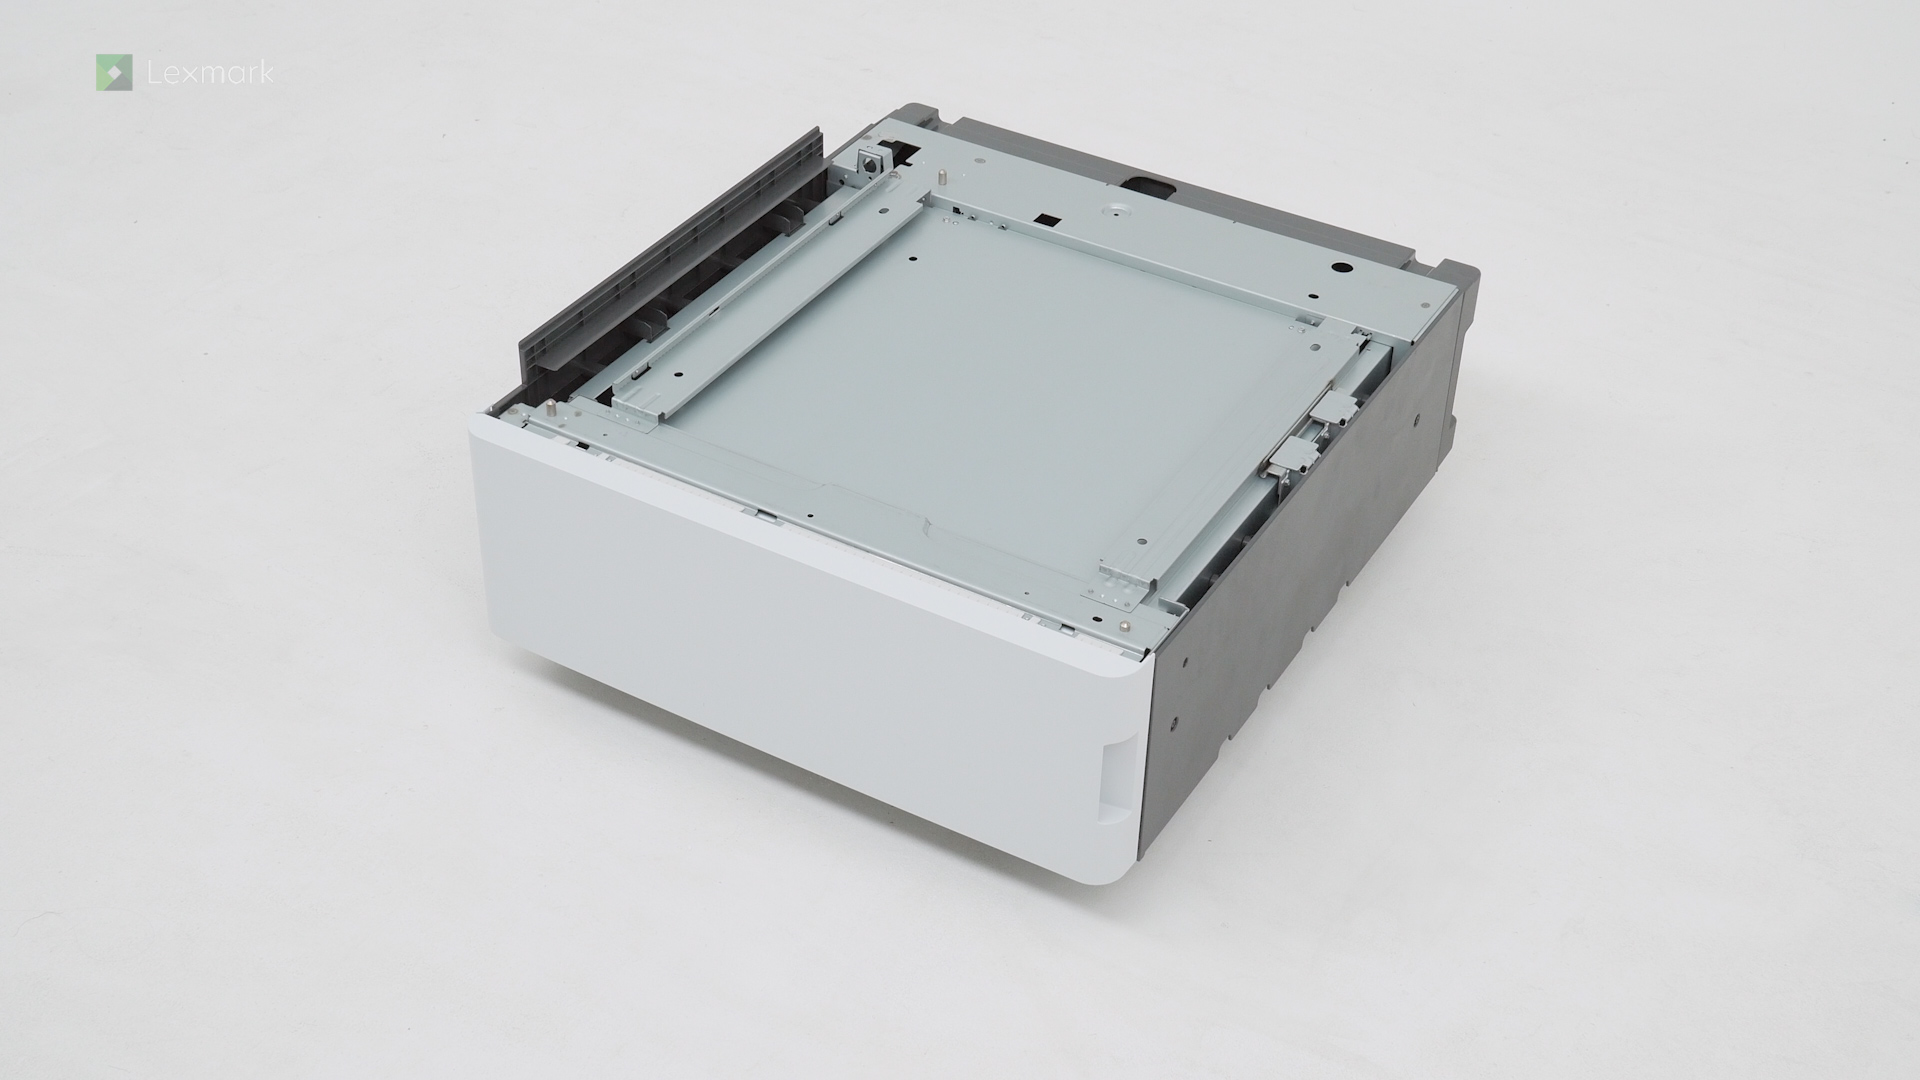
Learn how to install the optional 2 by 520-sheet tray into your printer.
Learn how to install the optional 2000-sheet tandem tray into your printer.
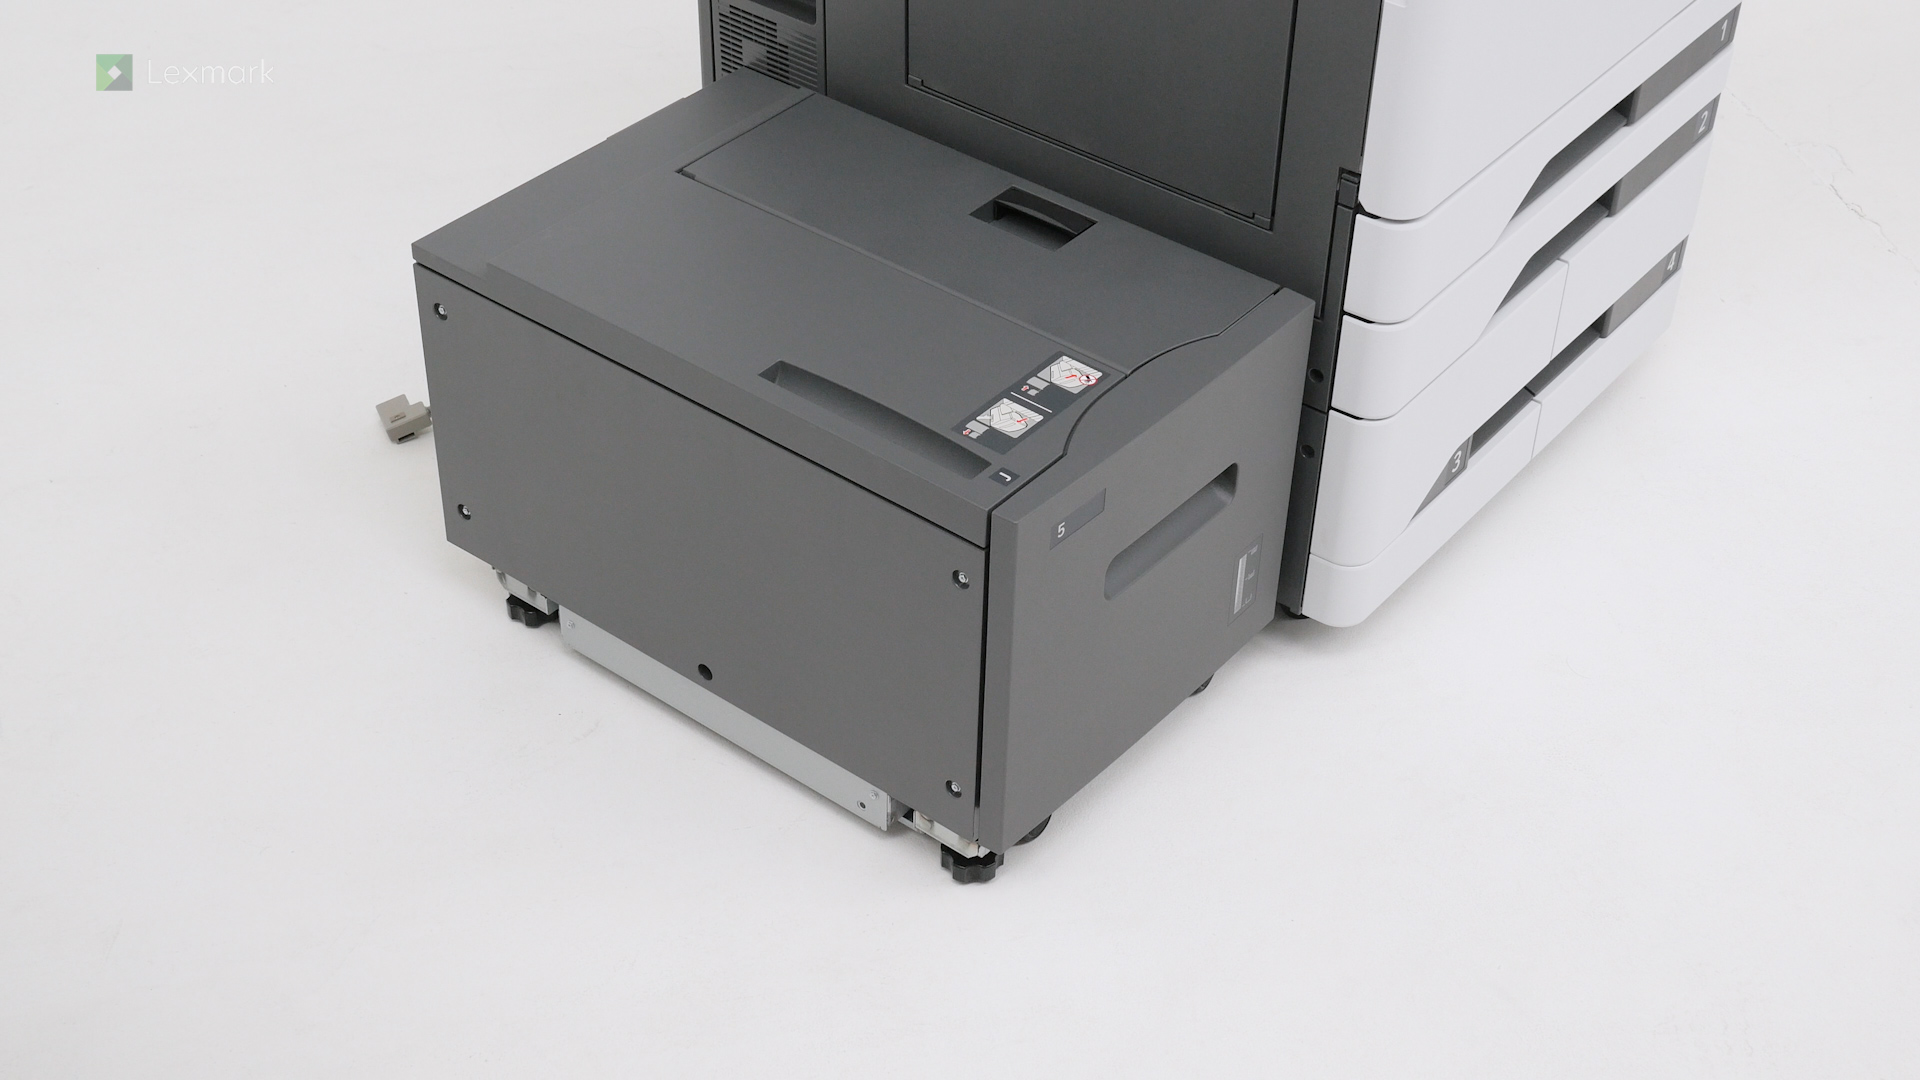
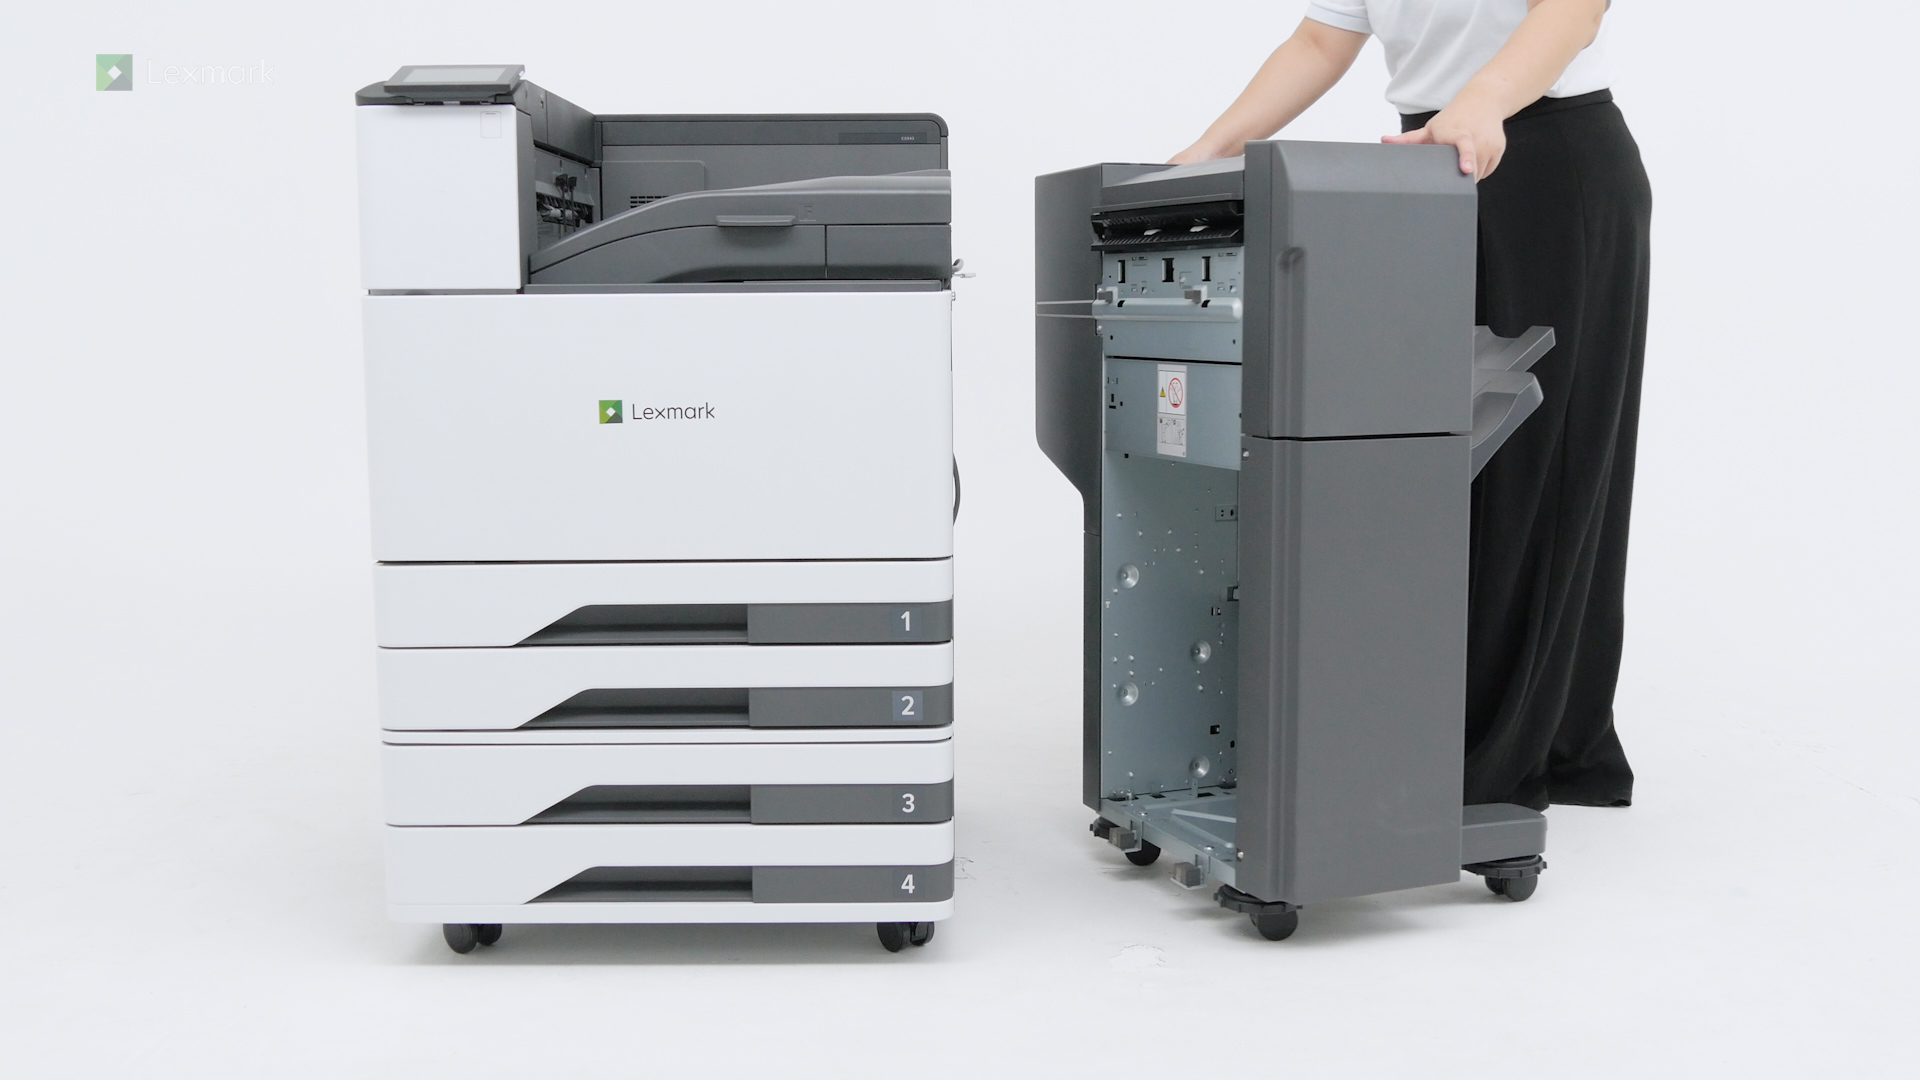
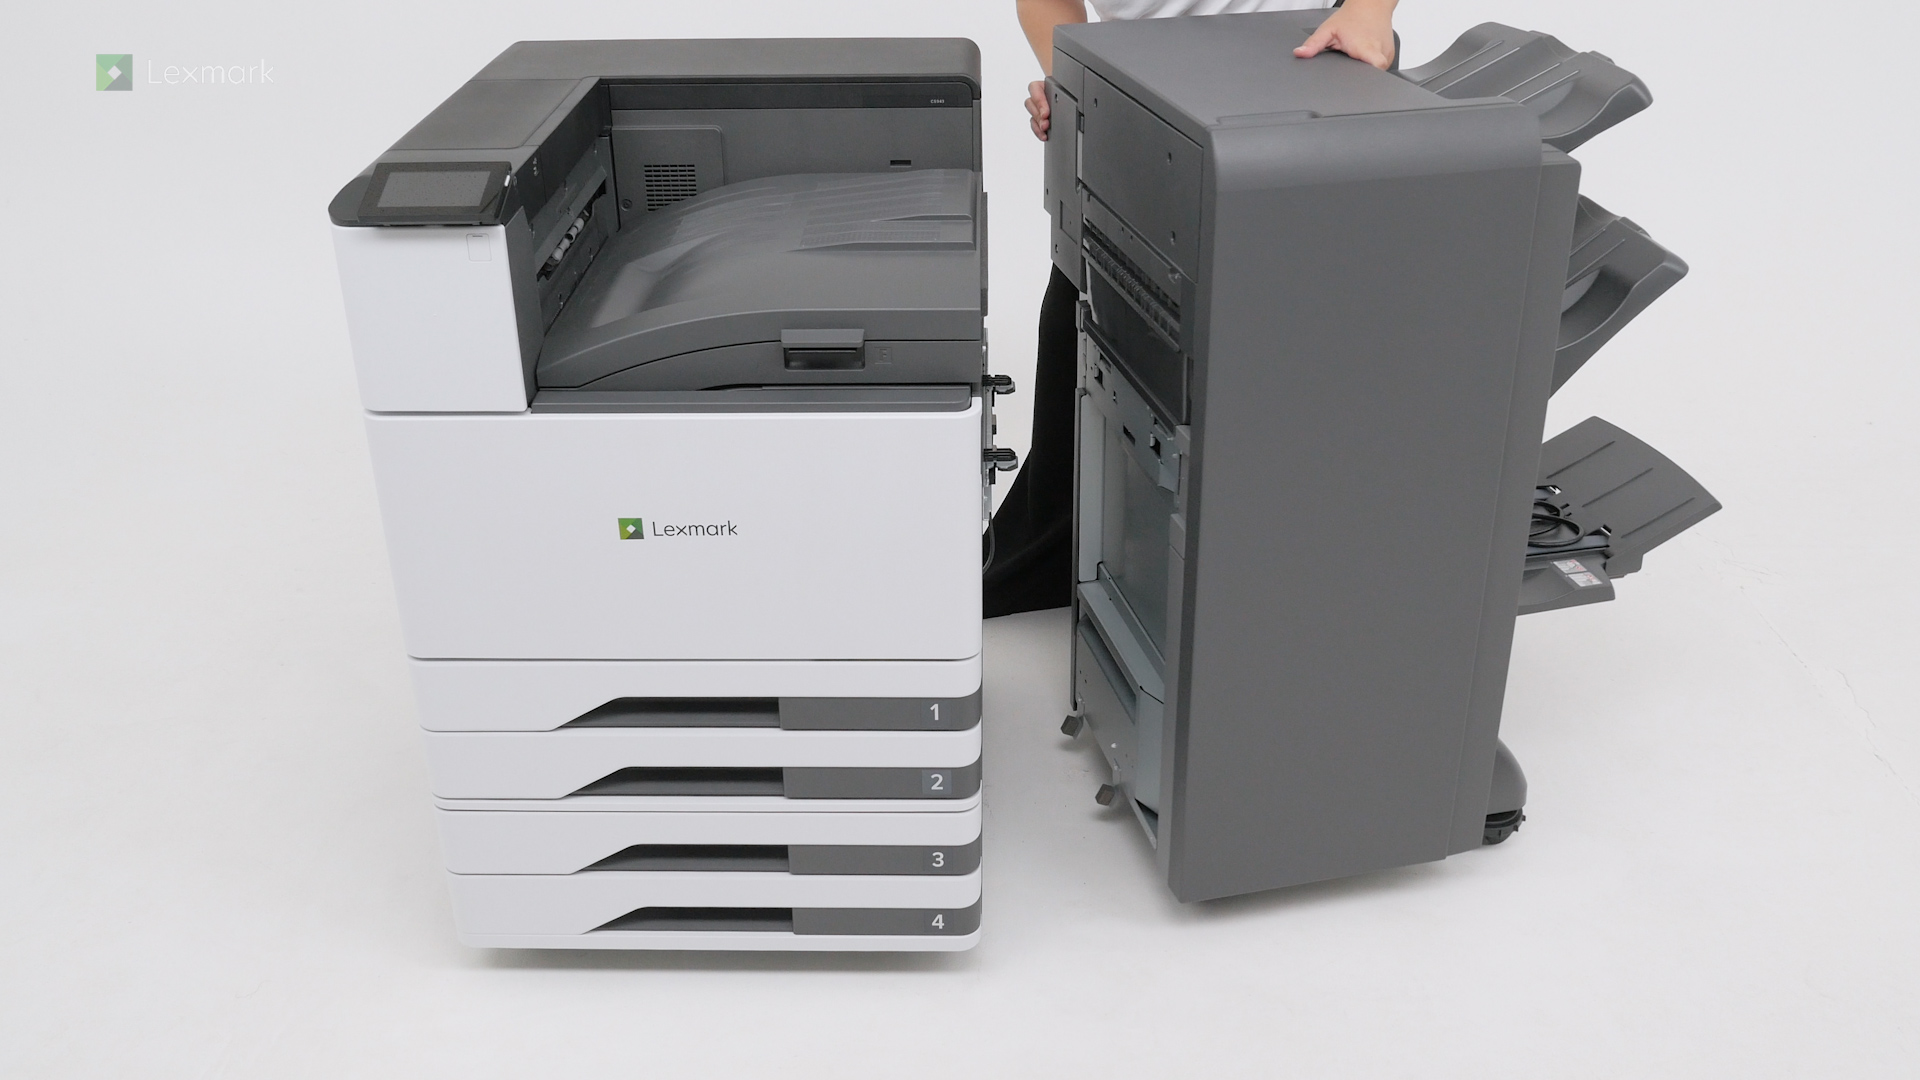
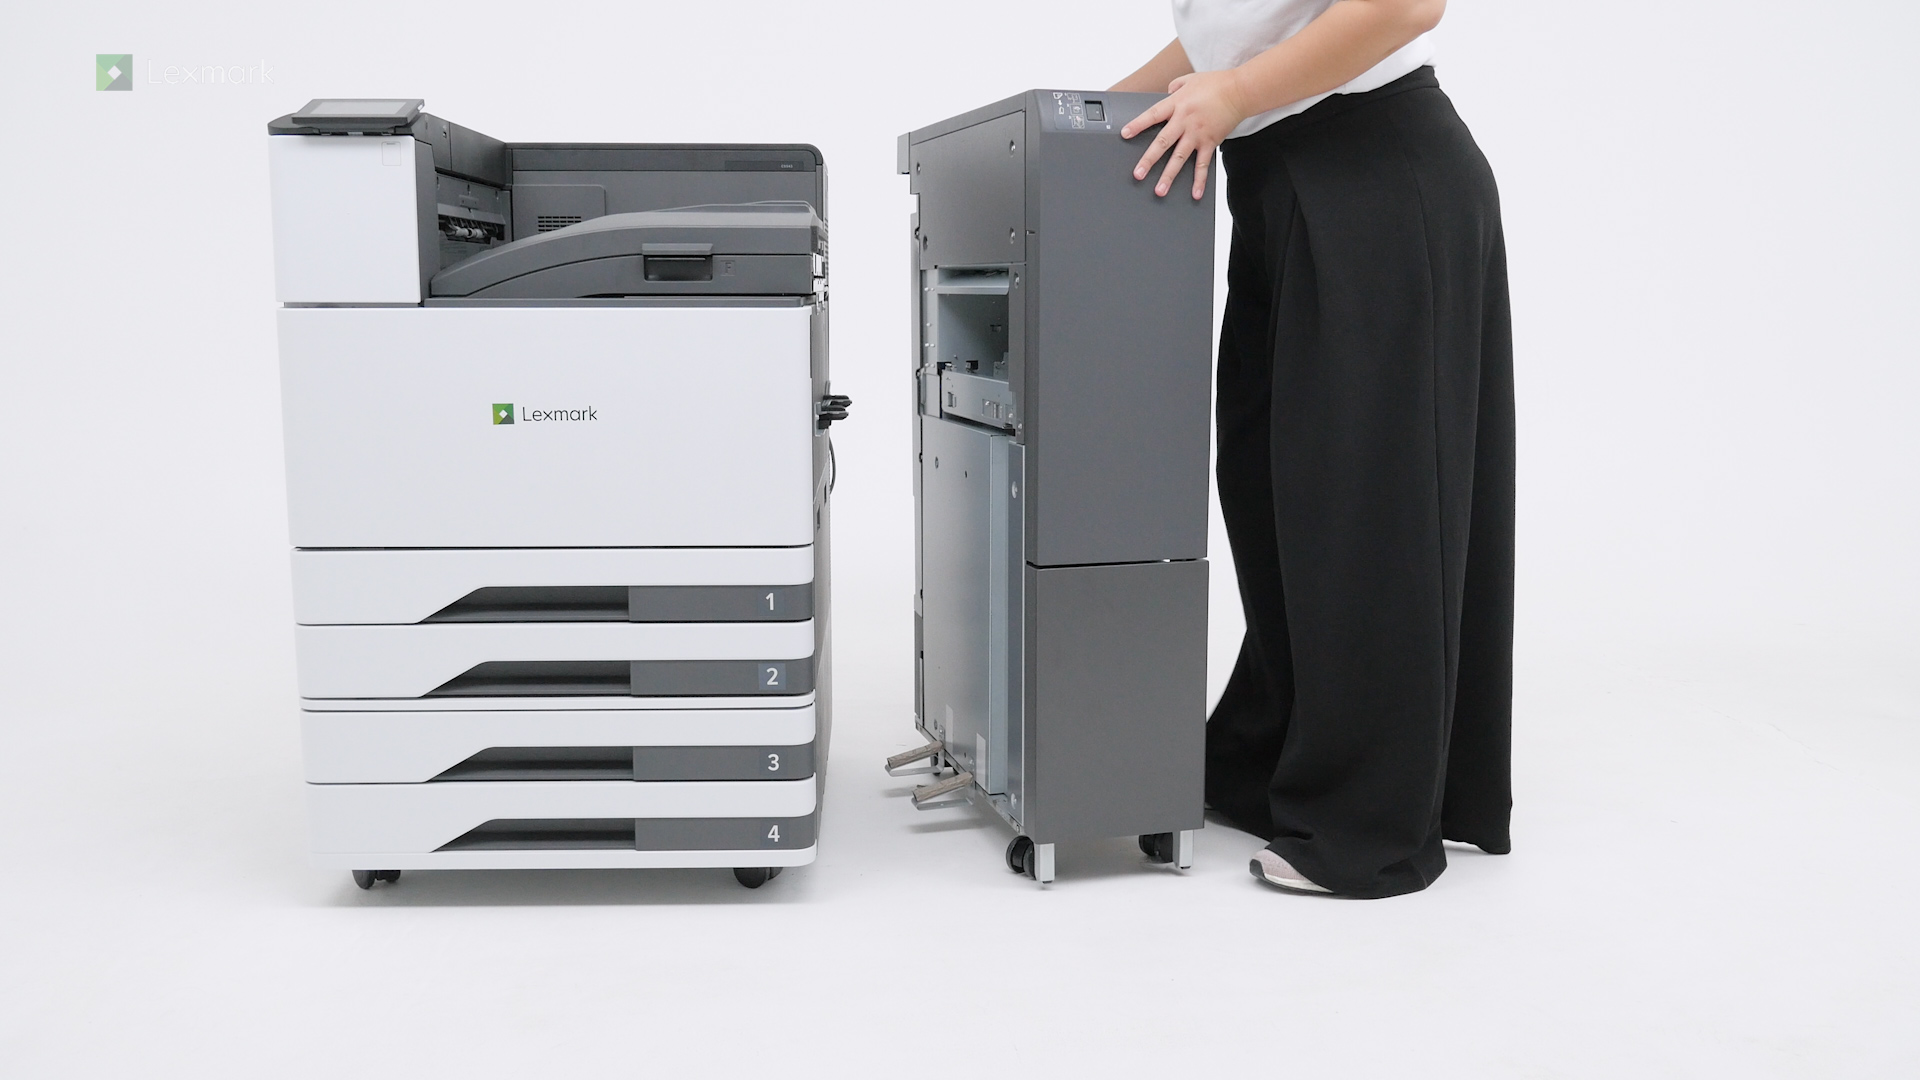
Learn the steps of installing the optional cabinet.
Increase the input capacity of your printer by installing the optional 2000-sheet tray.
Watch a video on how to install the banner tray of your printer.
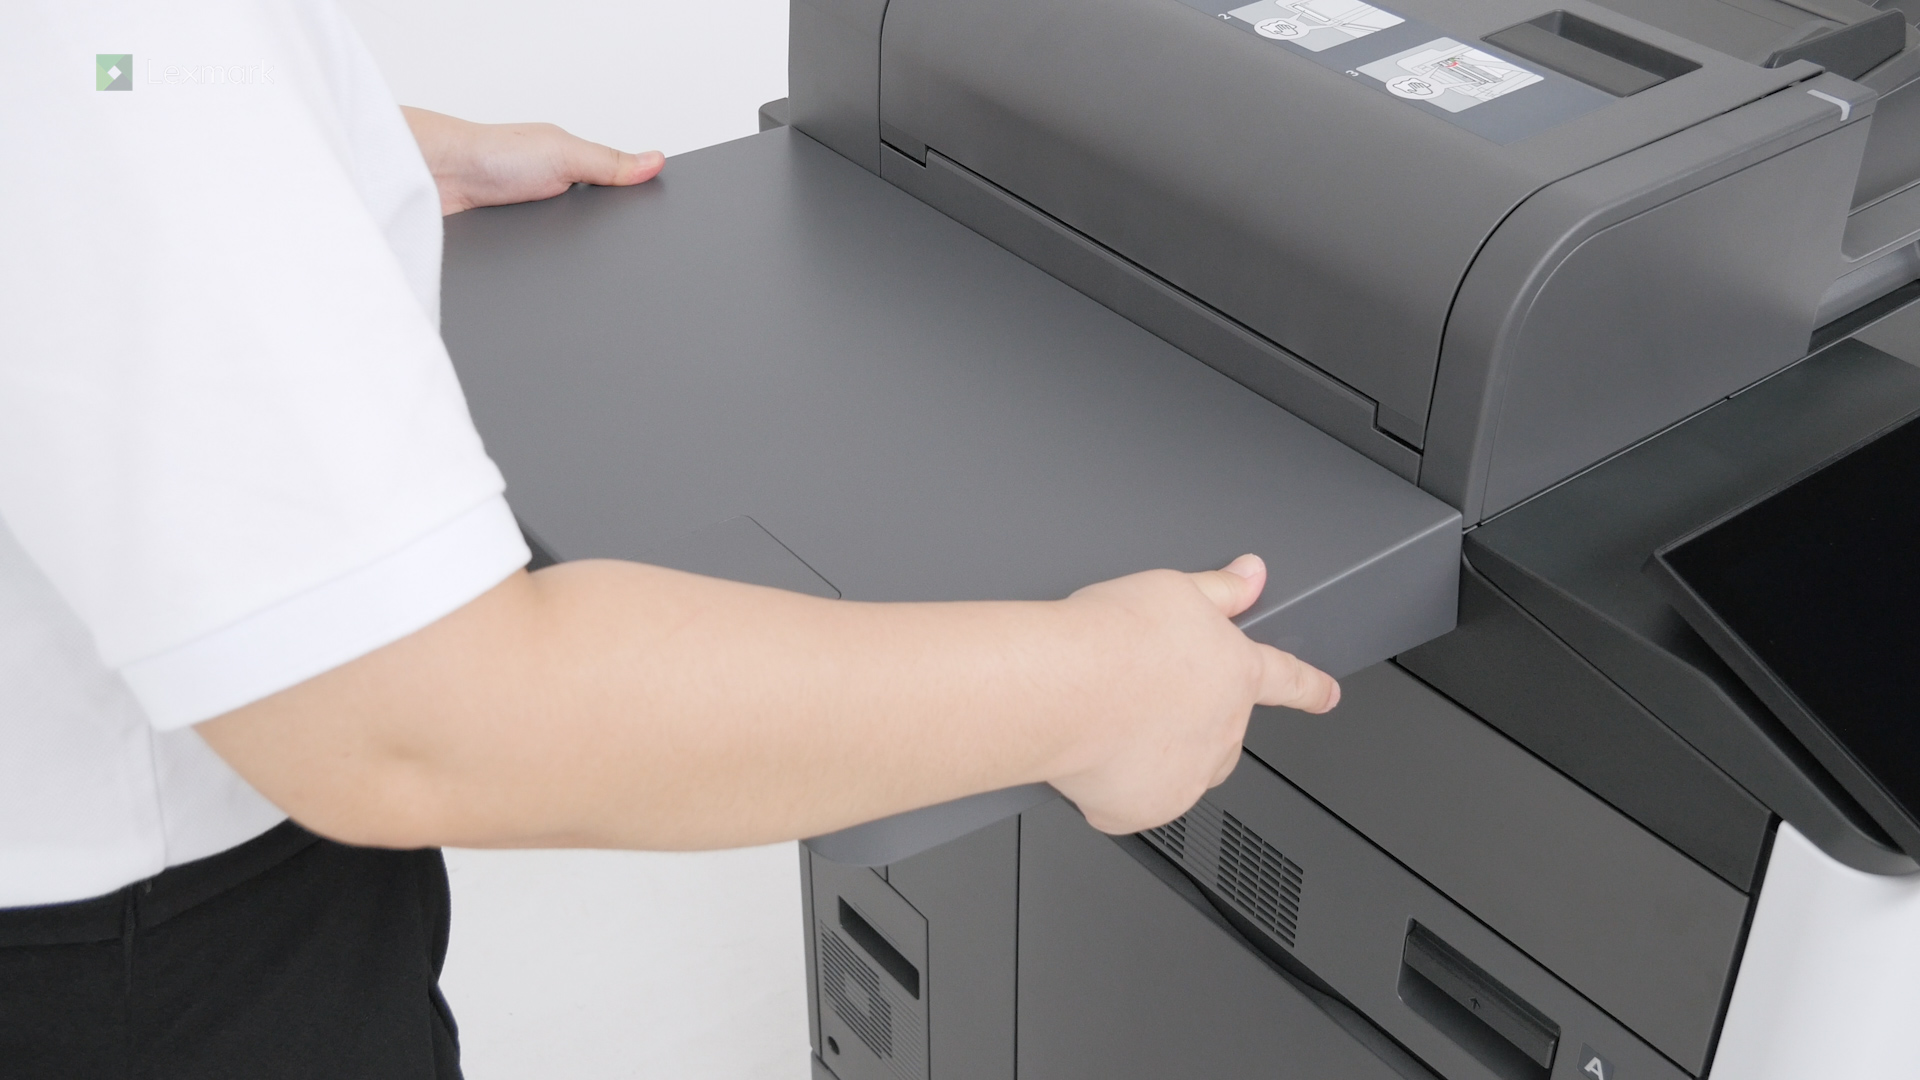
Watch a video on how to install the working shelf of your printer.
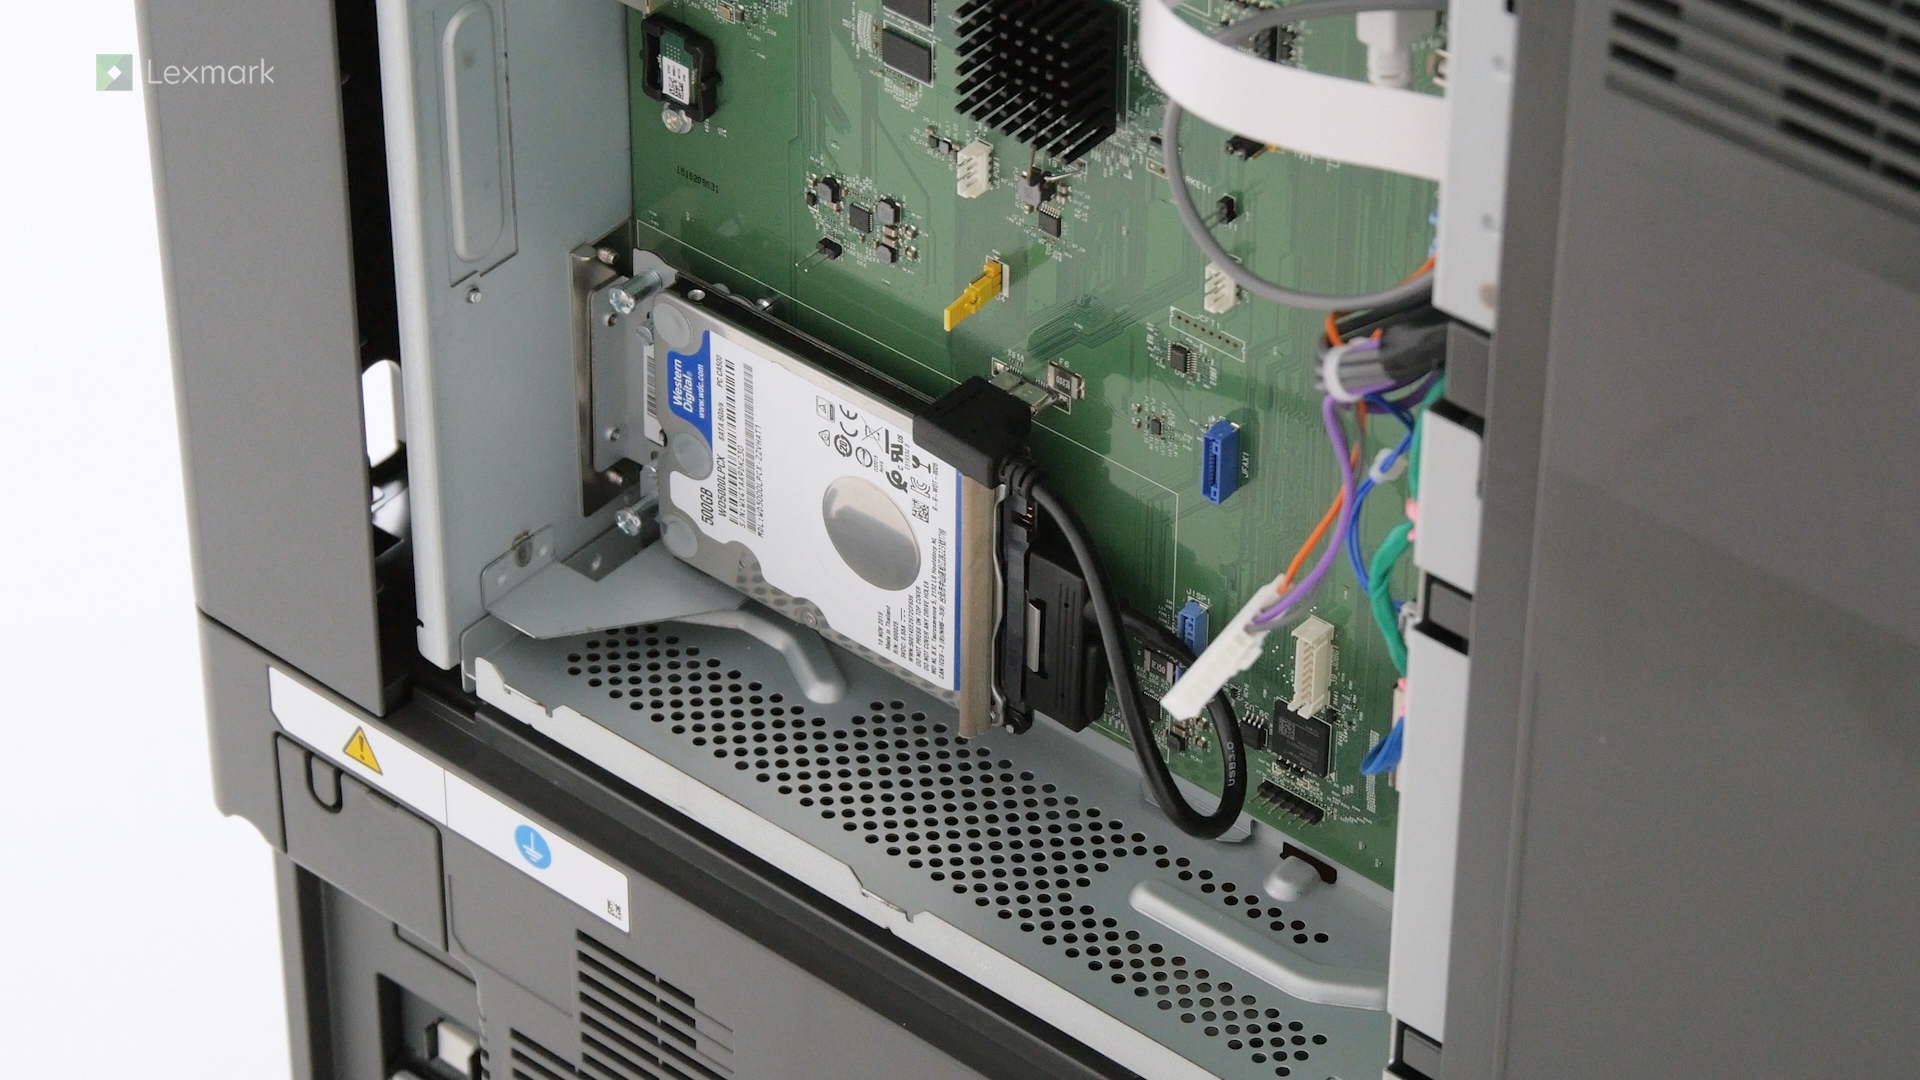
Learn how to install a hard disk on your printer to let it store large amounts of information.
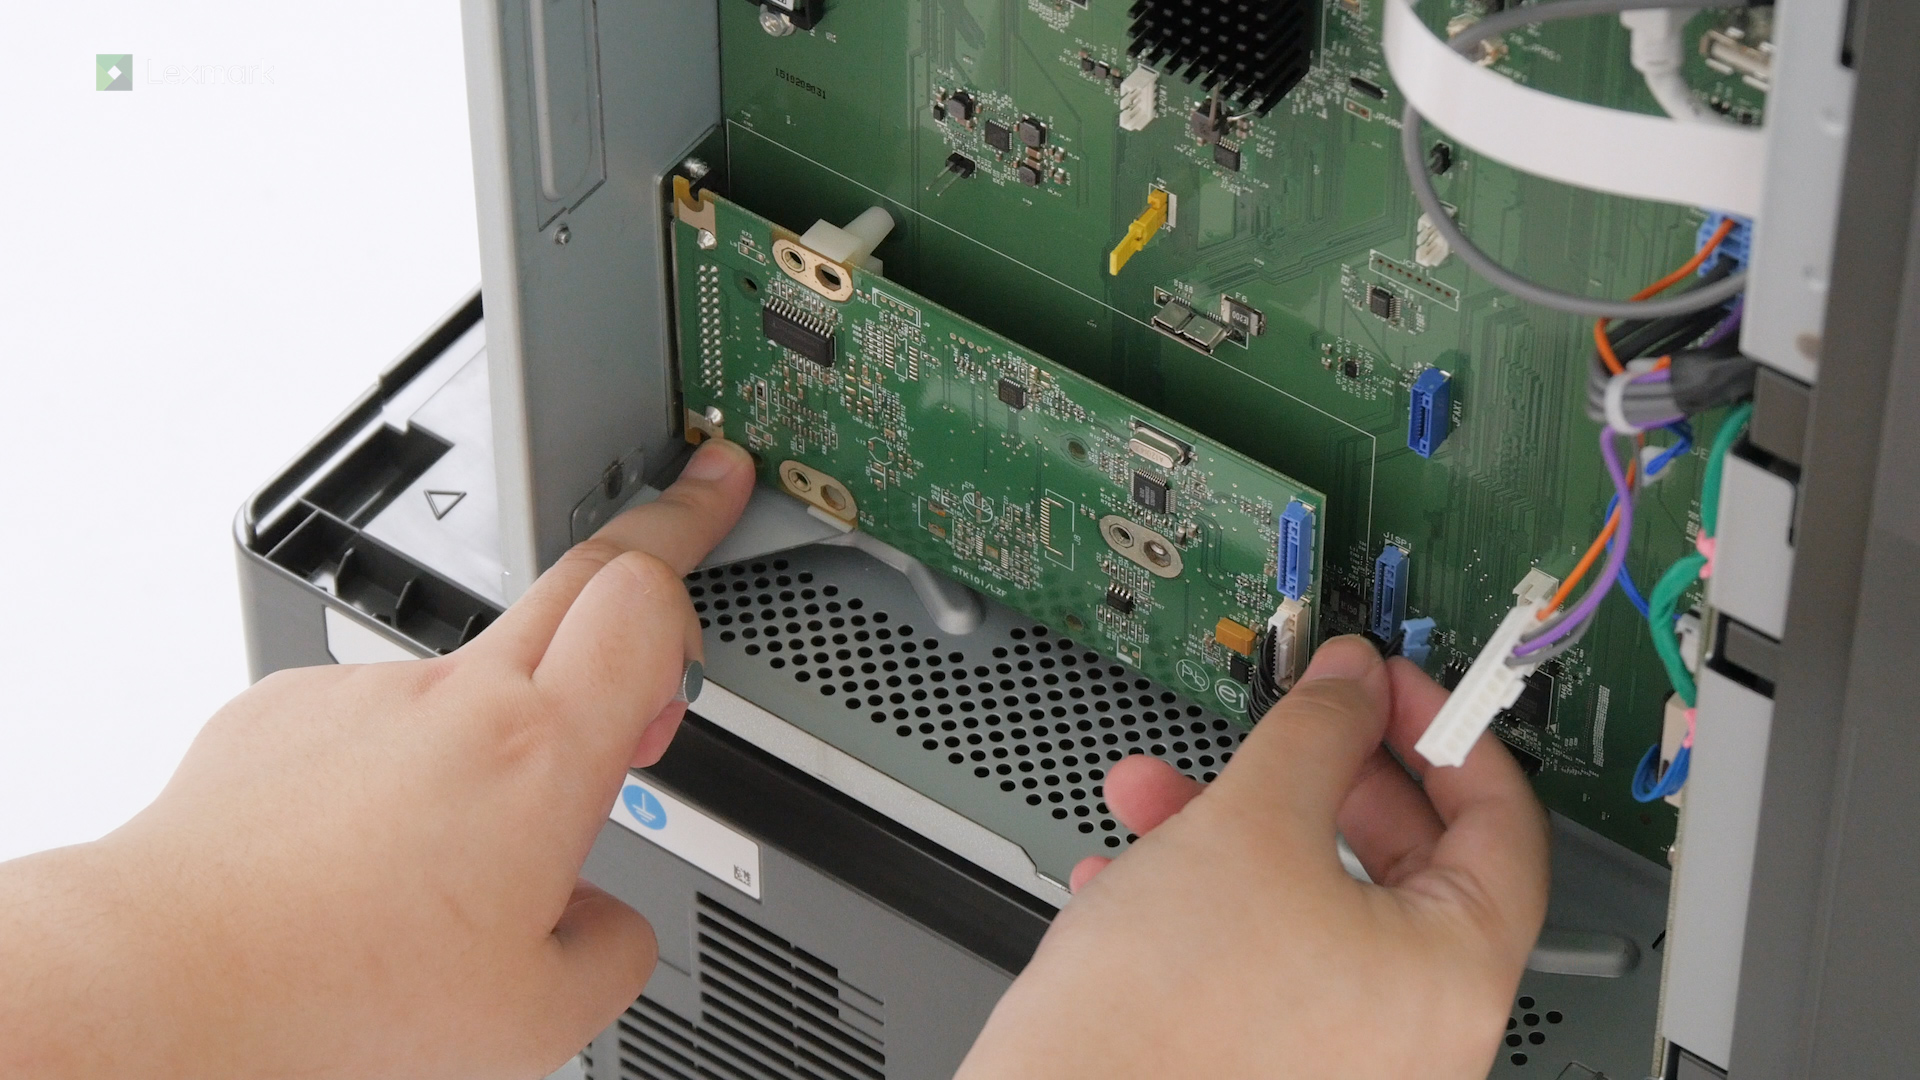
Add an internal solutions port for your printer to connect to wireless networks. Follow this quick installation guide.
Follow these steps to install the staple finisher and expand your printer capabilities.
Follow these steps to install the staple, hole punch finisher properly.
Follow these steps to install the booklet finisher and expand your printer capabilities.
Follow these steps to install the trifold/Z‑fold finisher and expand your printer capabilities.
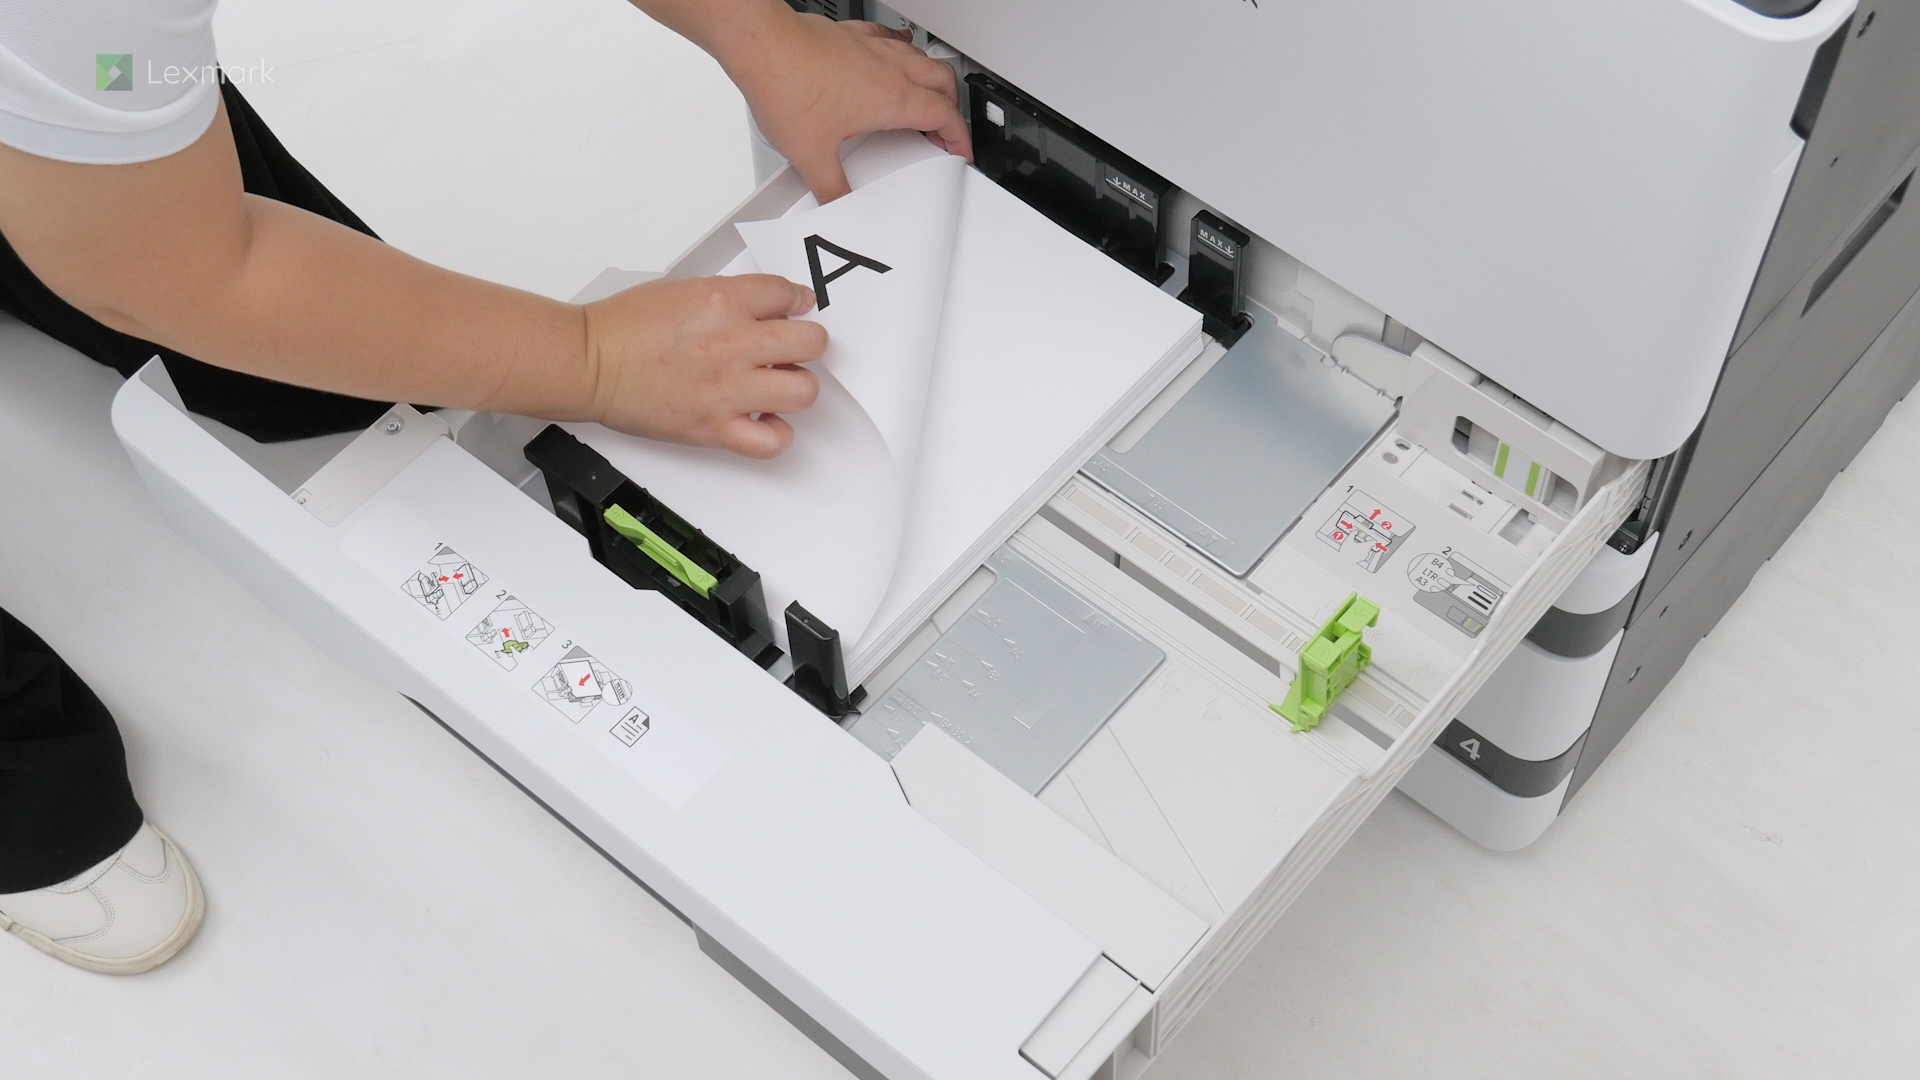
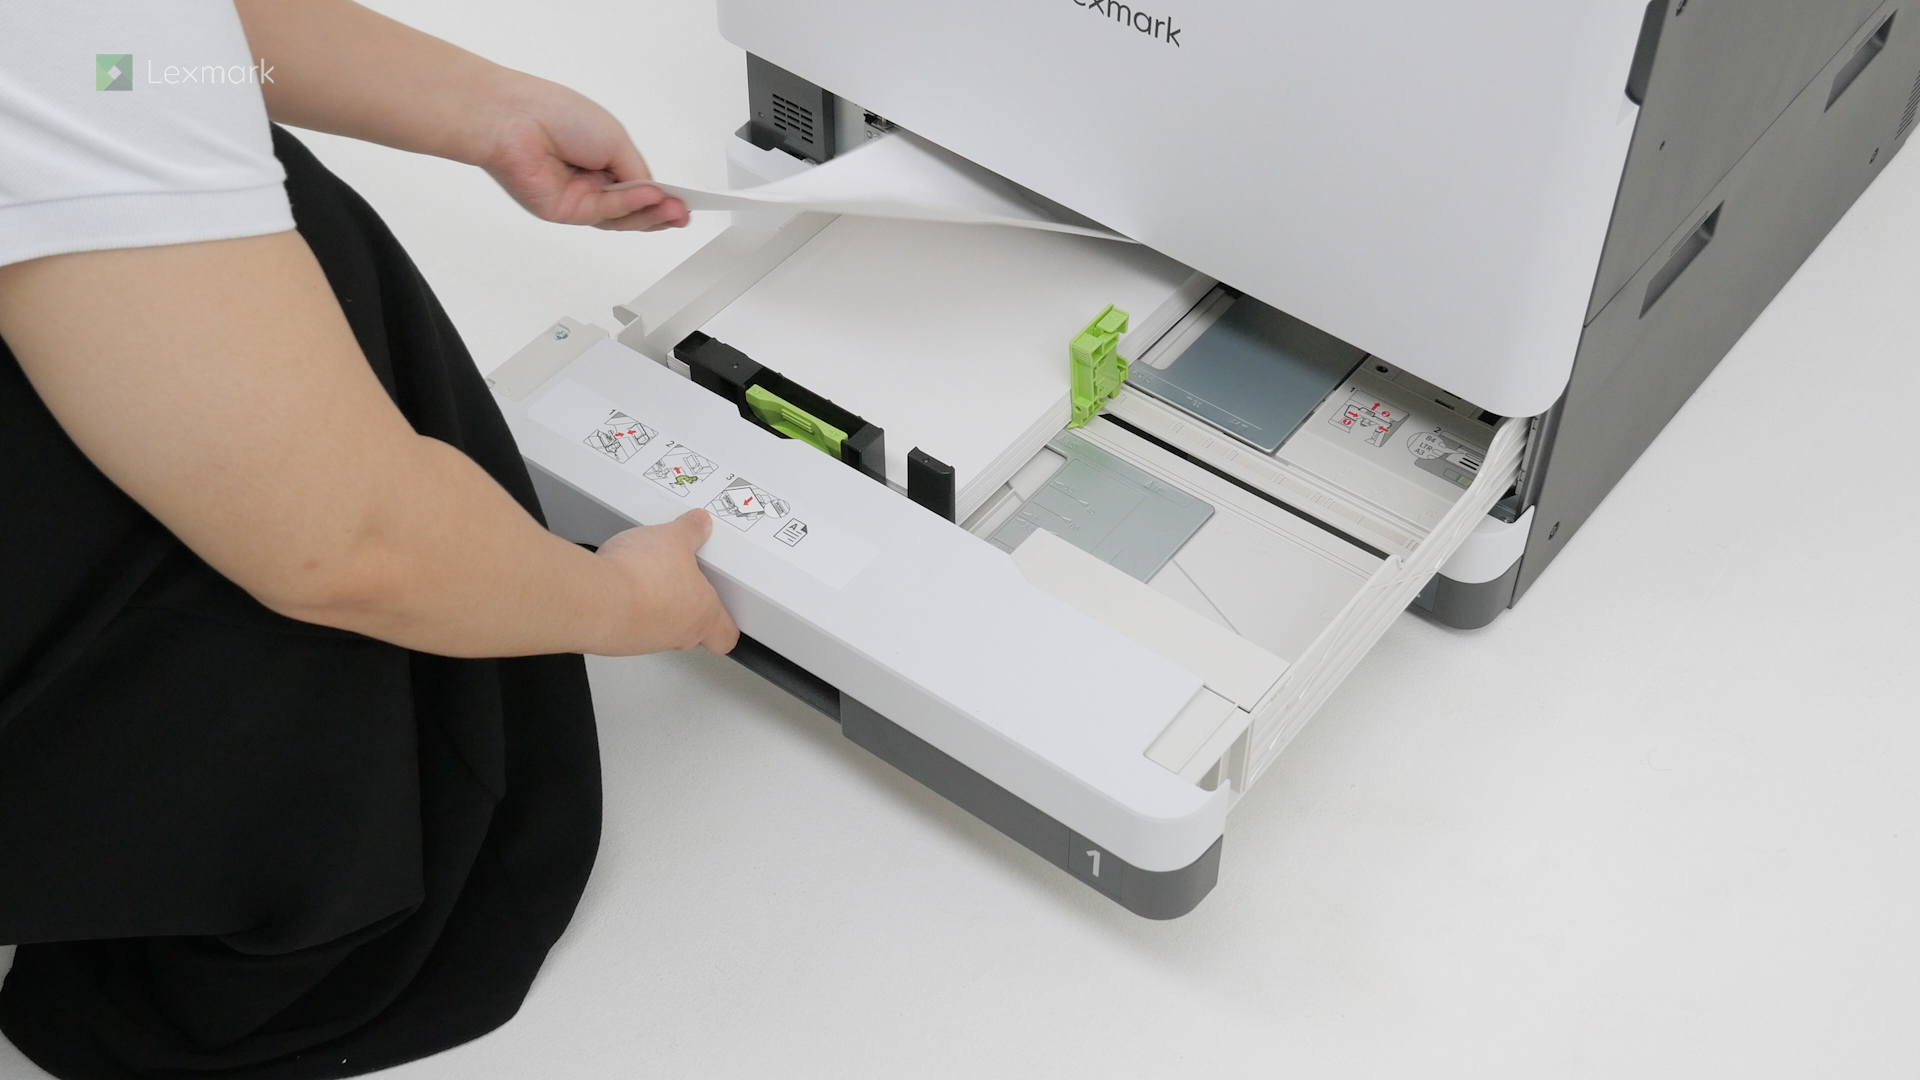
For reliable printing results, use these instructions to load paper properly into the 520-sheet tray.
For reliable printing results, use these instructions to load paper properly into the tandem tray.
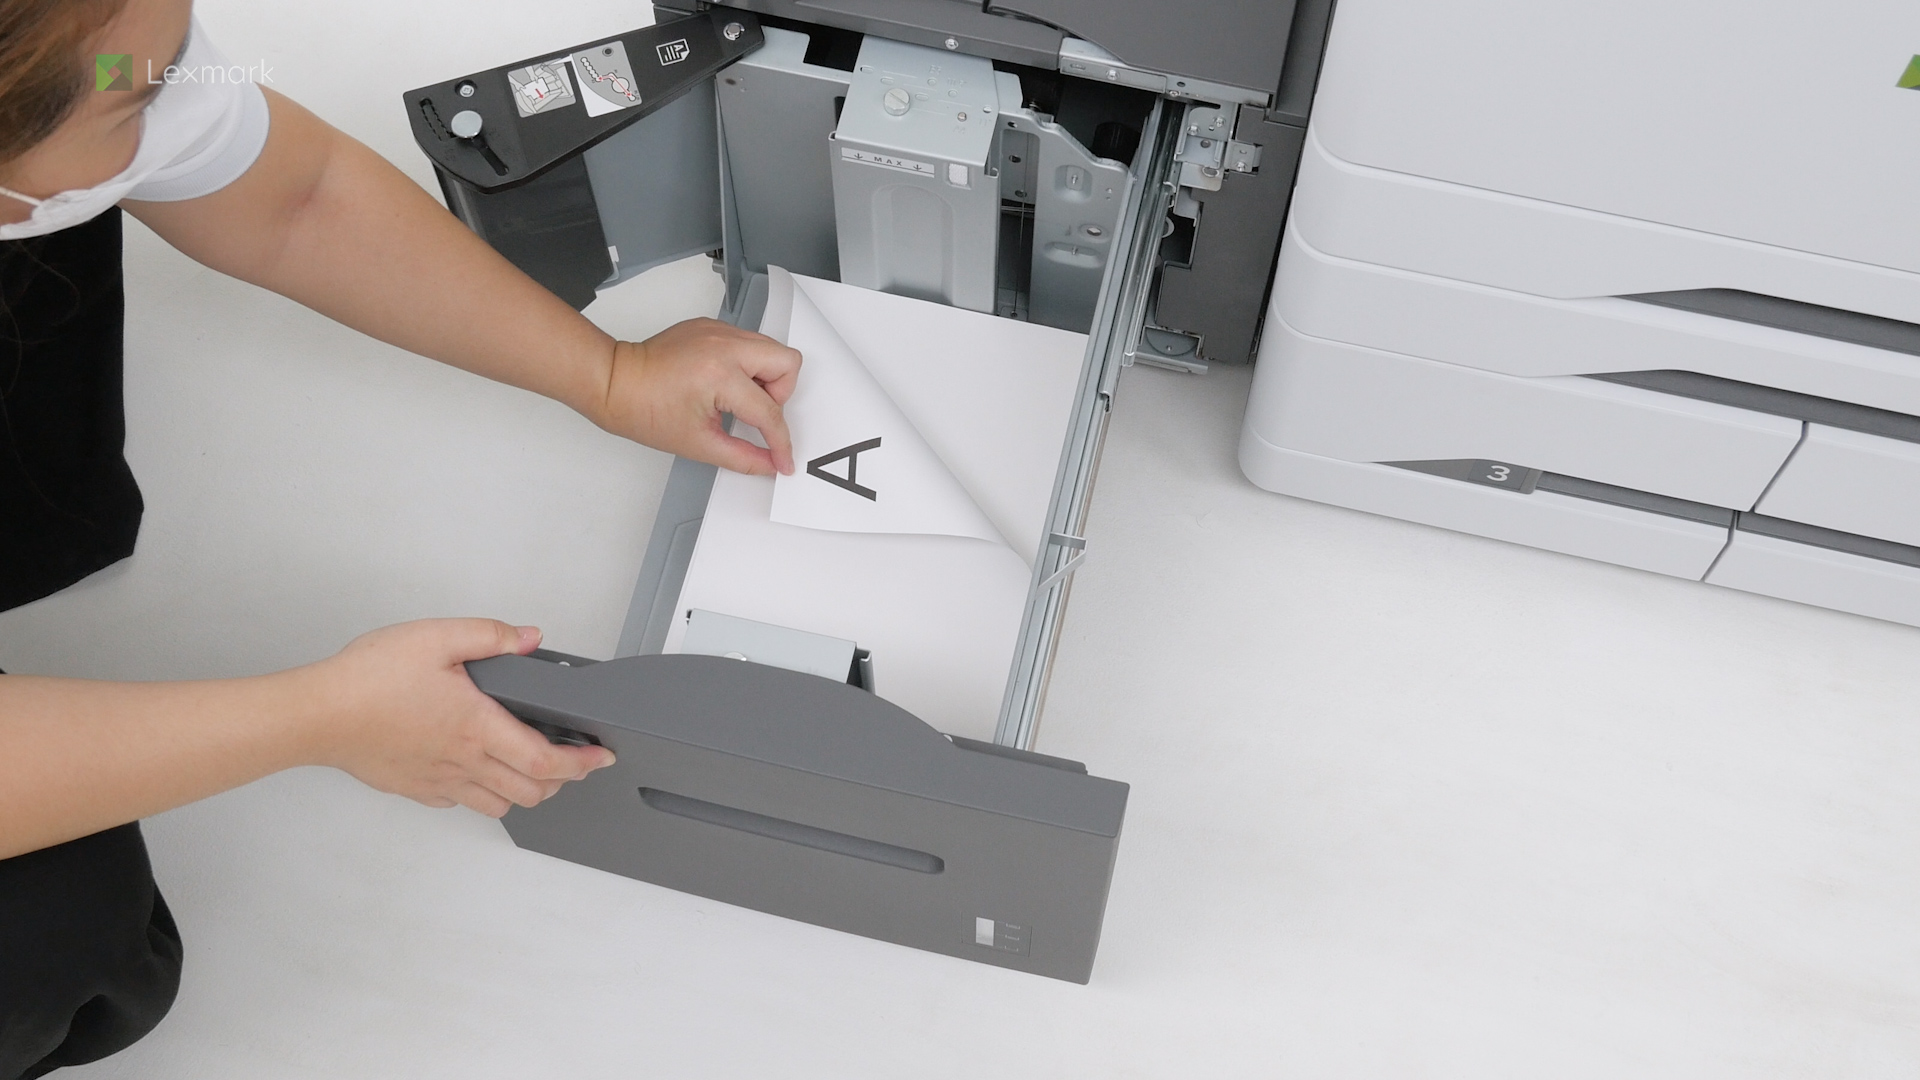
For reliable printing results, use these instructions to load paper properly into the 2000-sheet tray.
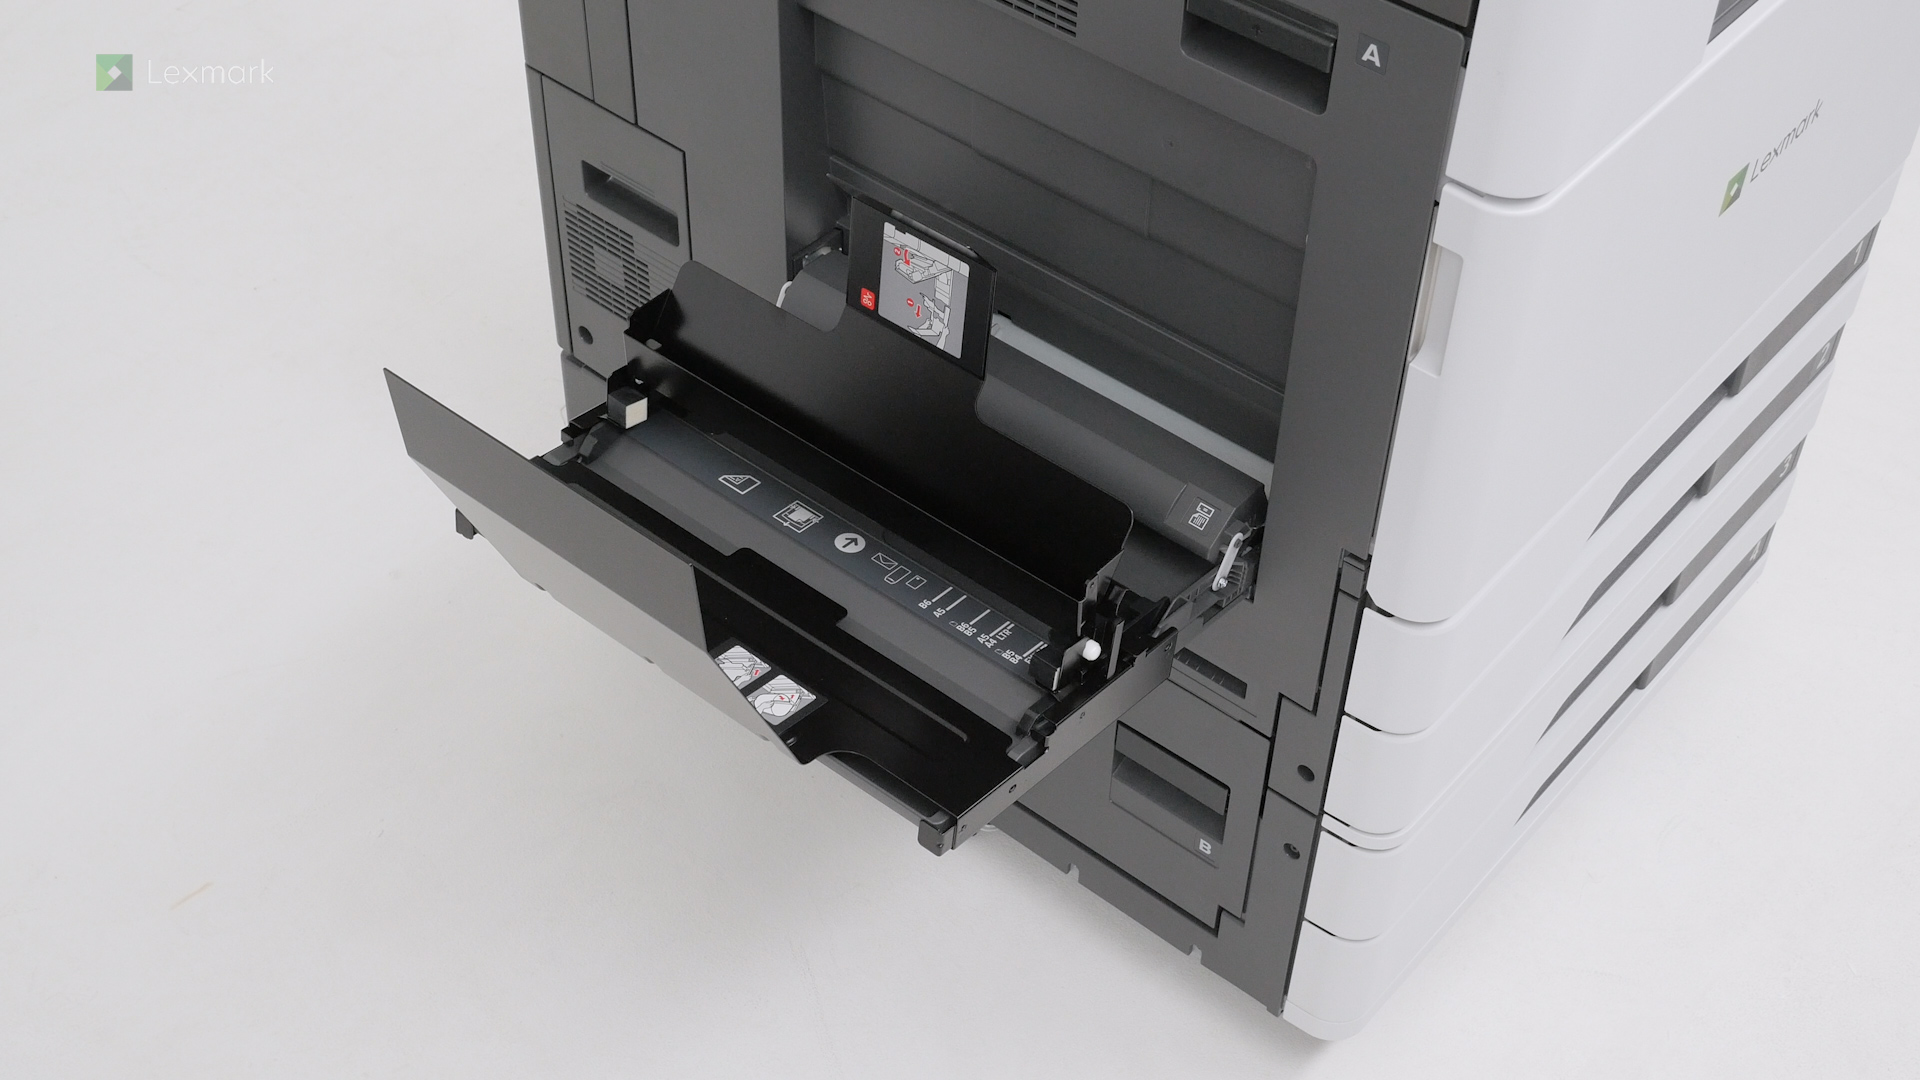
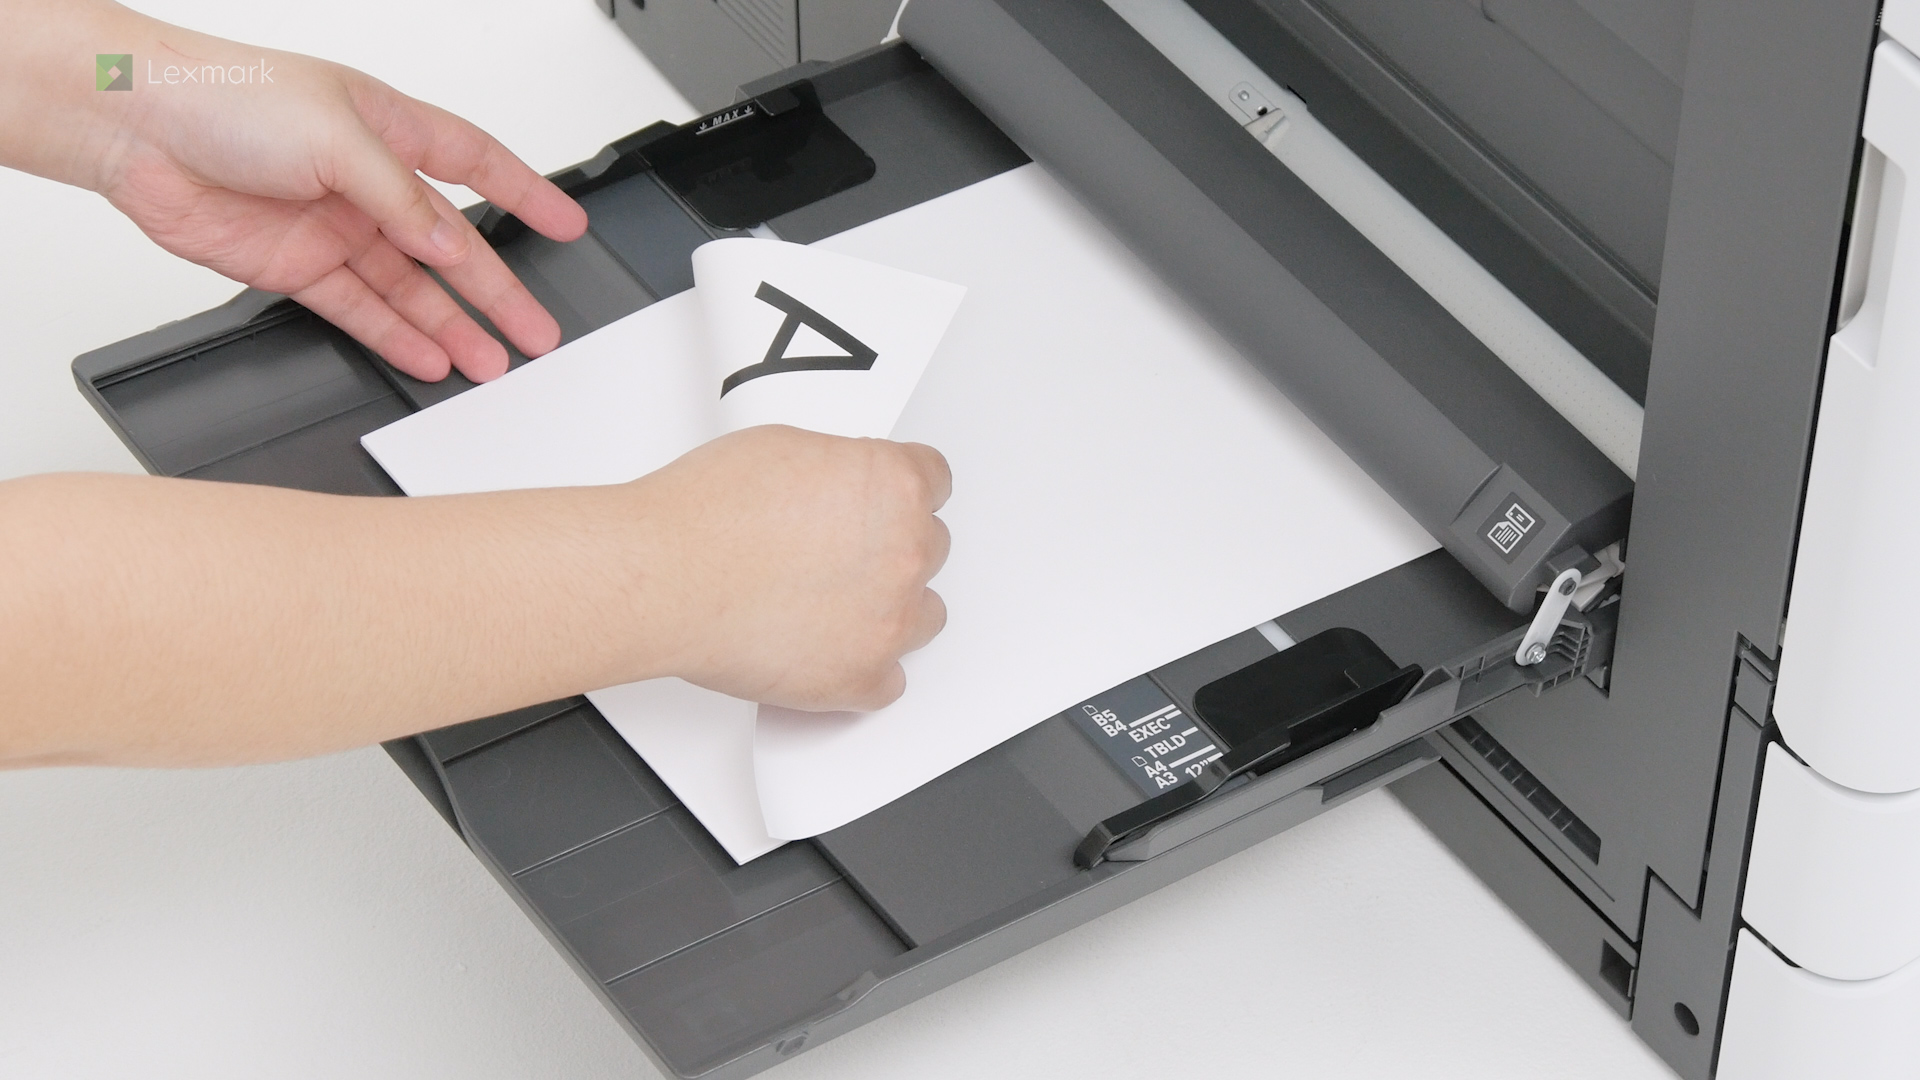
Learn the correct way of loading paper into the multipurpose feeder.
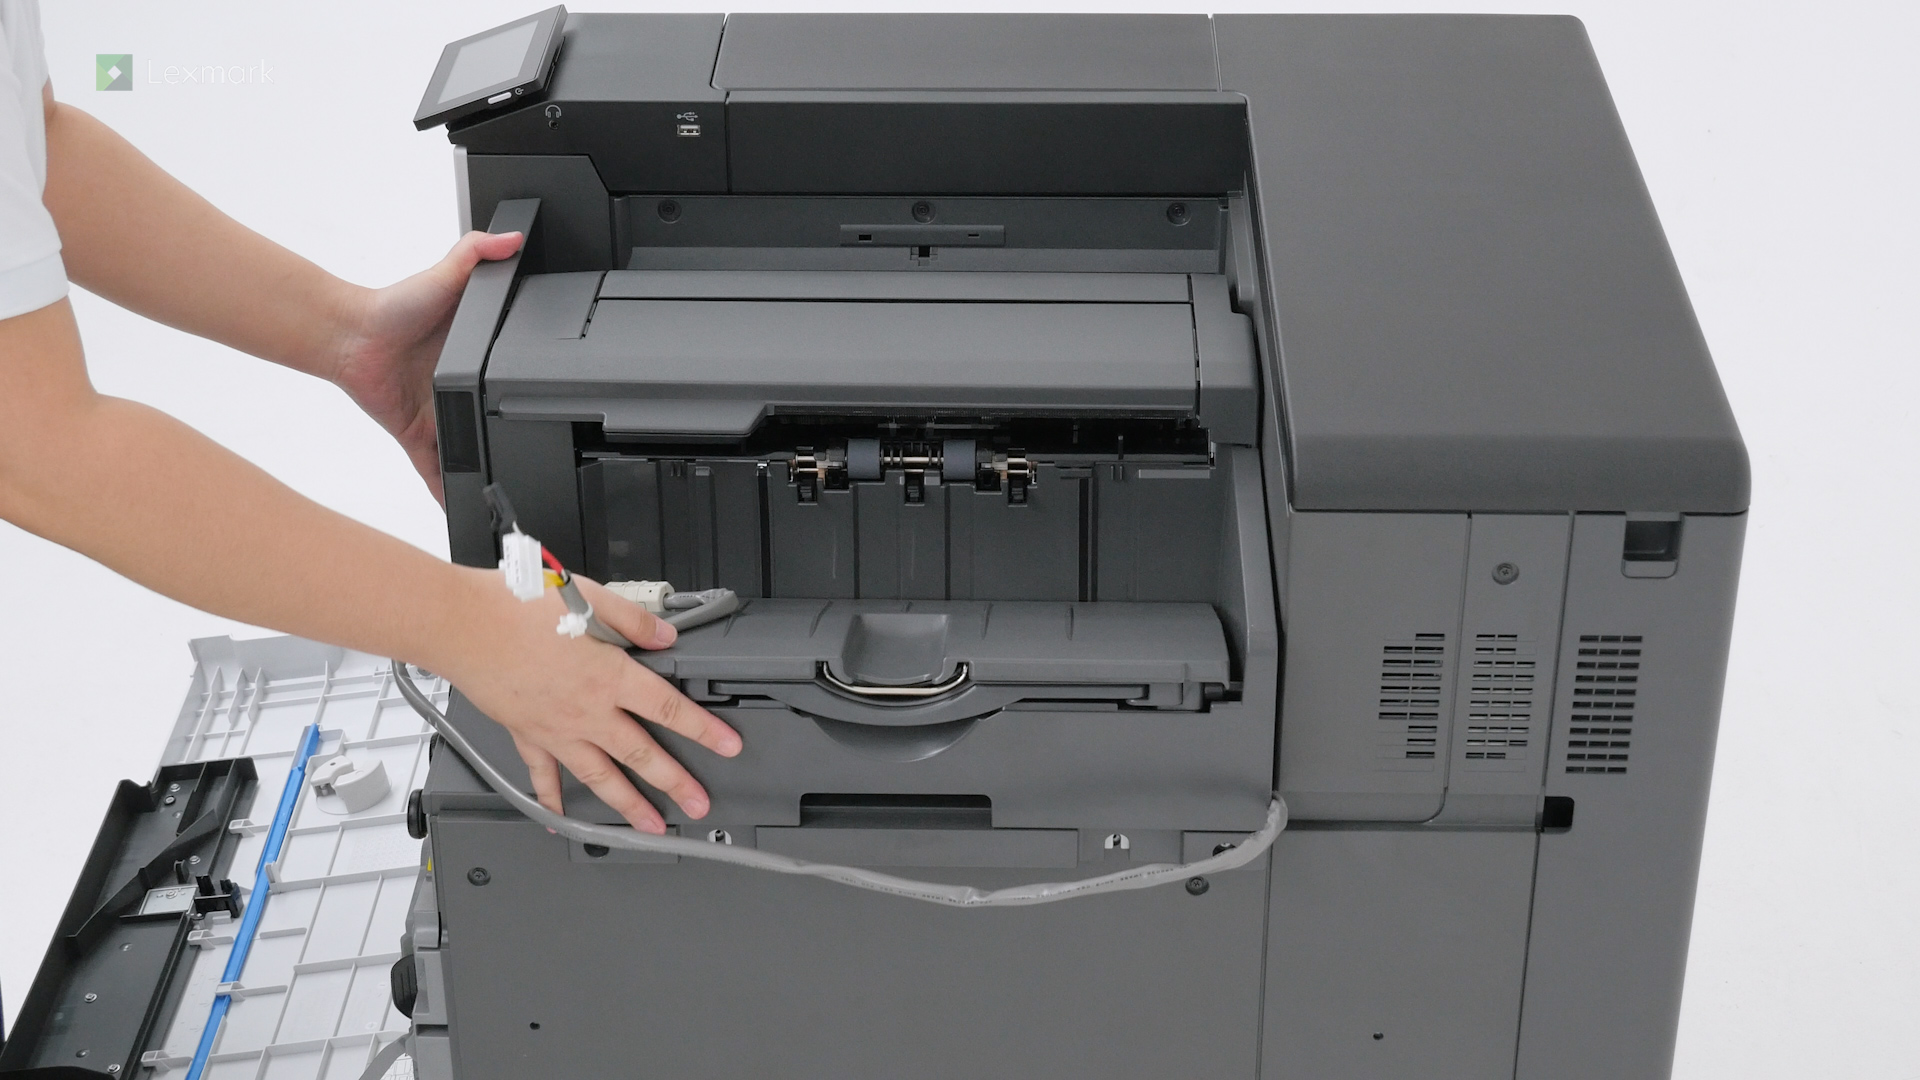
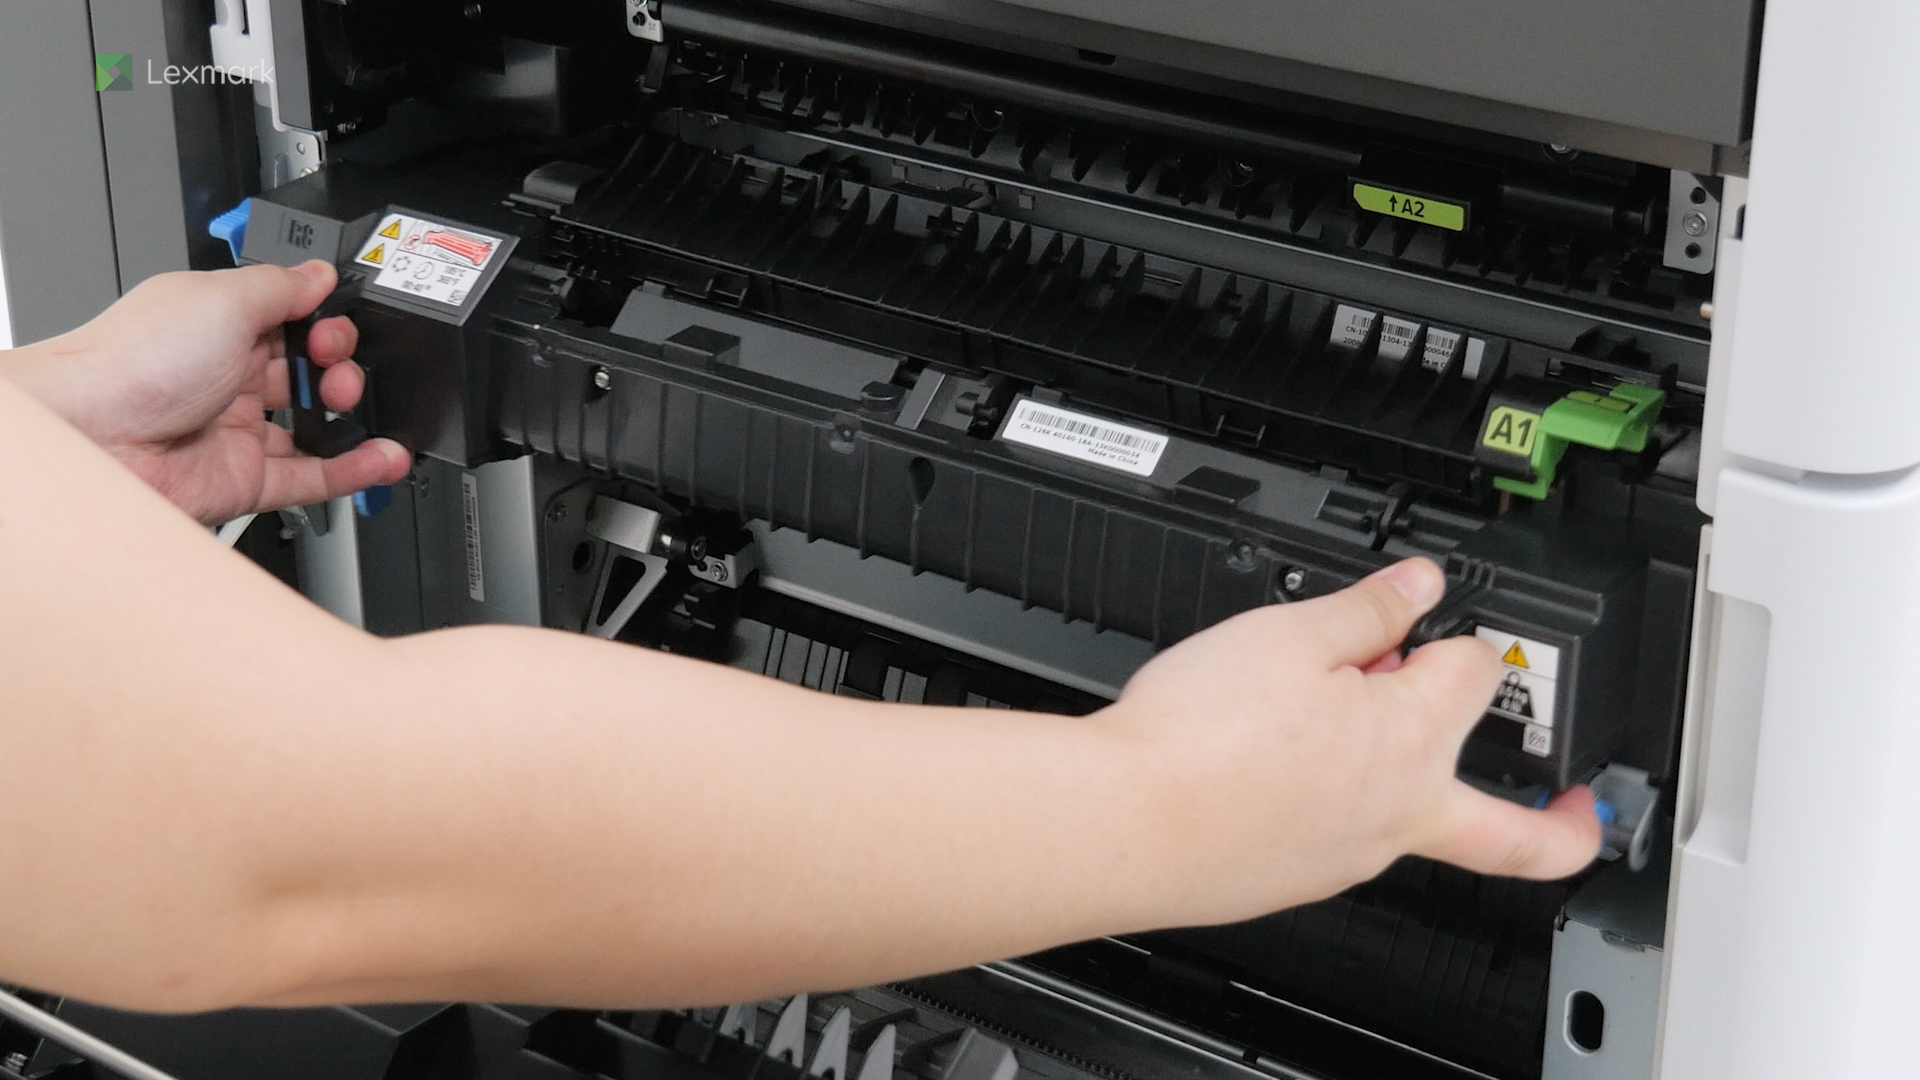
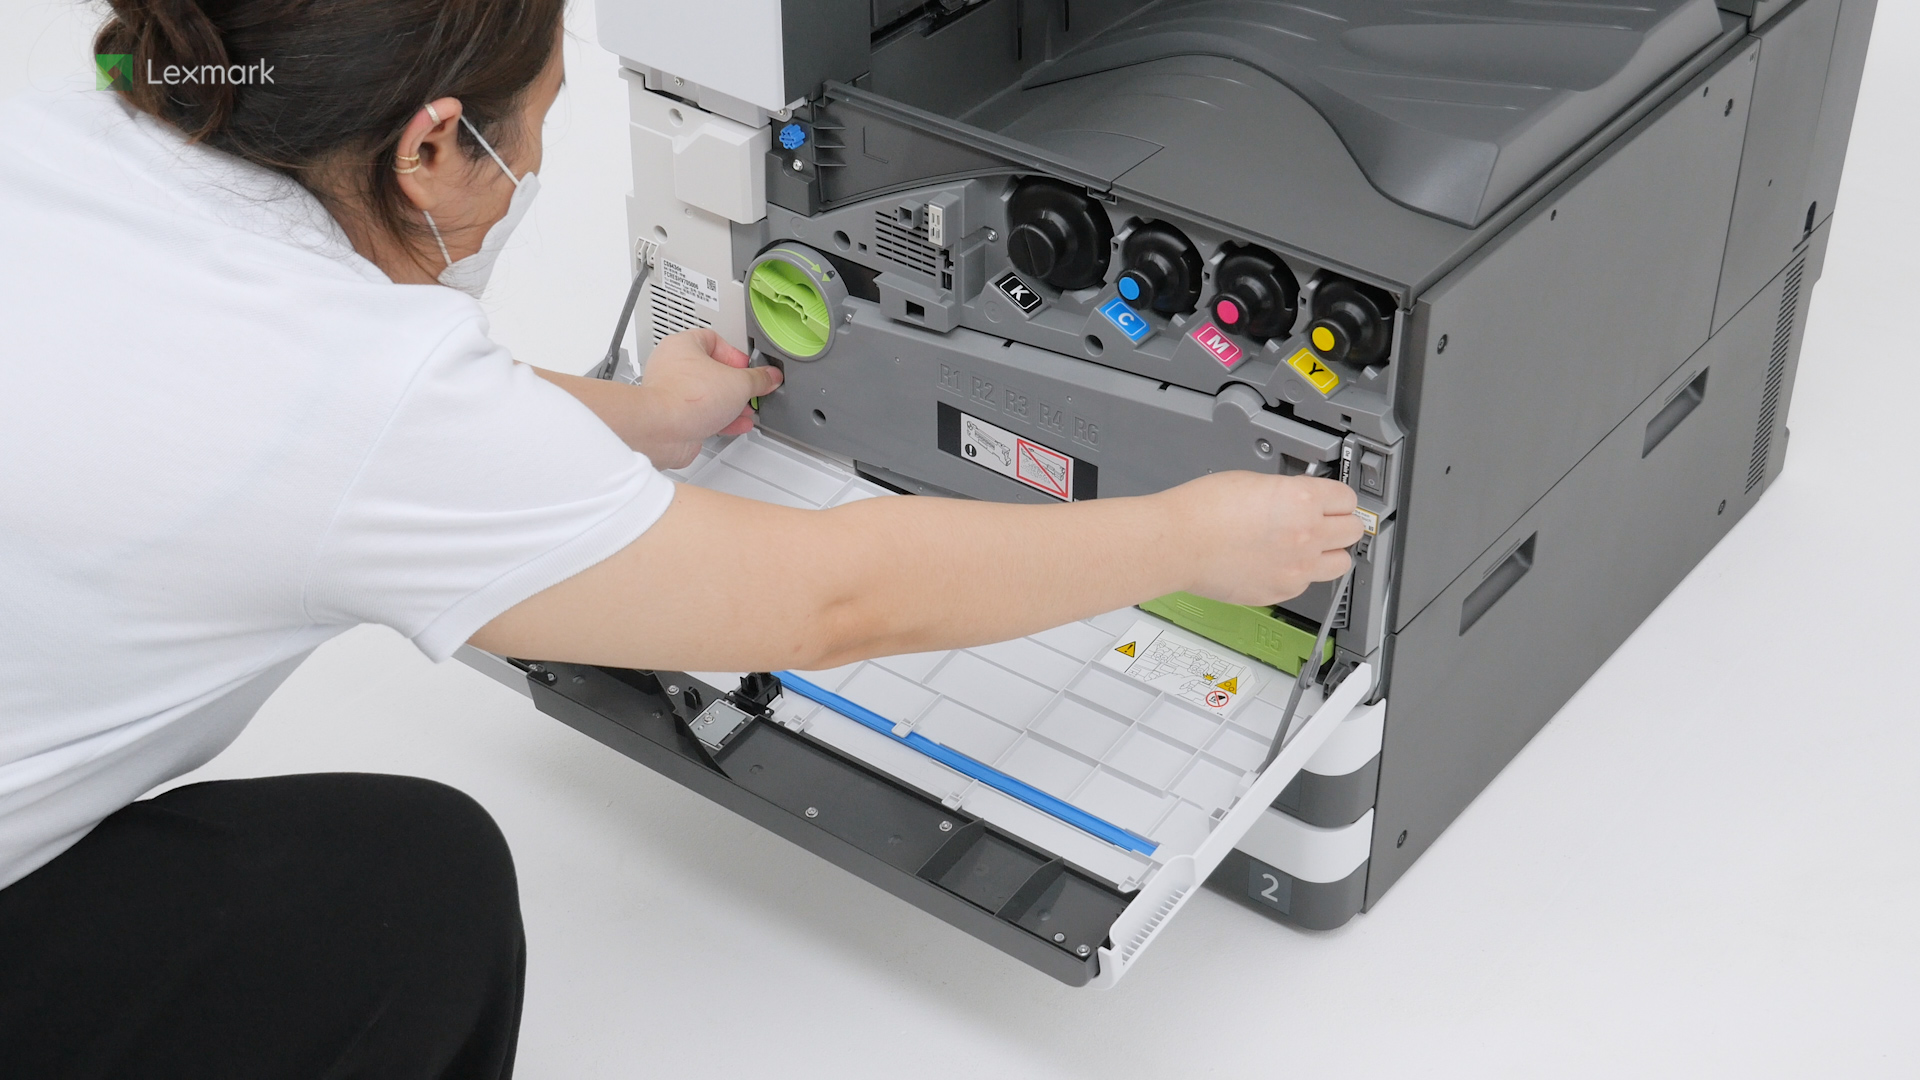
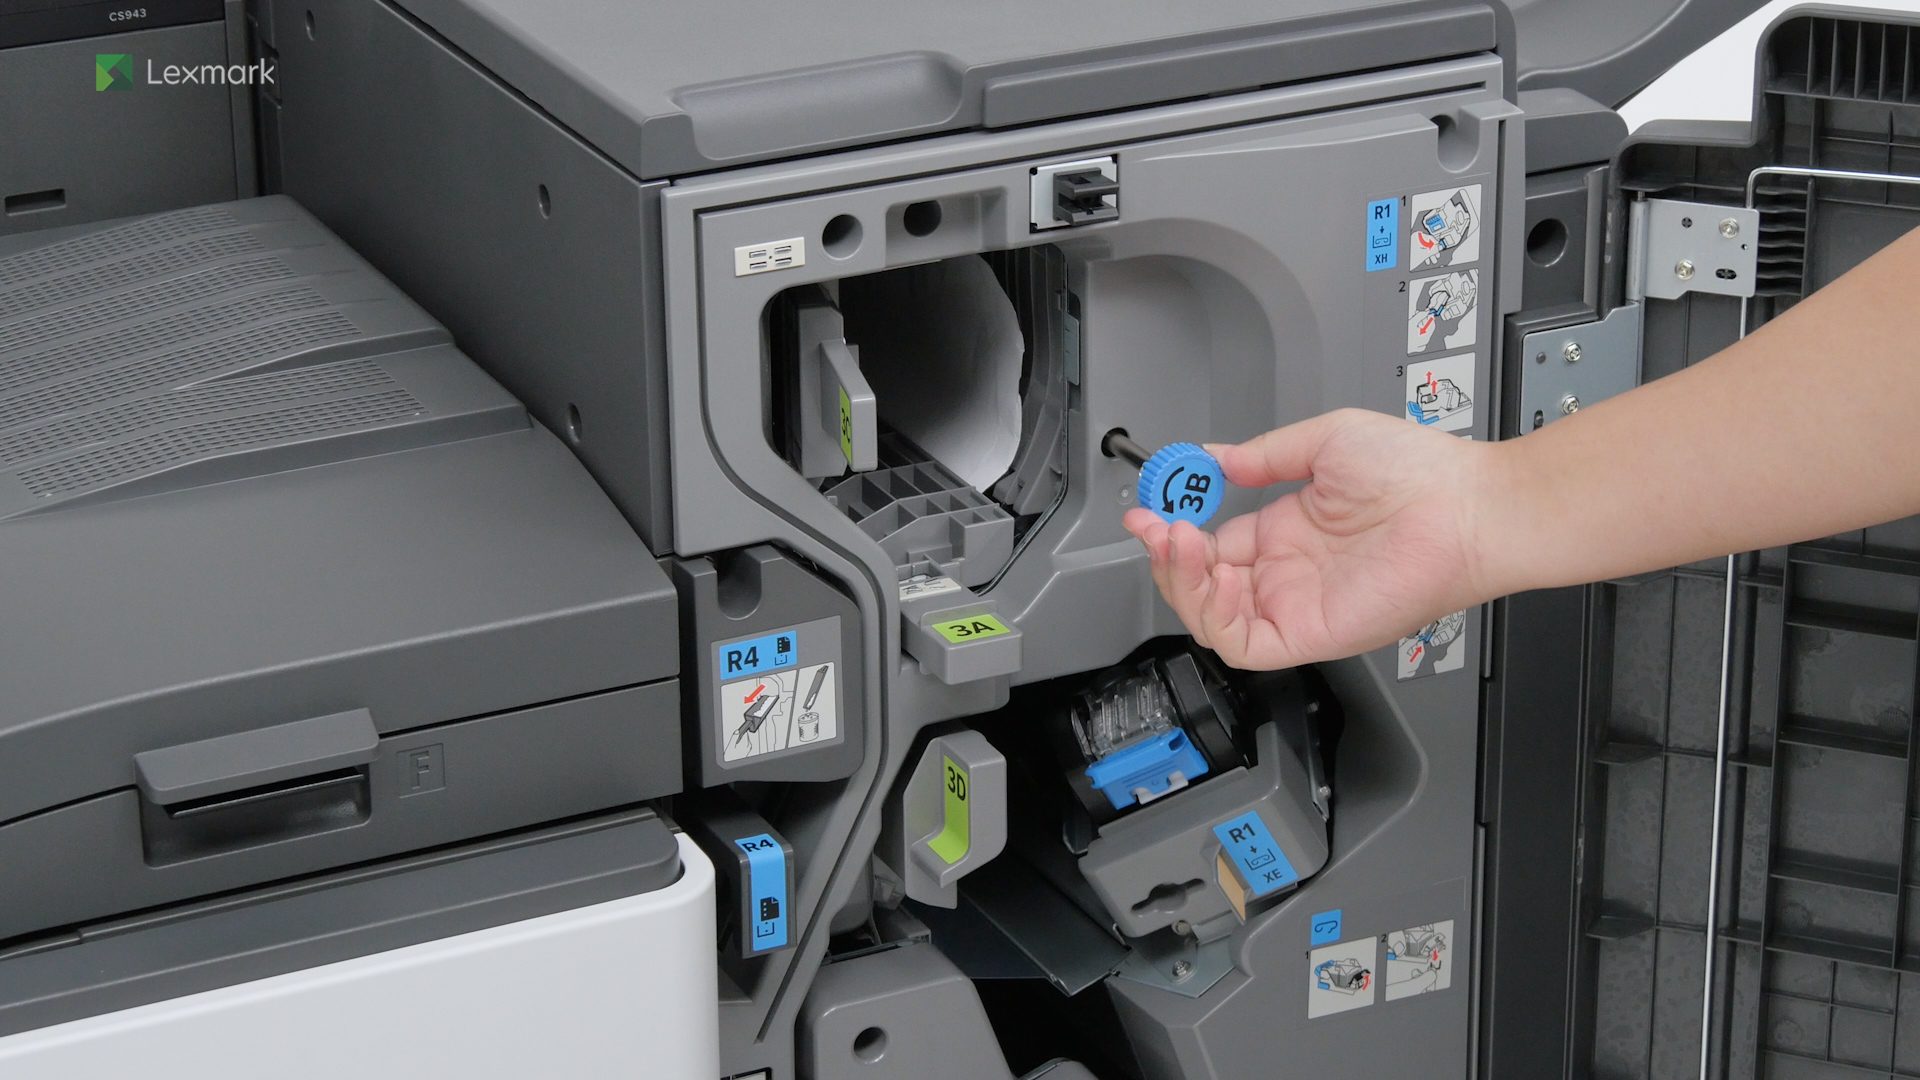
Learn how to remove the fuser when you are installing a new one.
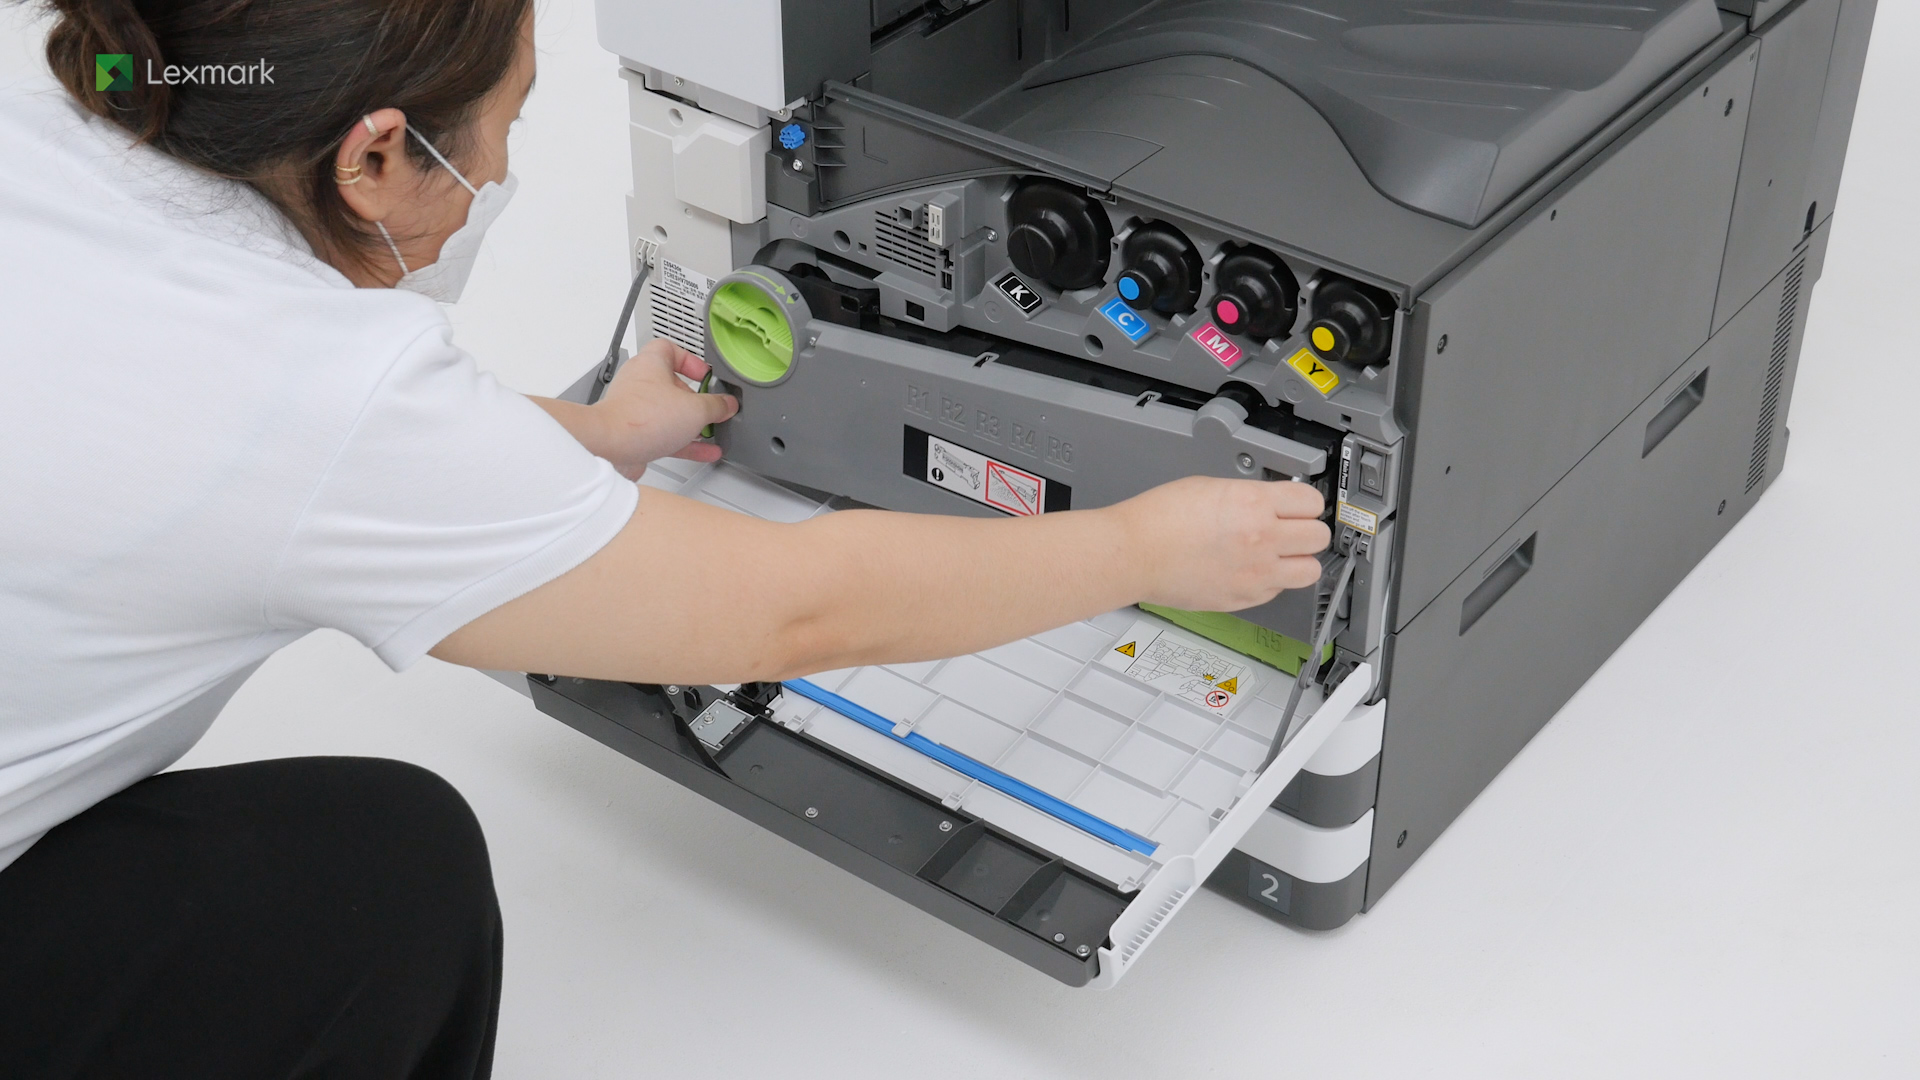
Install a new waste toner transfer unit to make sure that the excess toner is properly transported to the waste toner bottle.
Learn how to replace the transfer module cleaner of your printer.
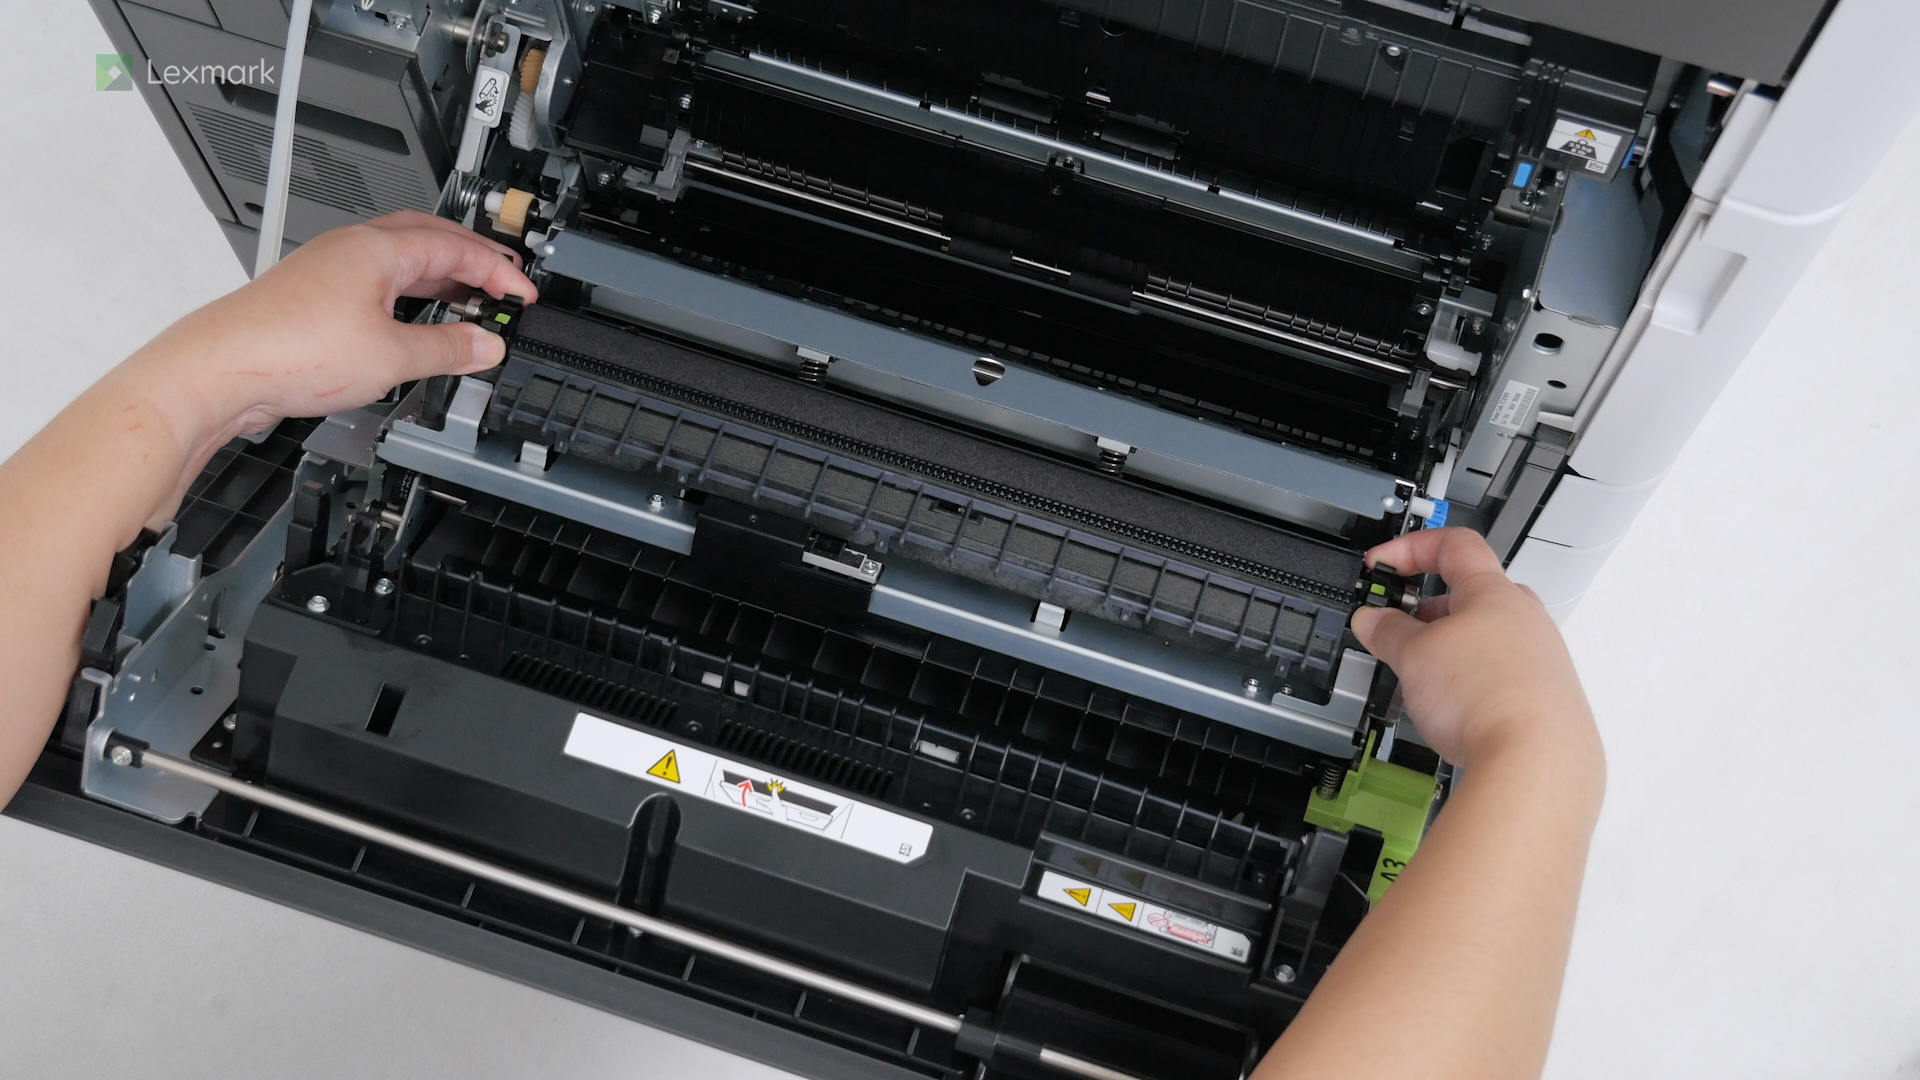
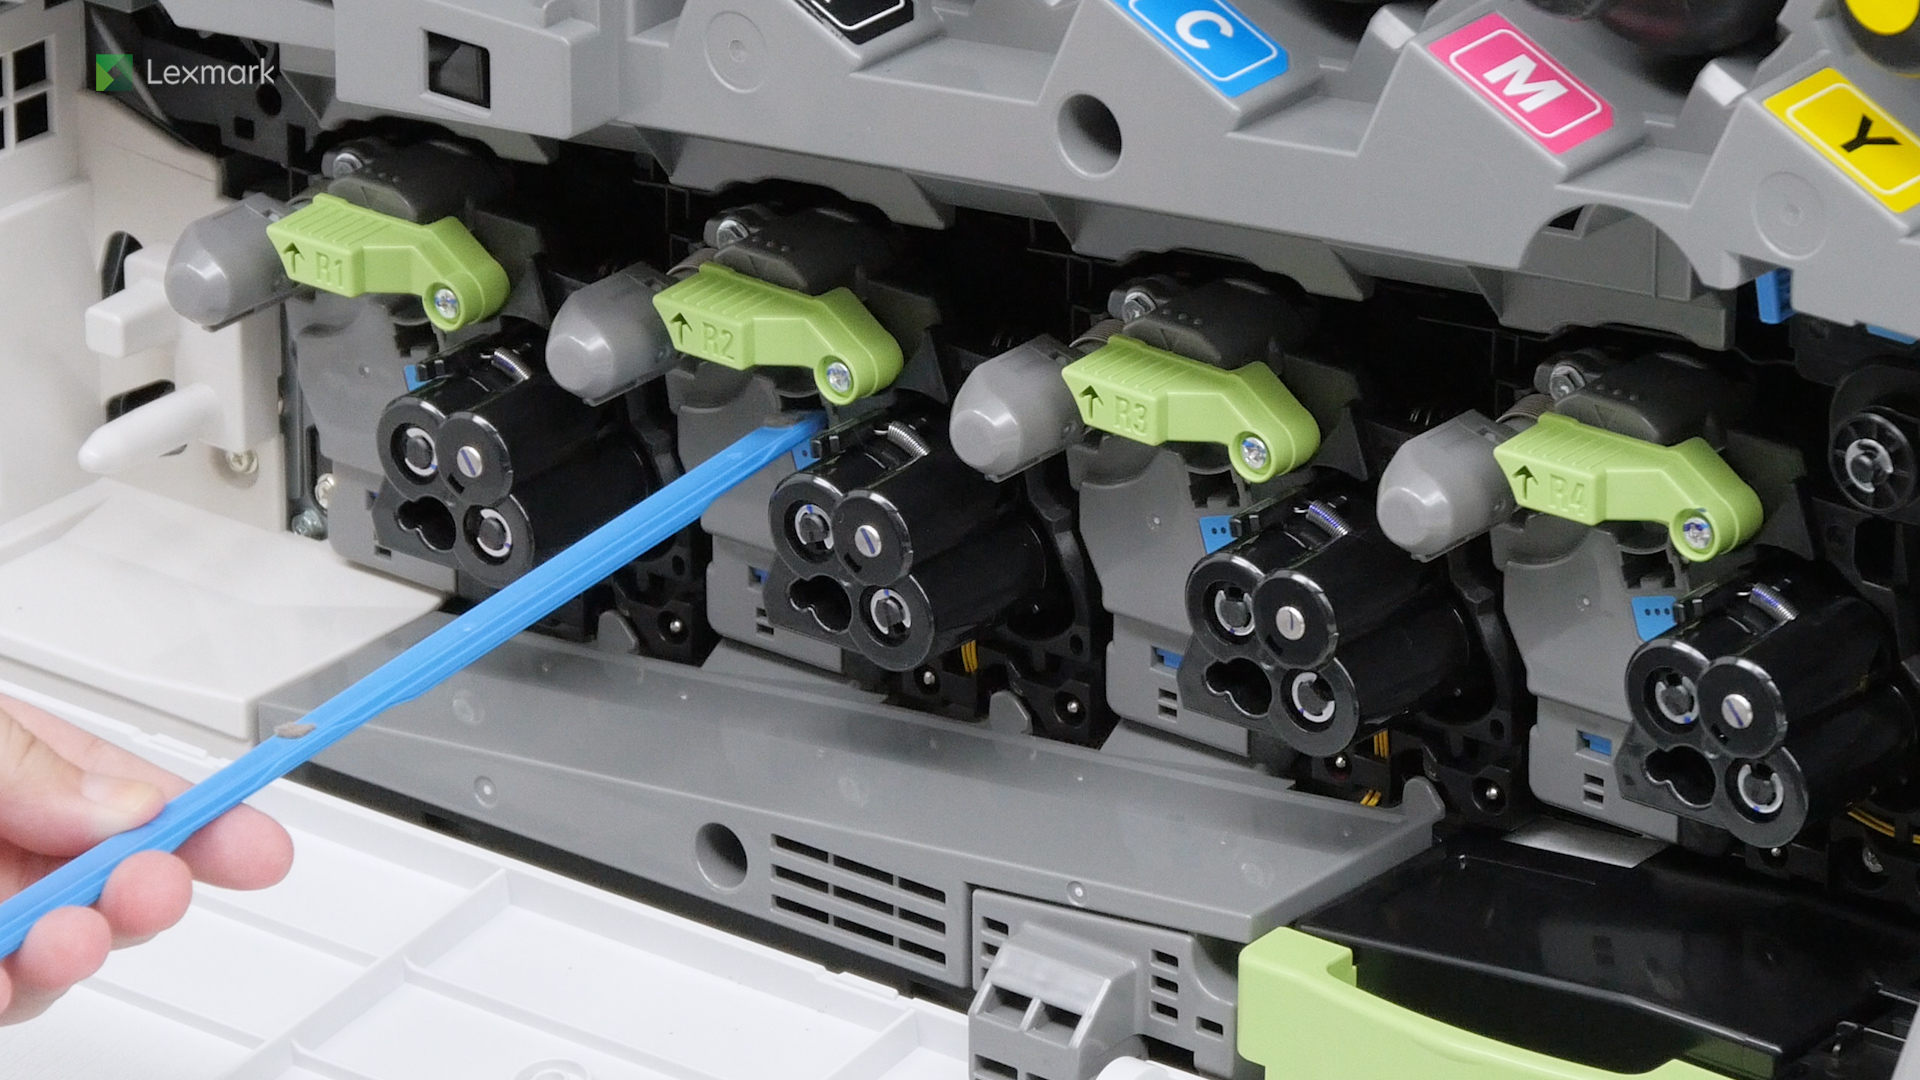
Change the second transfer roller regularly to prevent toner leaks.
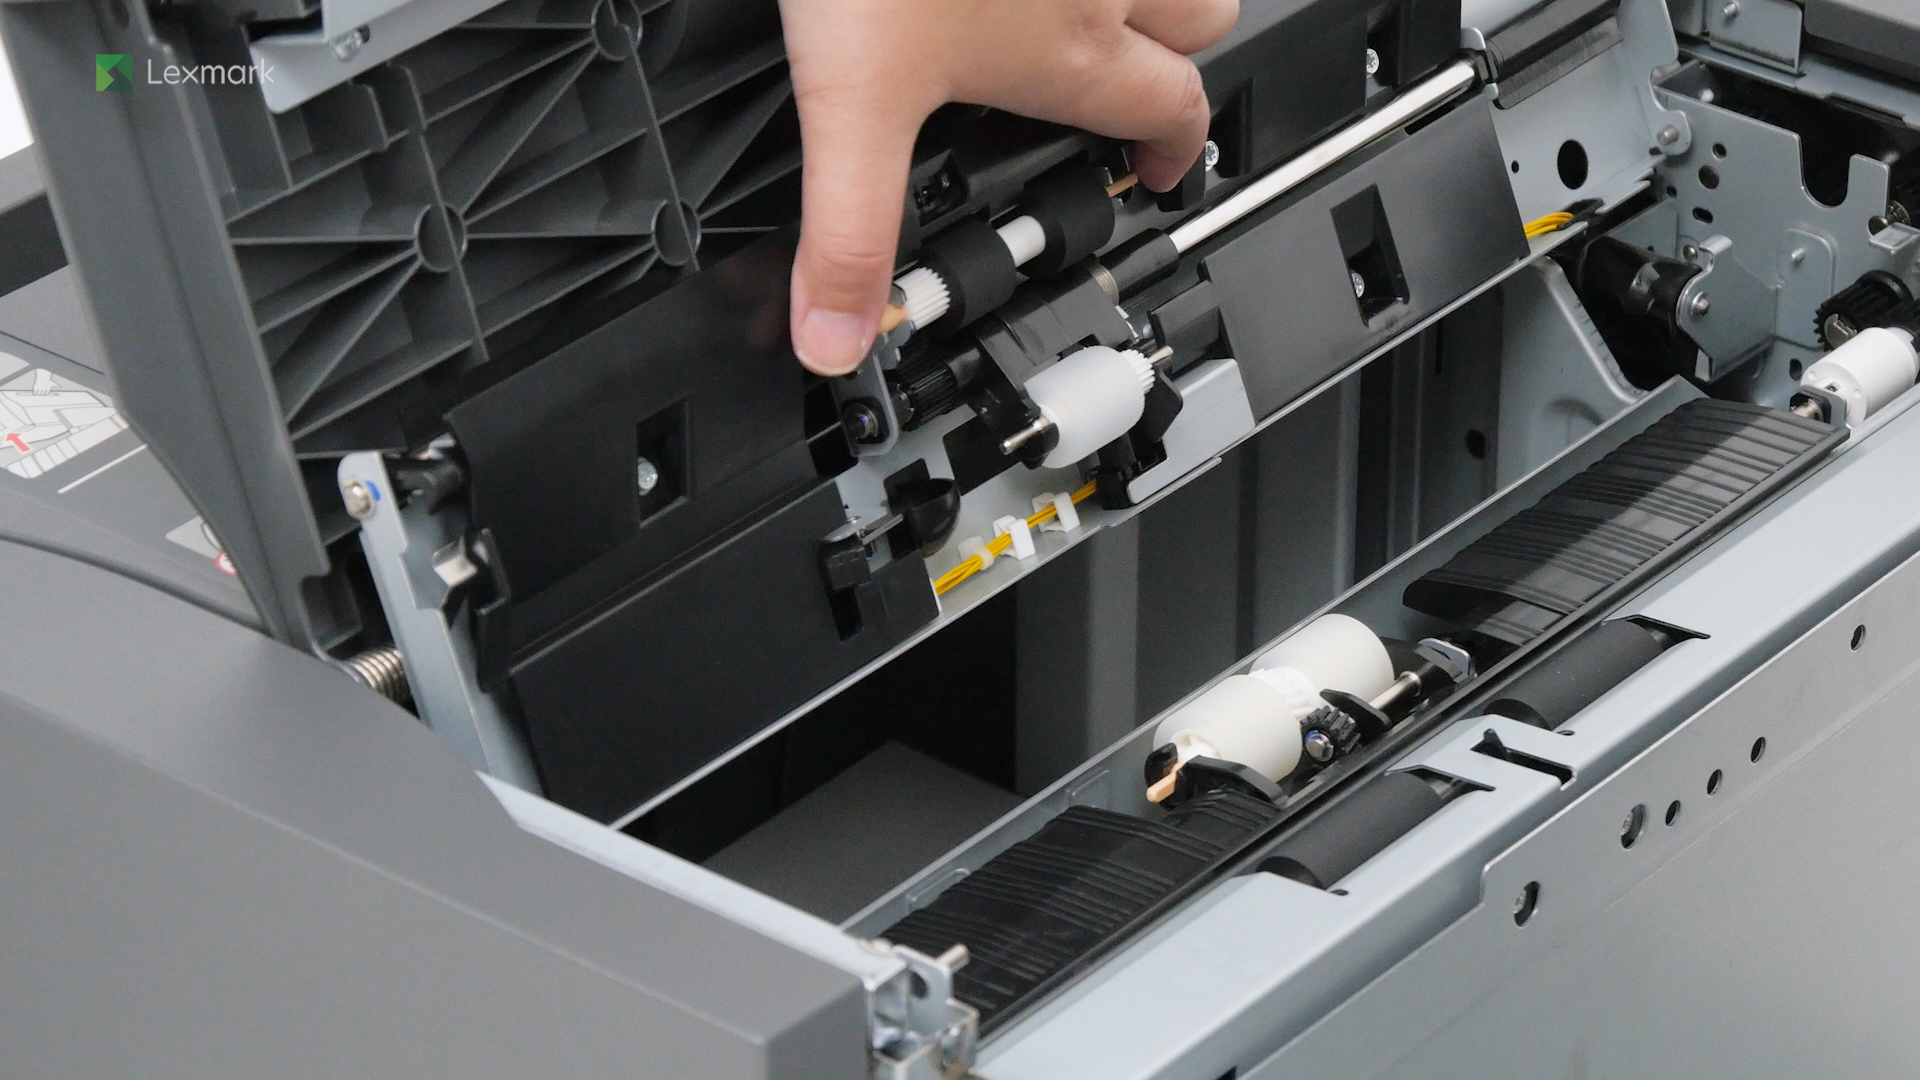
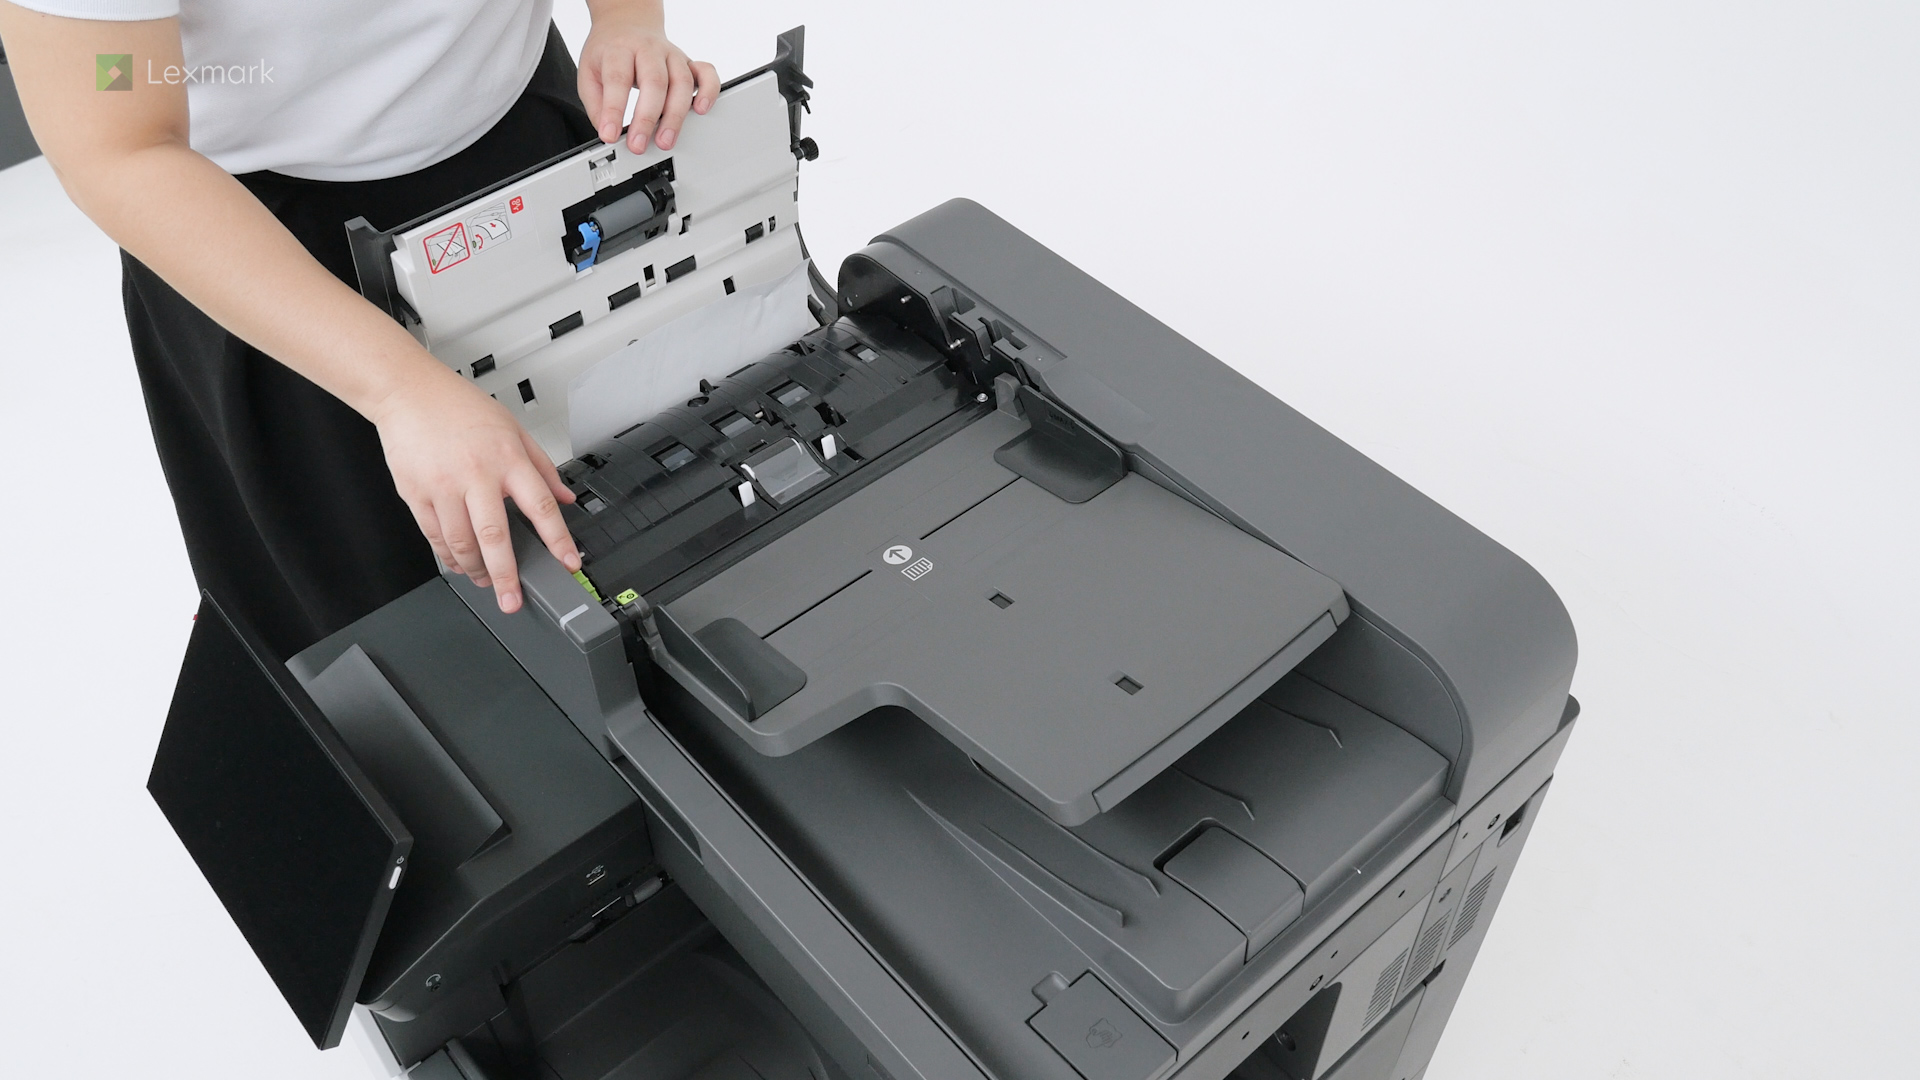
Change the ADF roller kit to prevent jams and other paper feed problems.
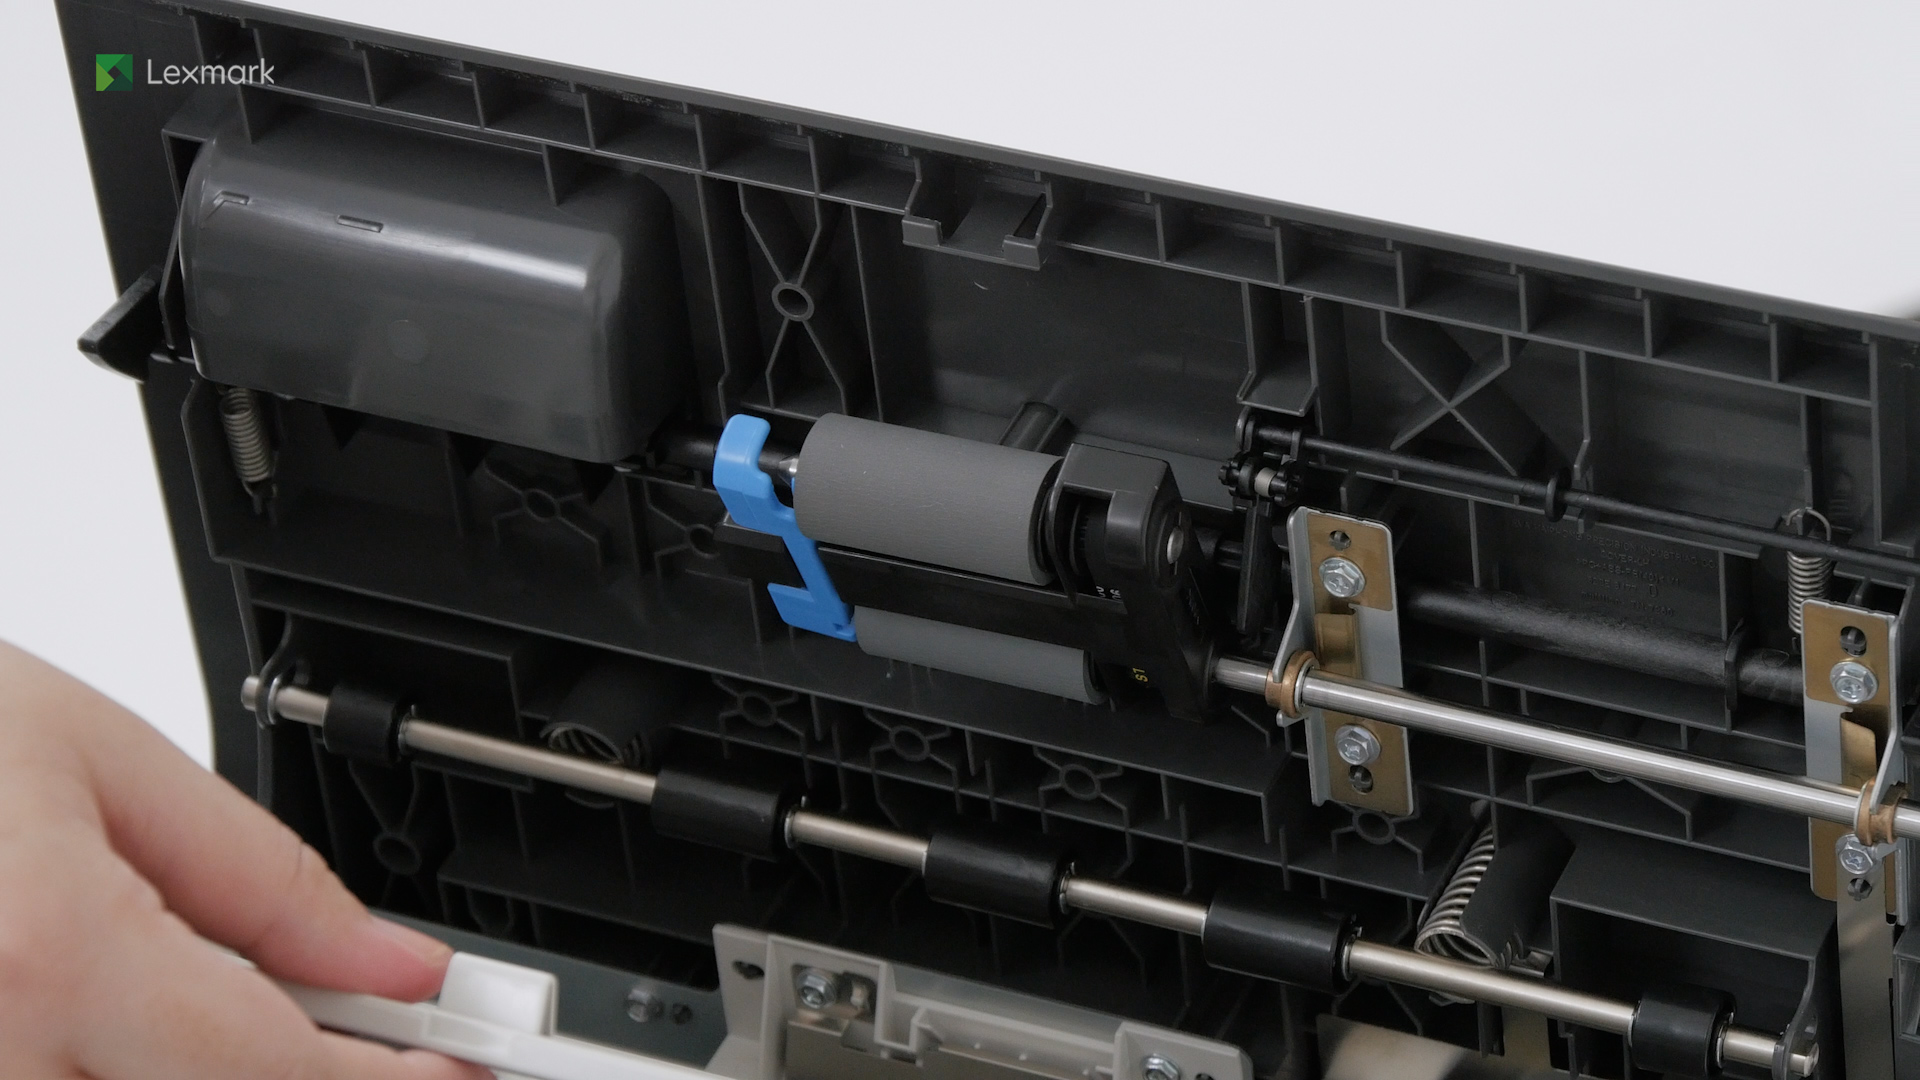
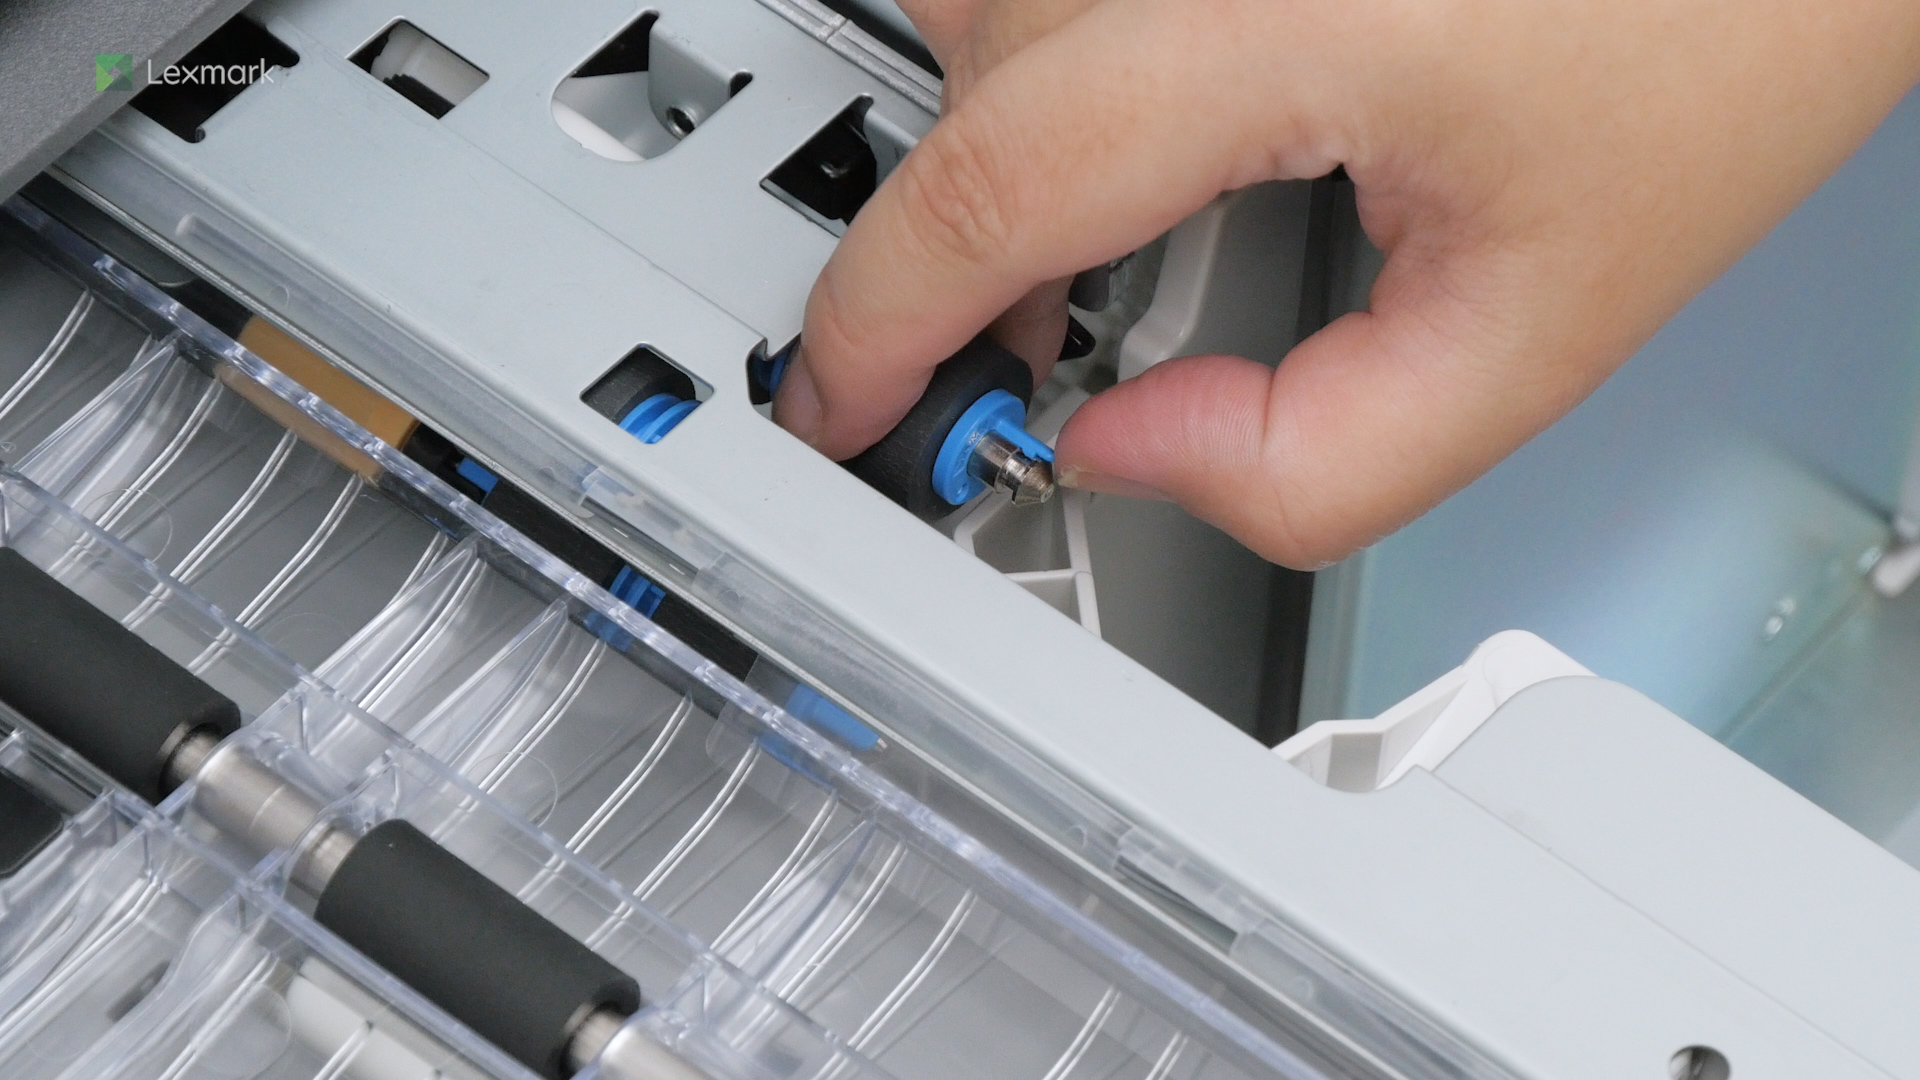
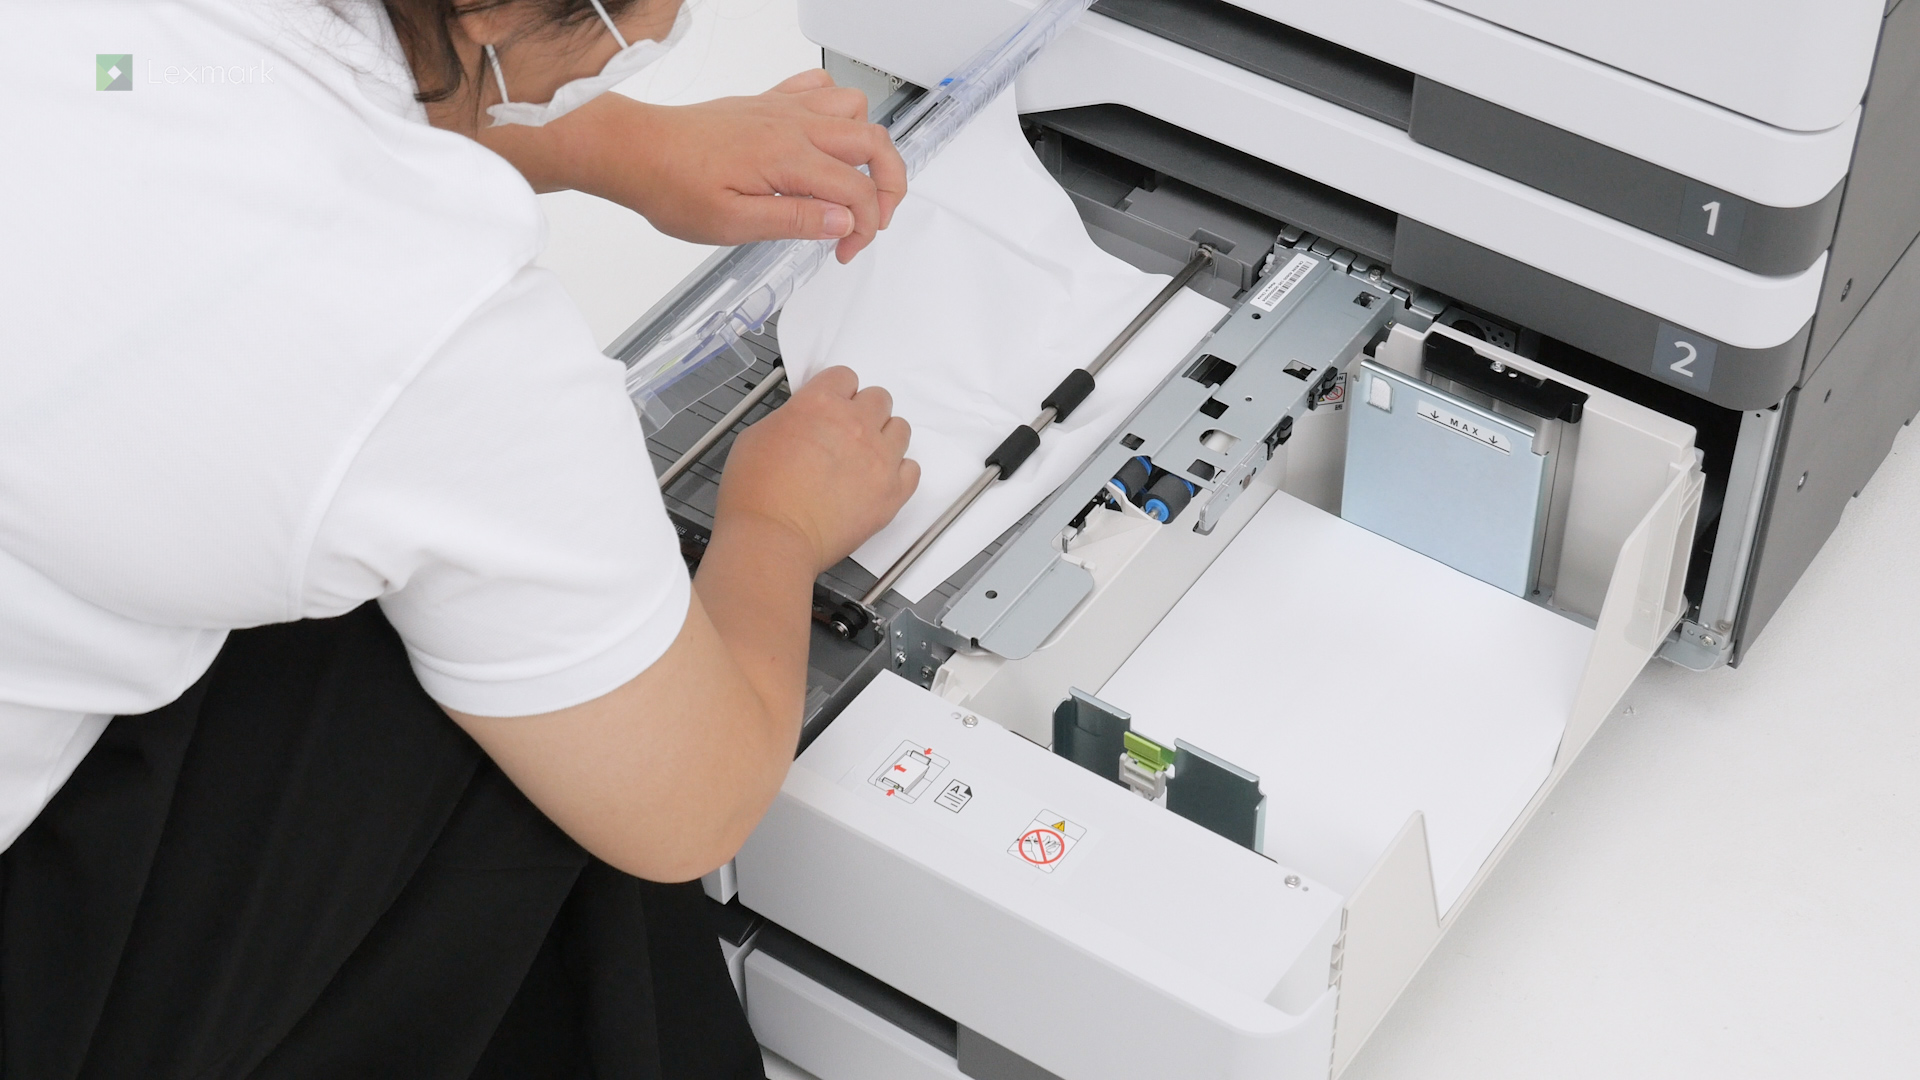
Changing the tray roller kit can help prevent paper feed problems from happening again.
Change the roller kit for the 2000-sheet tray regularly to prevent jams and other paper feed problems.
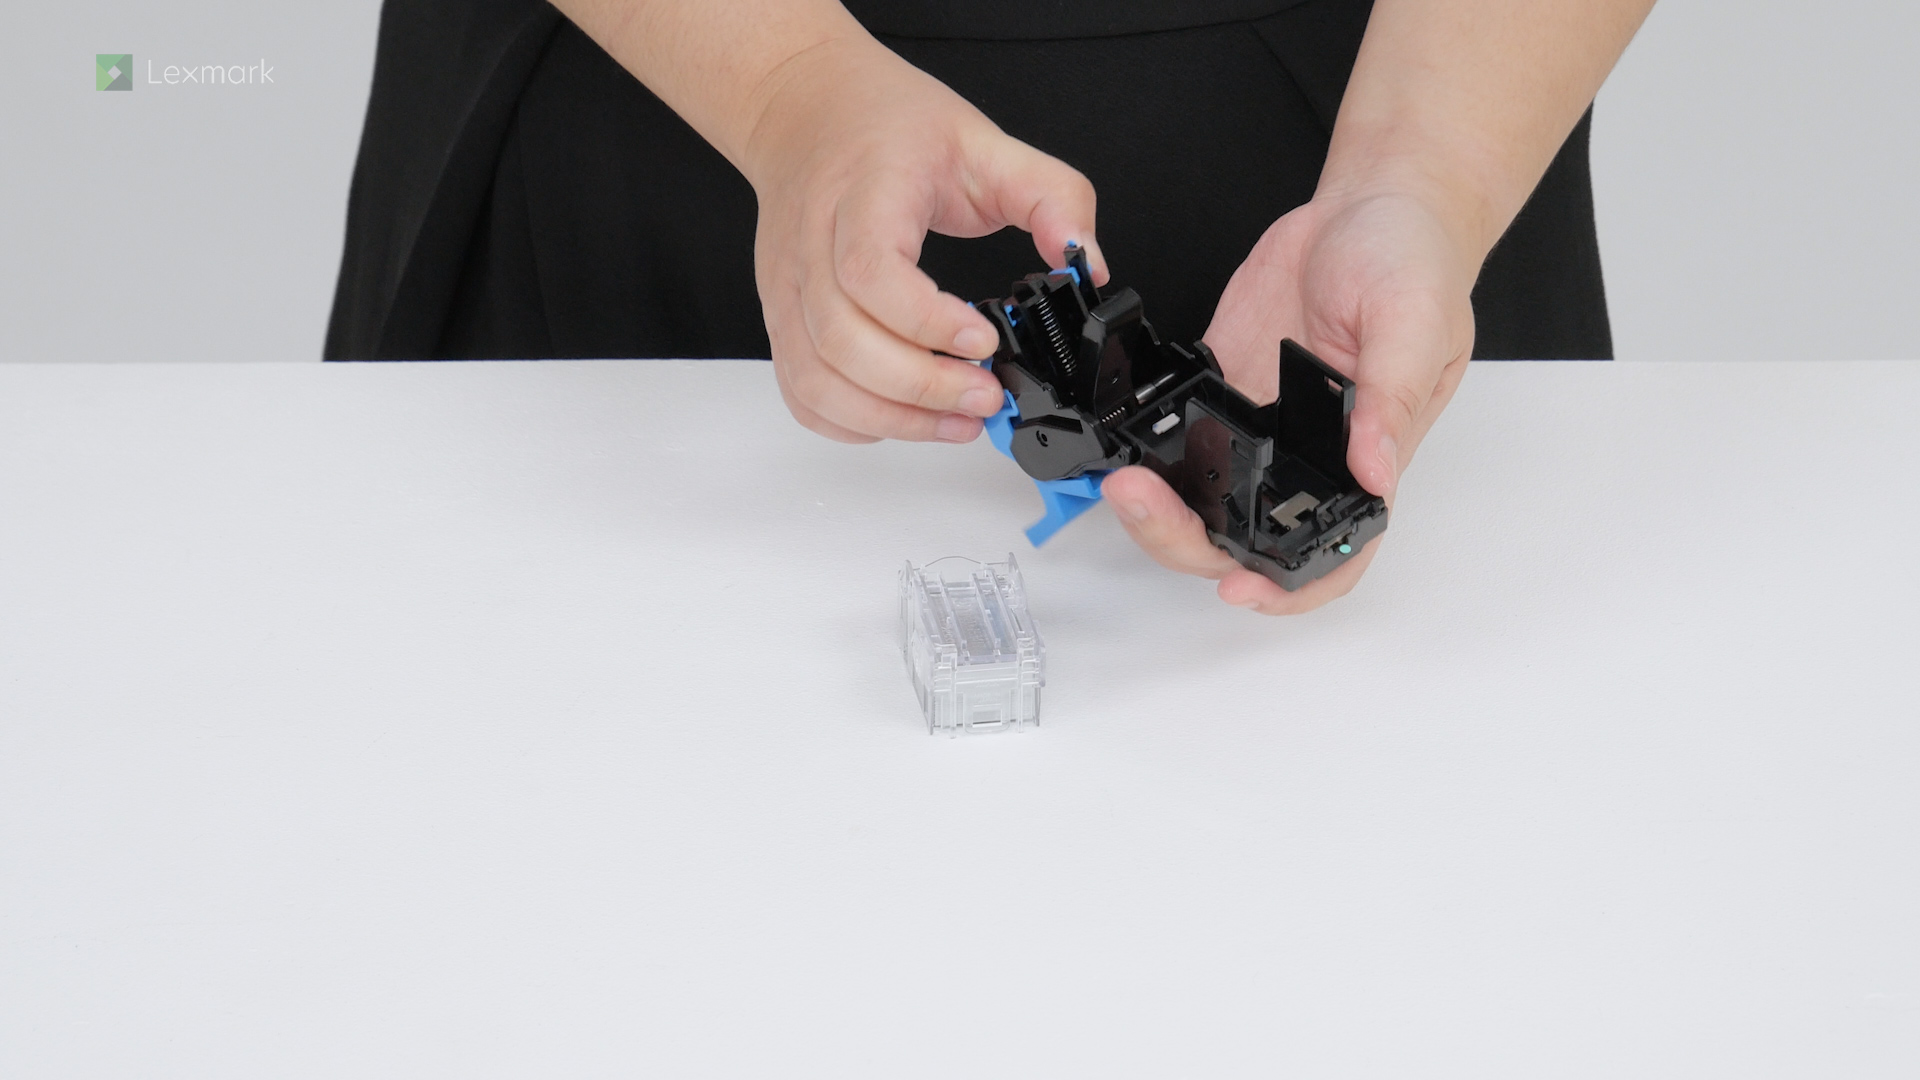
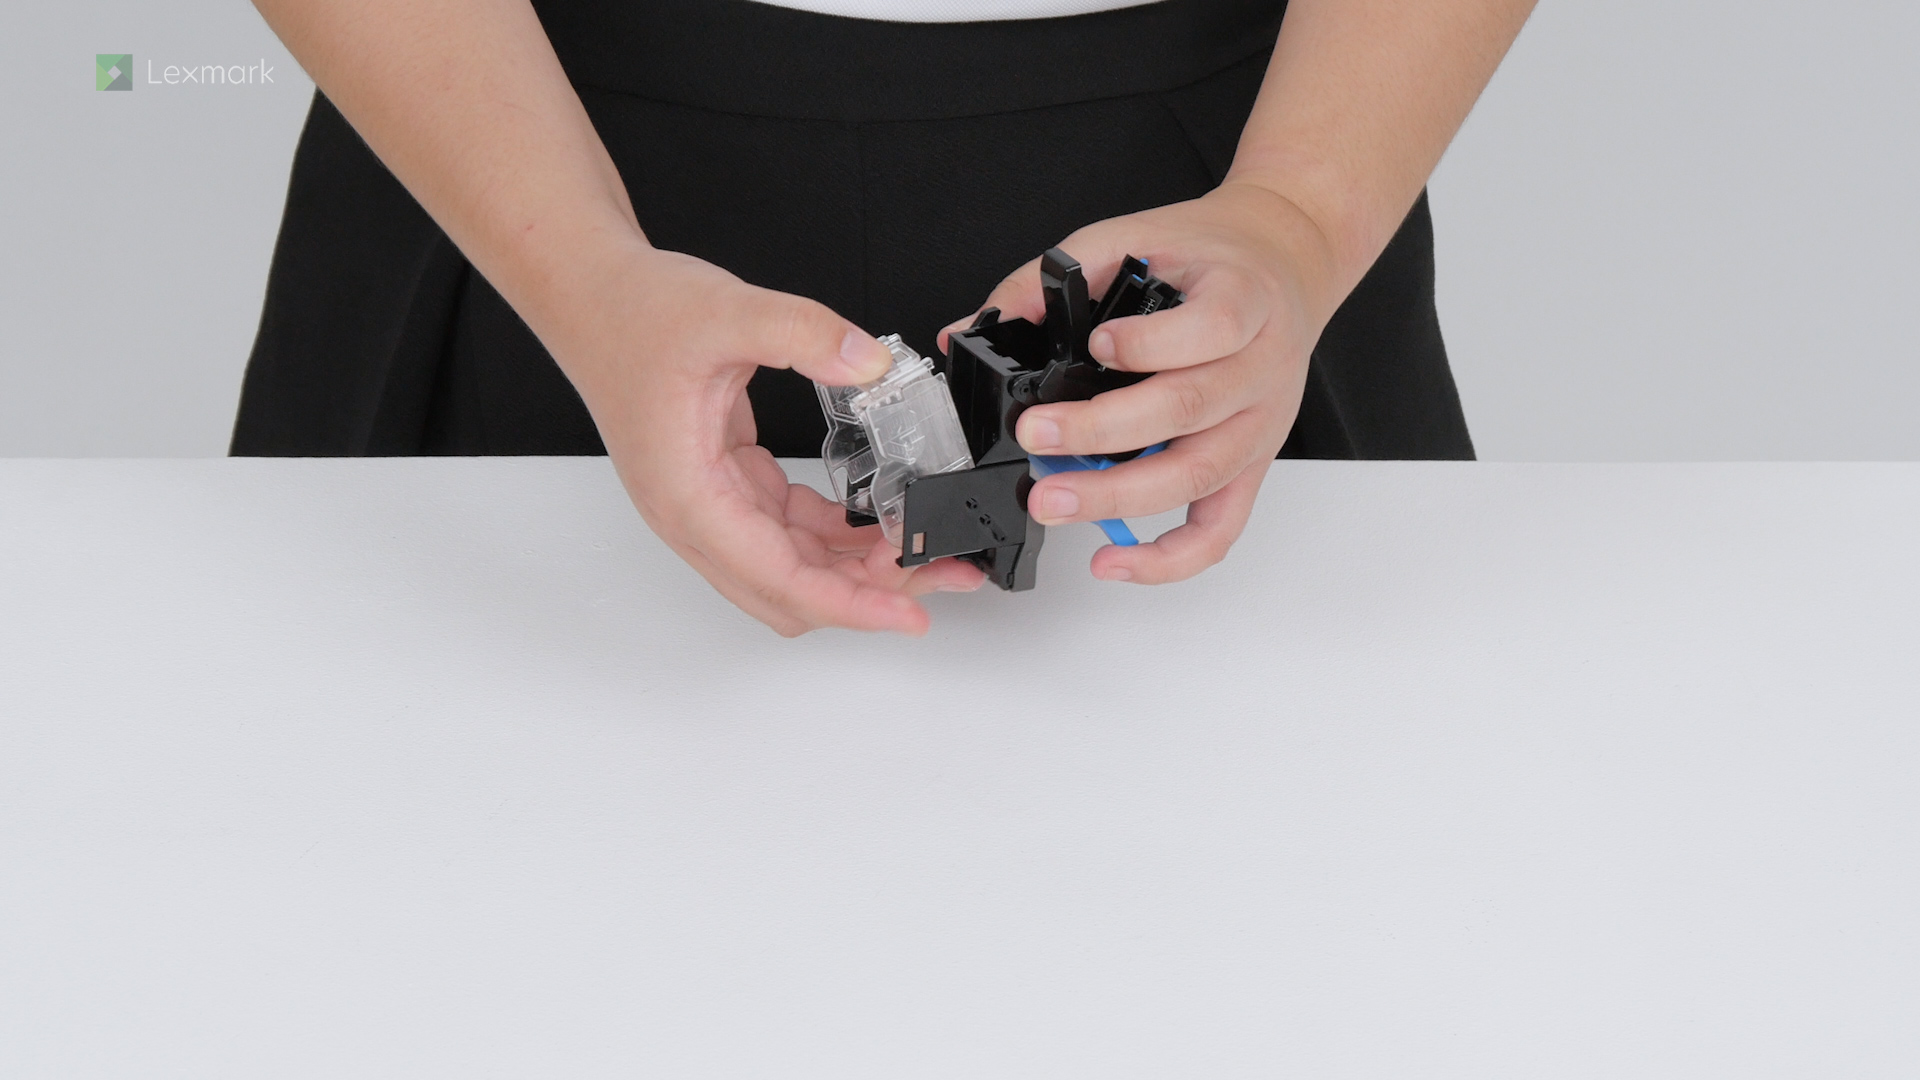
Replace the used staple cartridge holder in the booklet maker to continue the automatic stapling of your documents.
Replace the used staple cartridge holder in the staple finisher, staple, hole punch finisher, or booklet finisher to continue the automatic stapling of your documents.
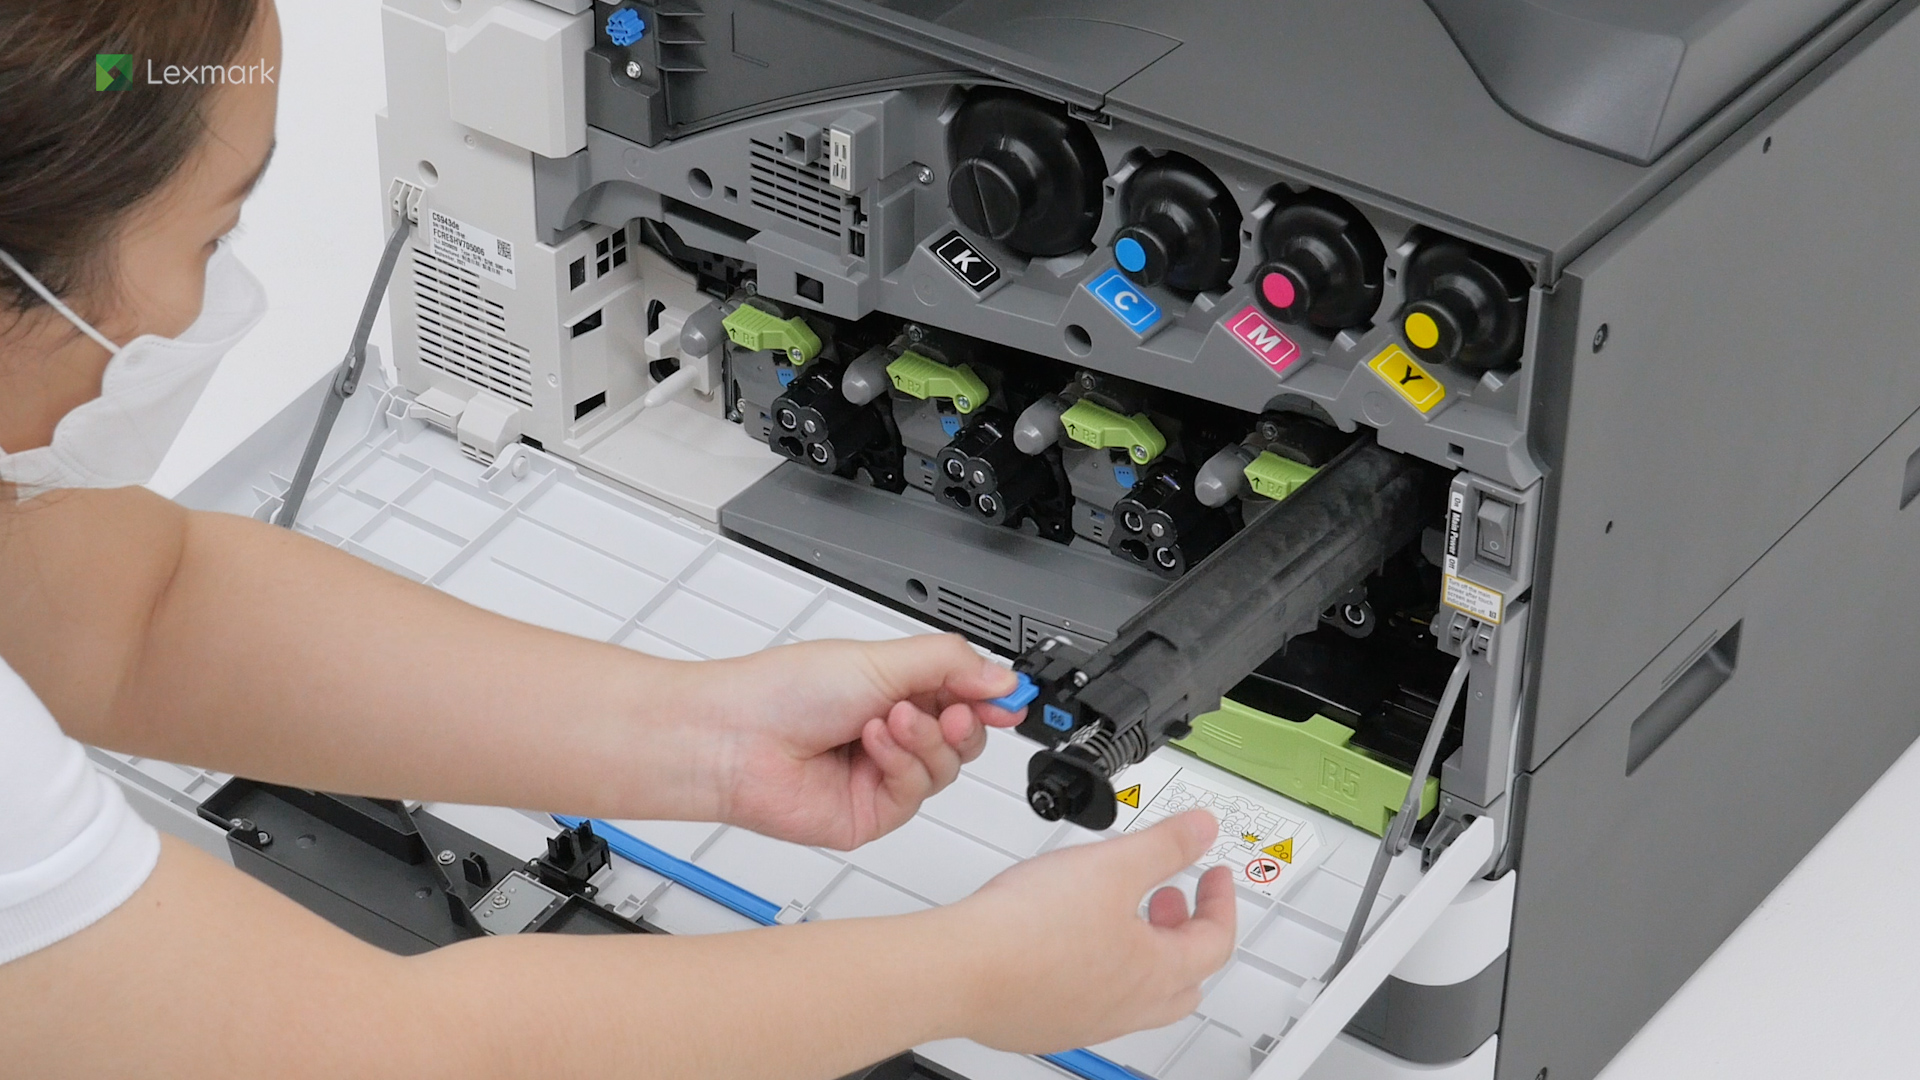
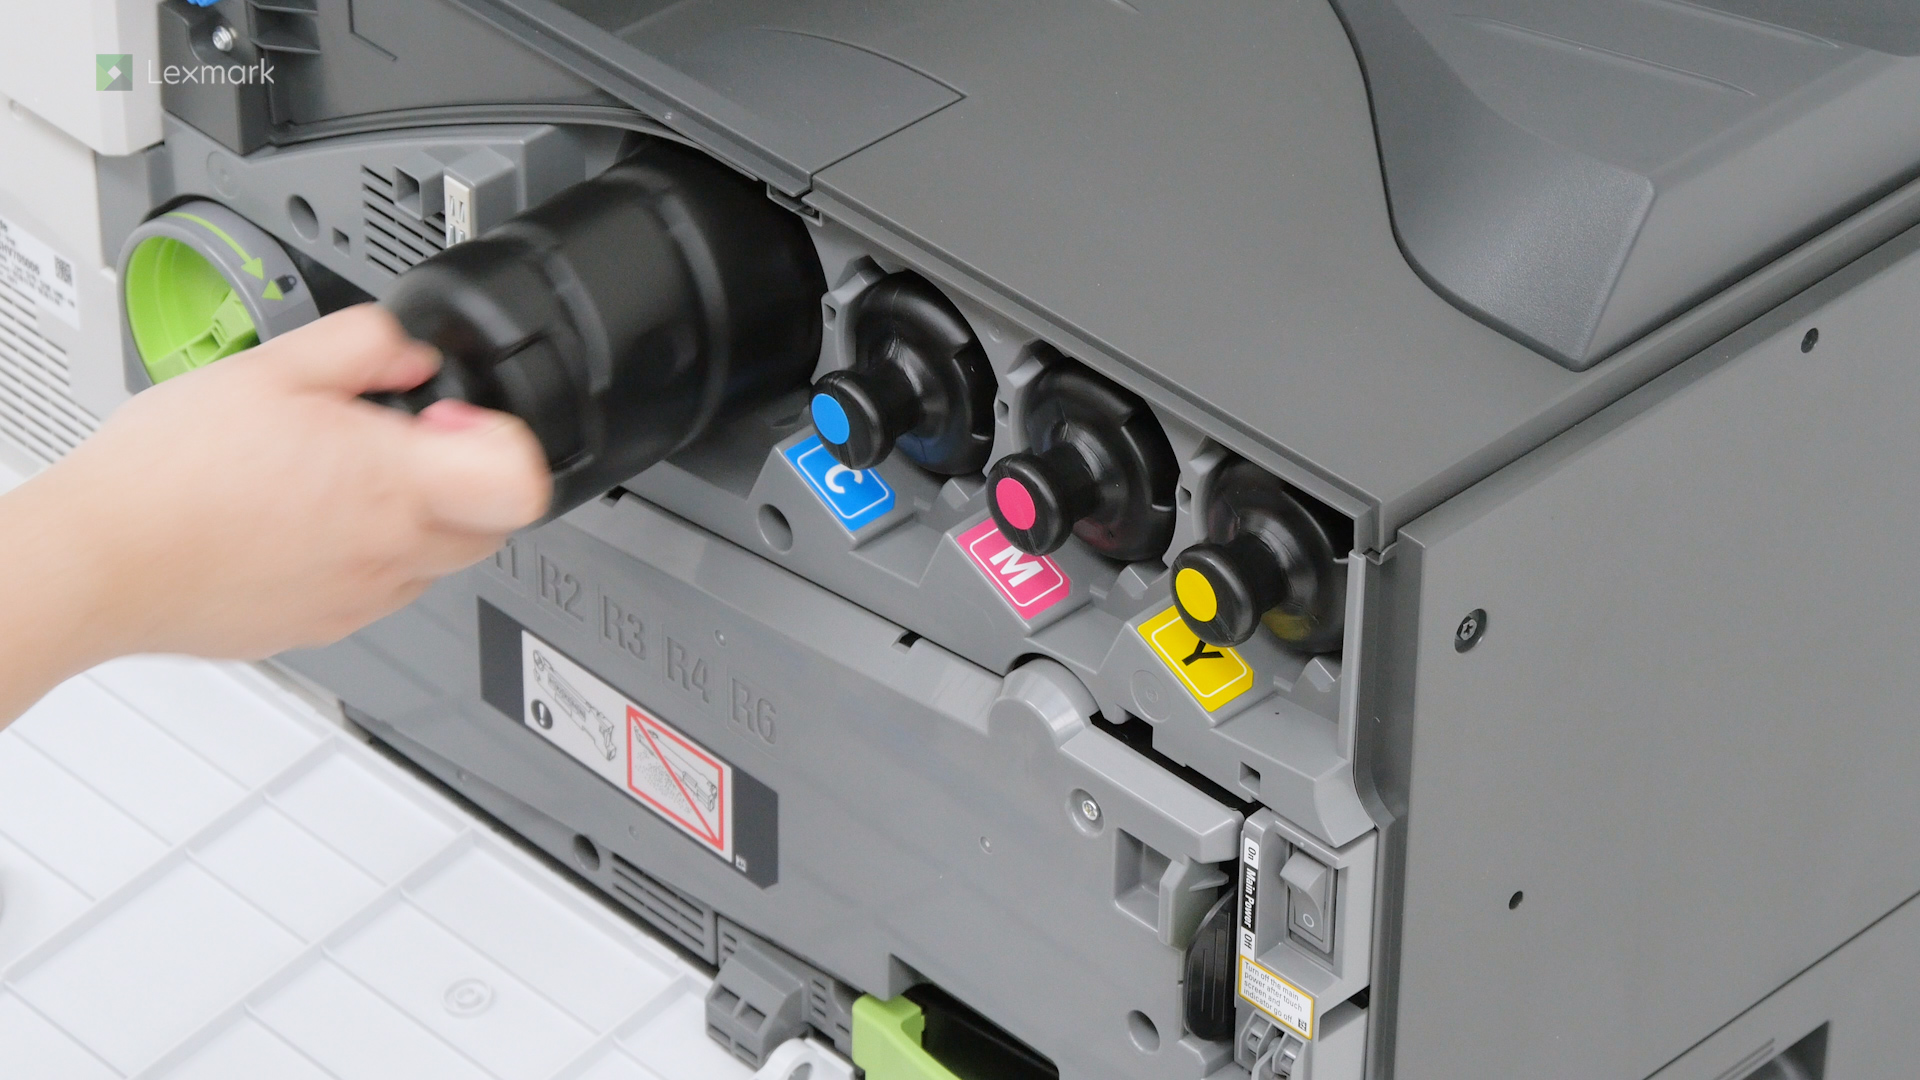
Install a new toner cartridge when the replace cartridge message appears for the affected color.
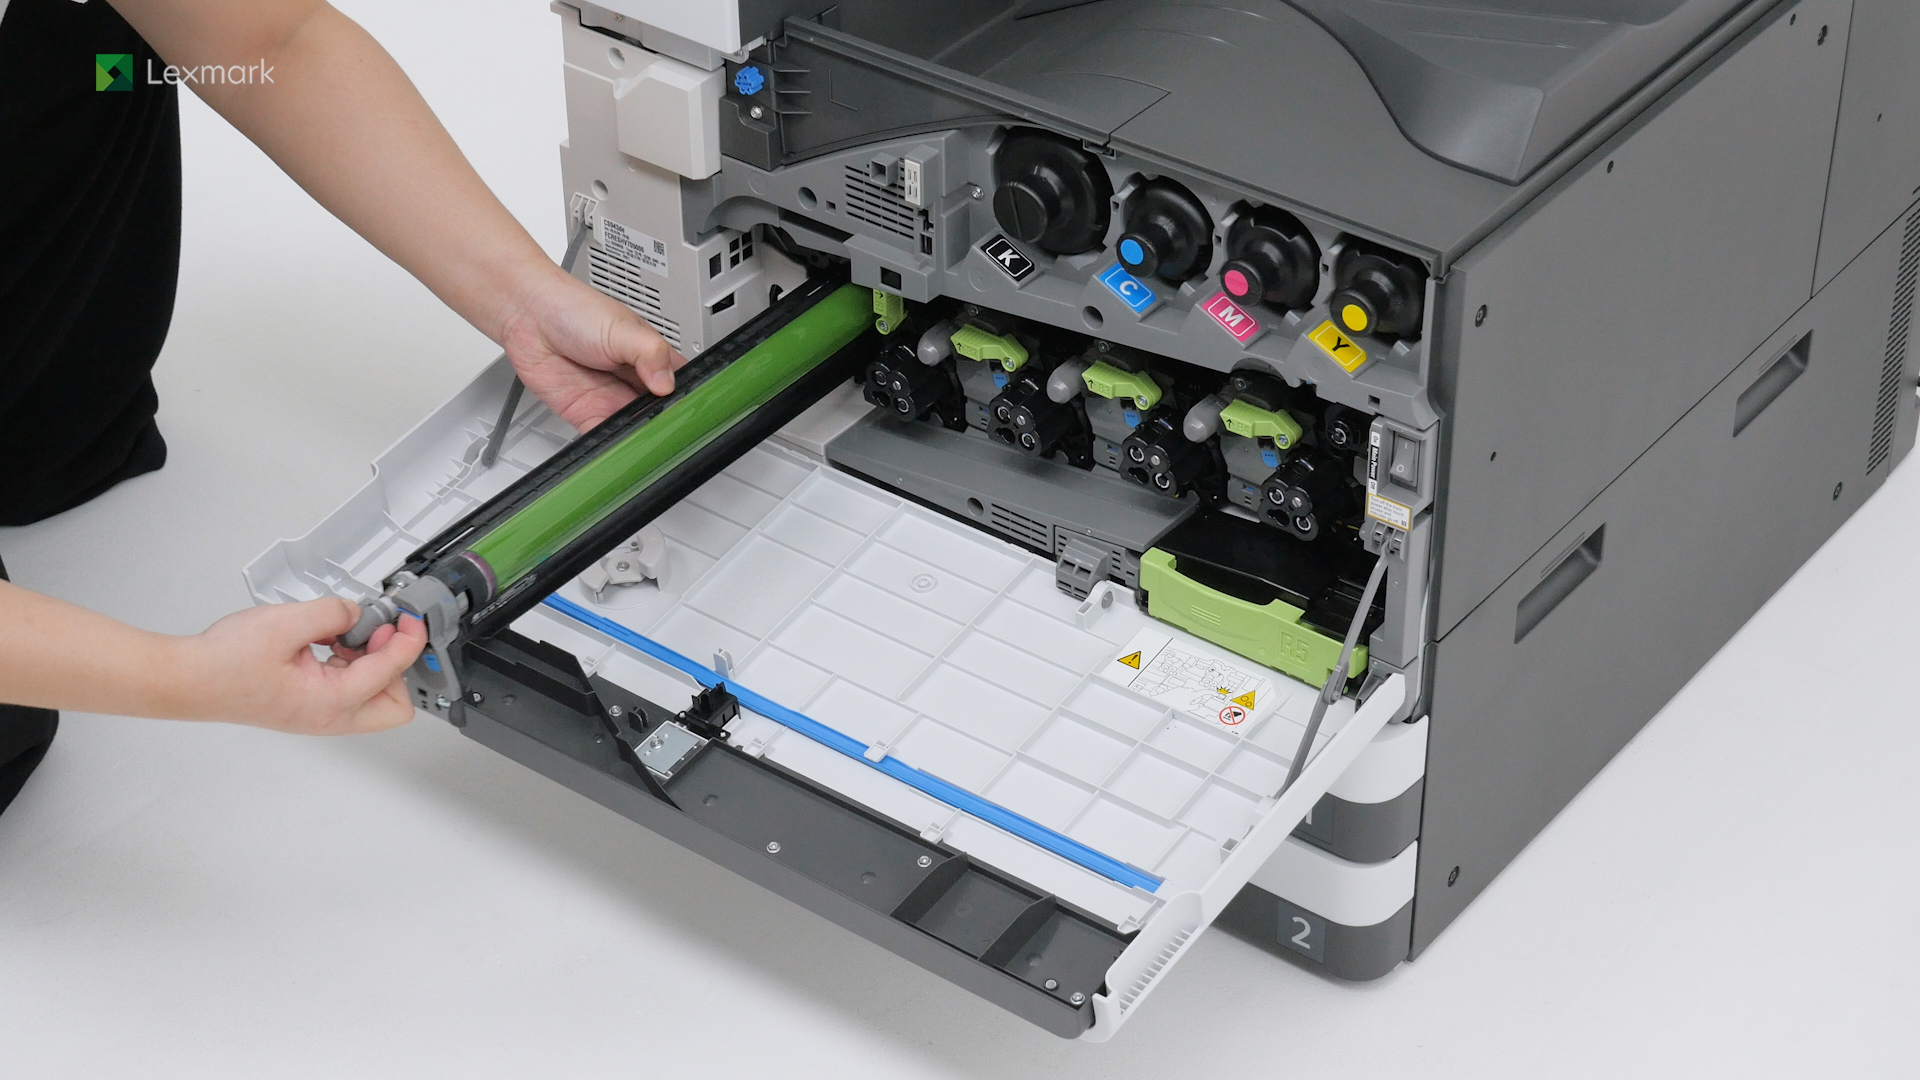
Install a new photoconductor unit when you continue to see faded prints.
Prevent excess toner powder from falling freely into the printer. Change the waste toner bottle when it is full.
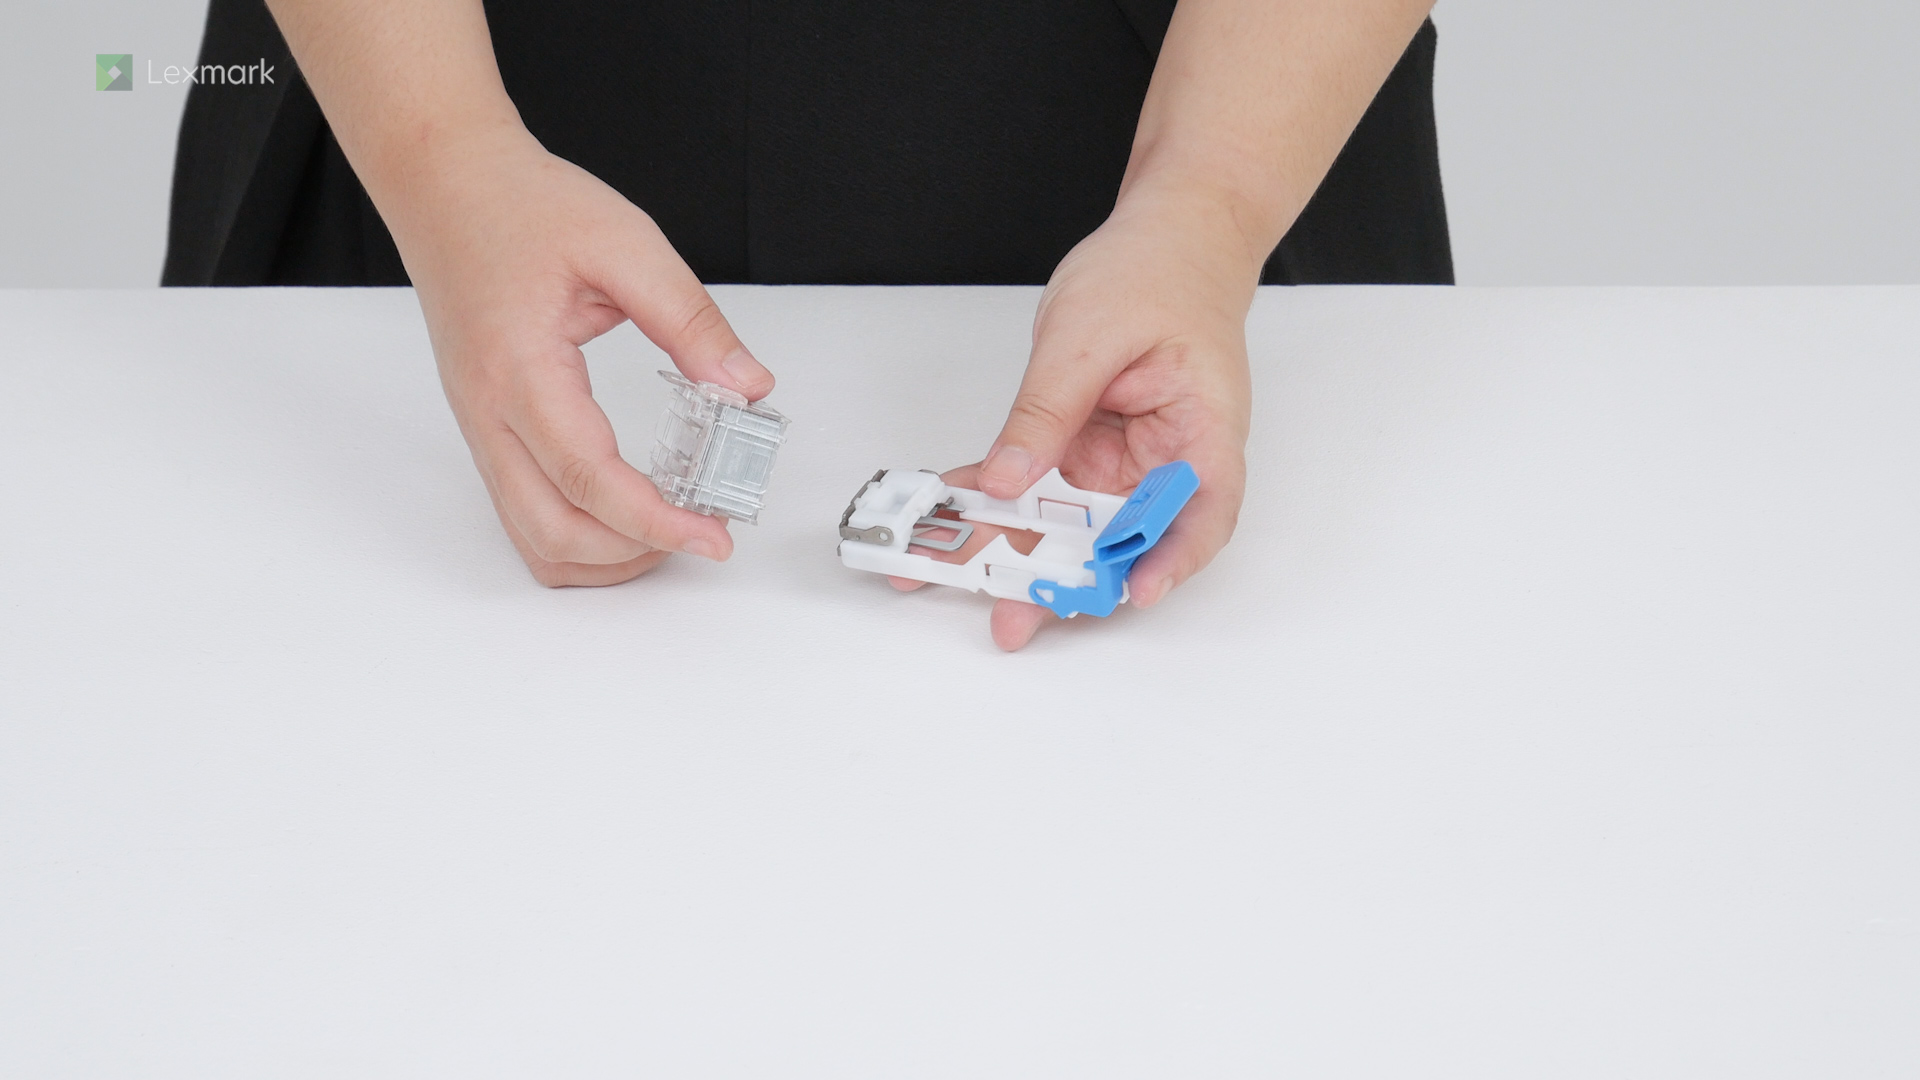
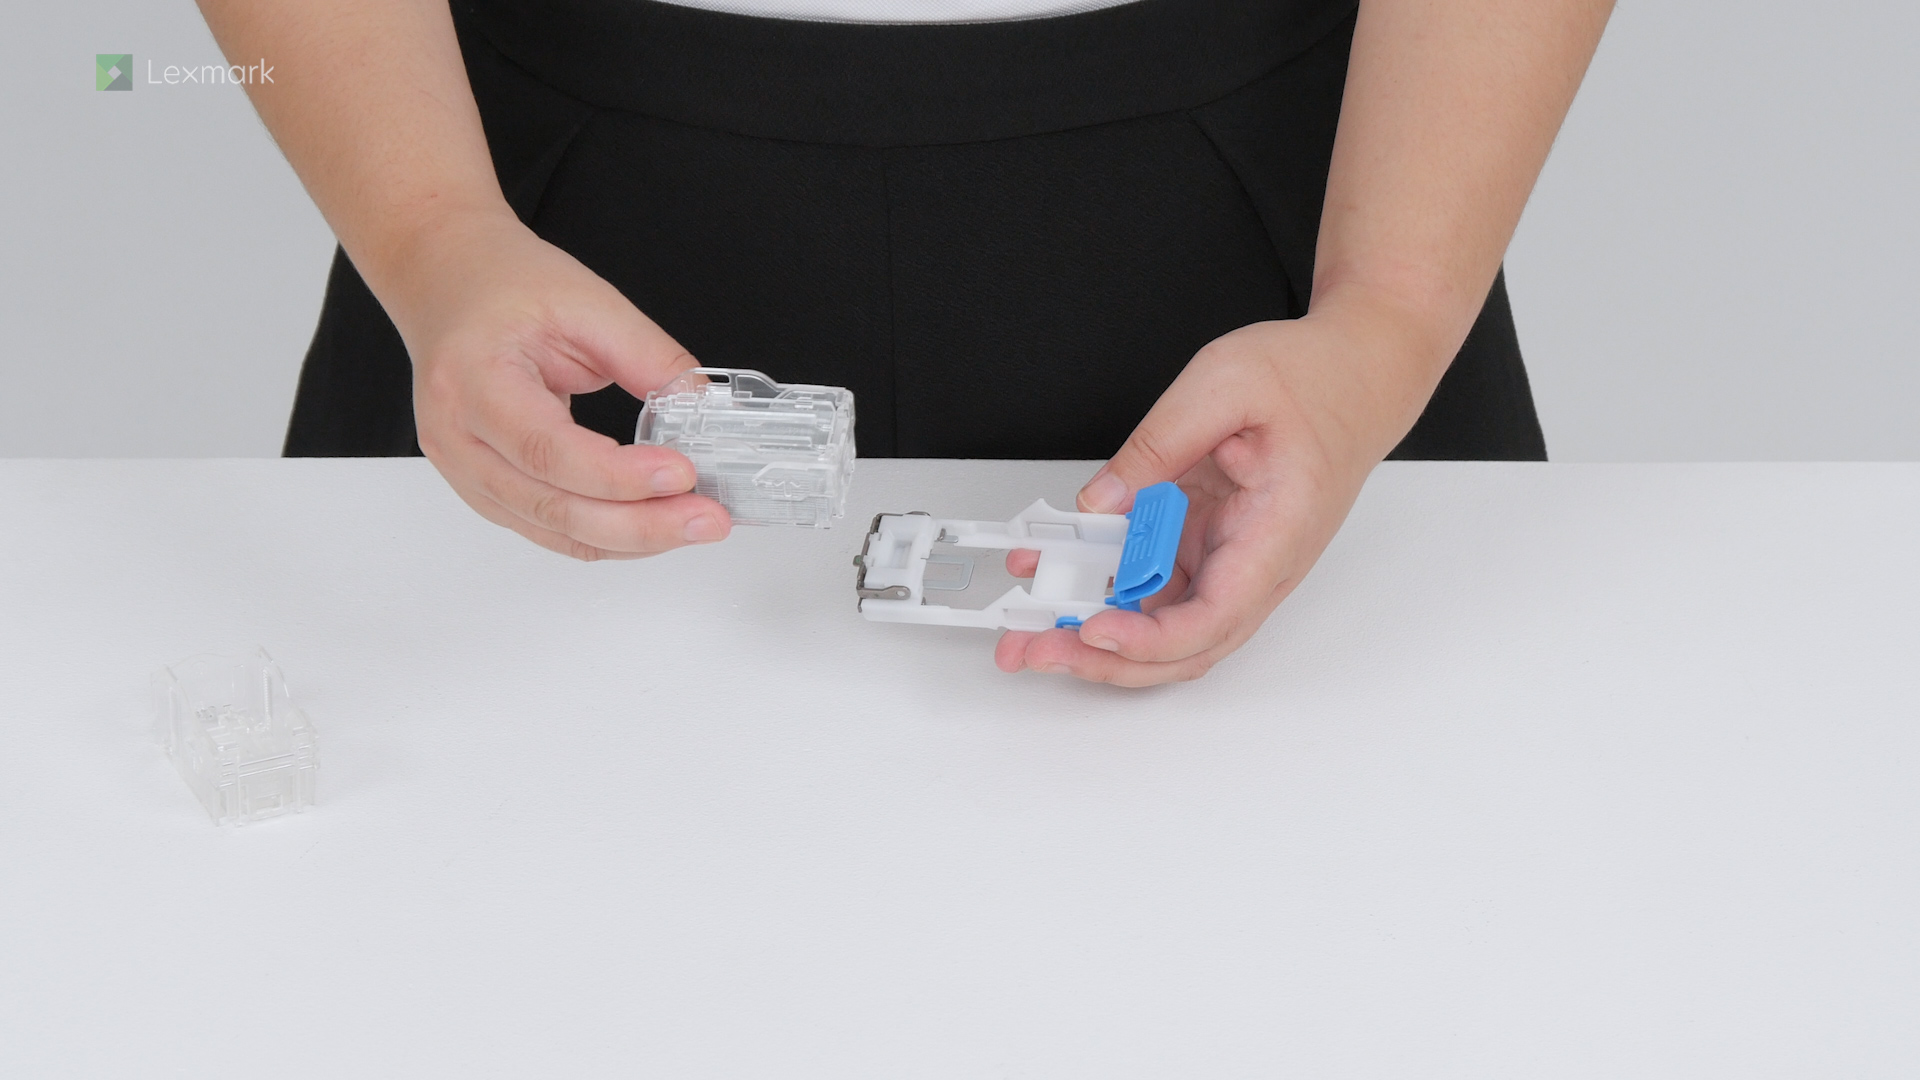
Replace the empty staple cartridge in the finisher to continue the automatic stapling of your documents.
Replace the empty staple cartridge in the booklet maker to continue the automatic stapling of your documents.
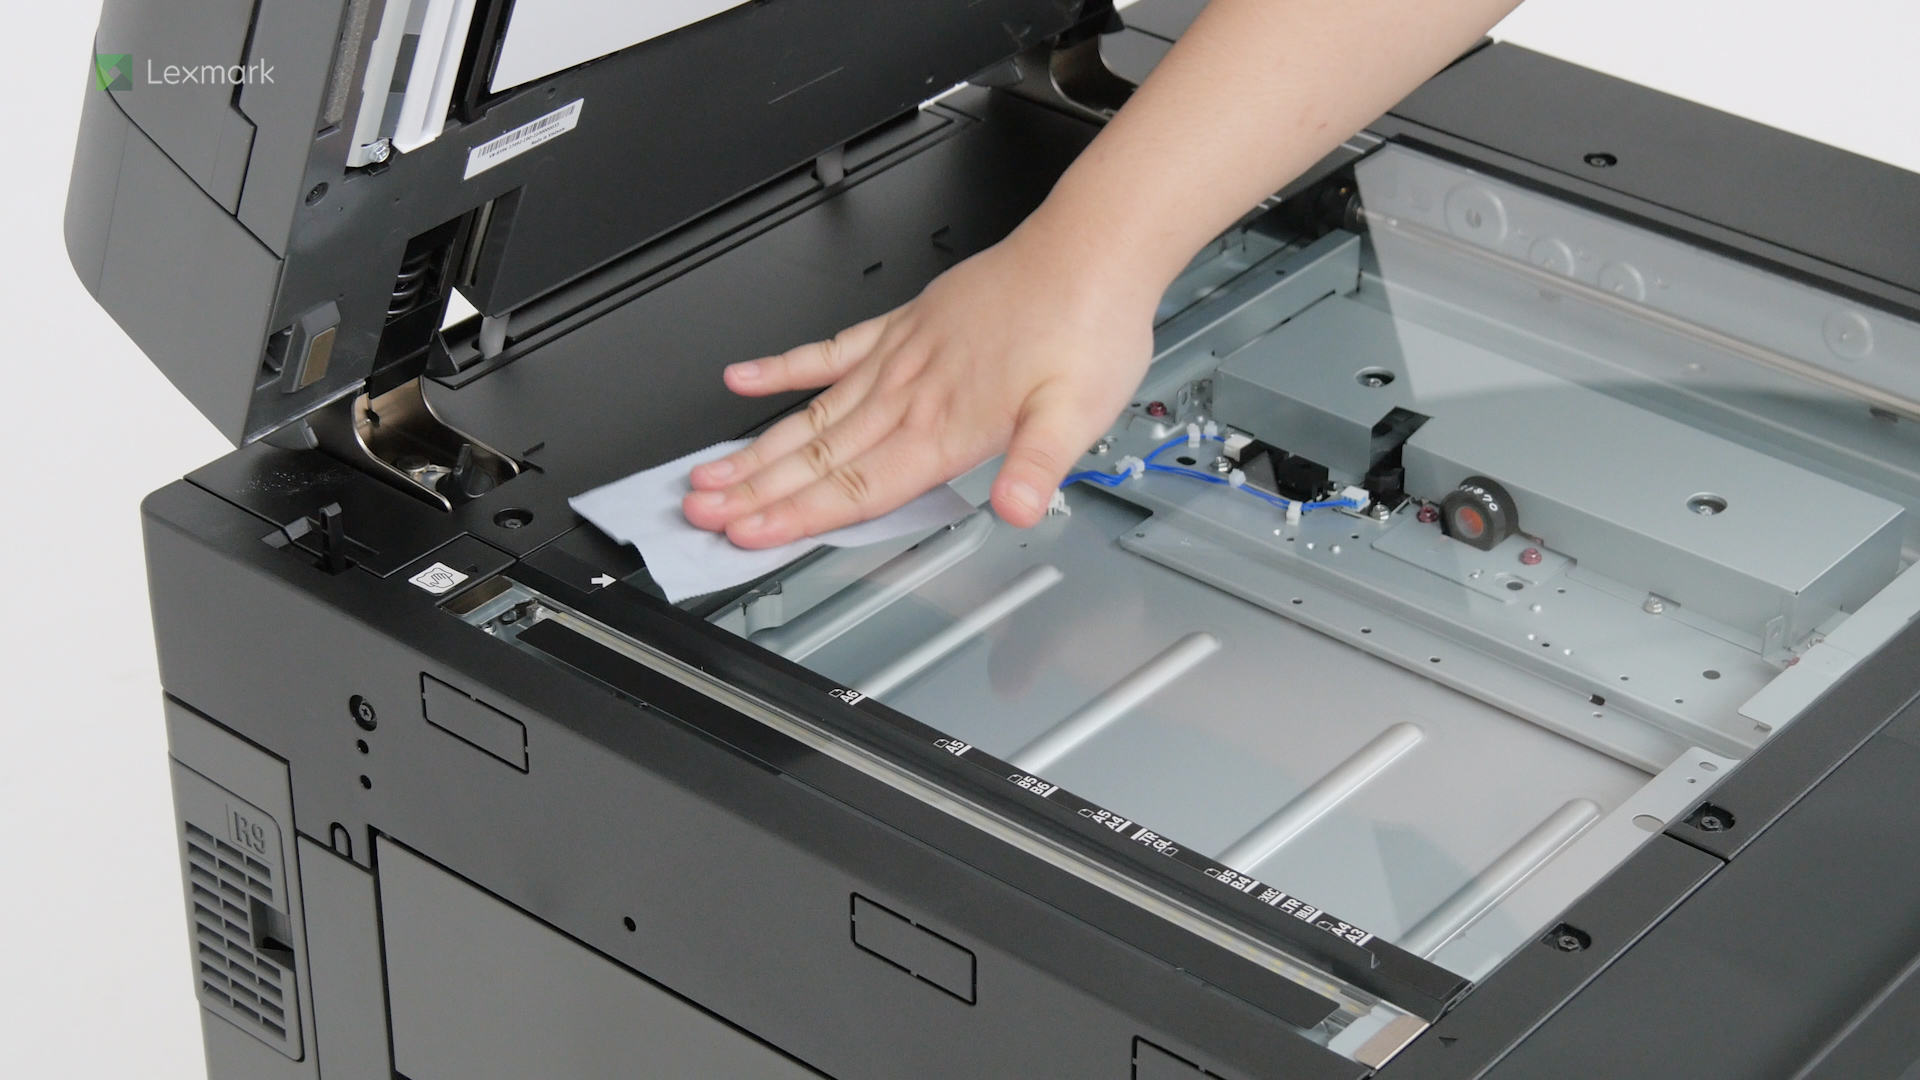
Clean your scanner periodically to avoid getting blurry and faded scanned images or text.
Cleaning the tray roller kit regularly can help prevent paper feed problems from happening again.
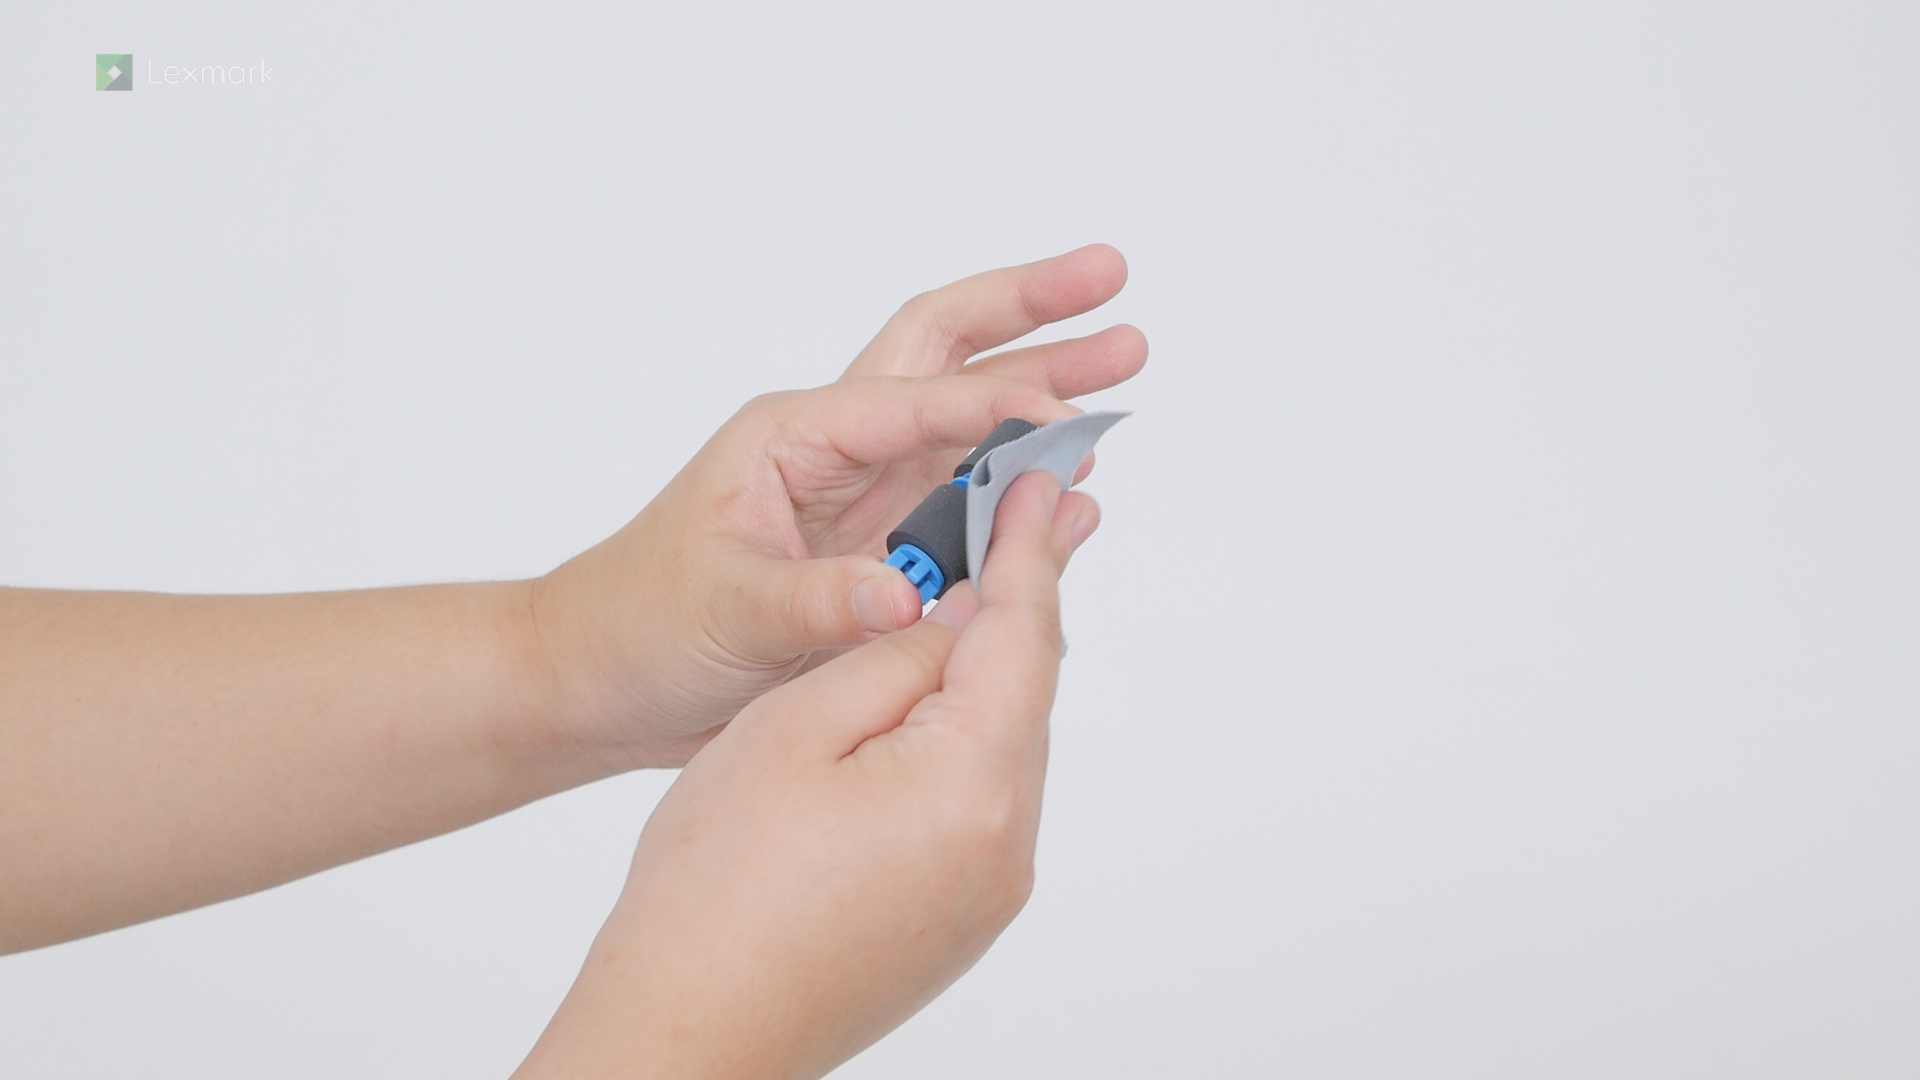
Clean the ADF roller kit regularly to prevent jams and other paper feed problems.
Clean the roller kit of the 2000-sheet tray regularly to prevent paper feed problems.
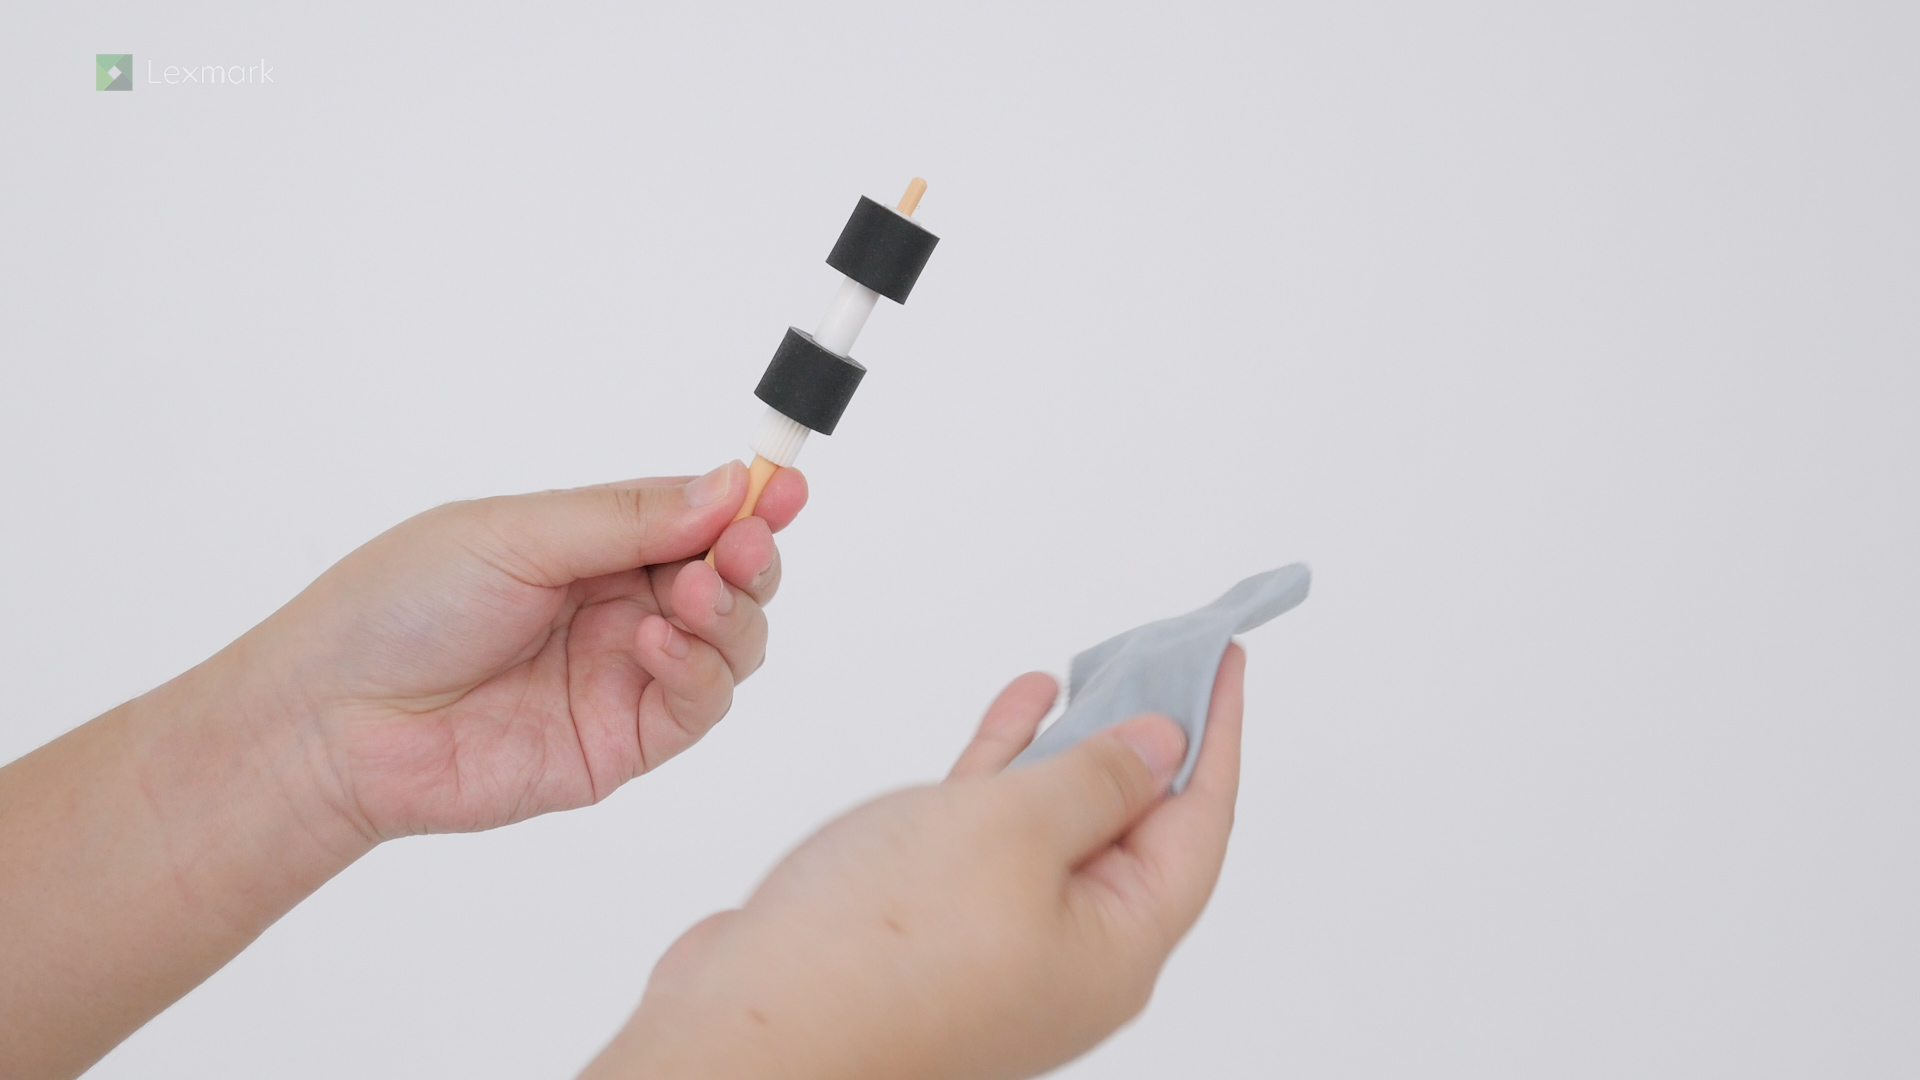
Clean the printhead lenses regularly to avoid streaks and lines in your prints.
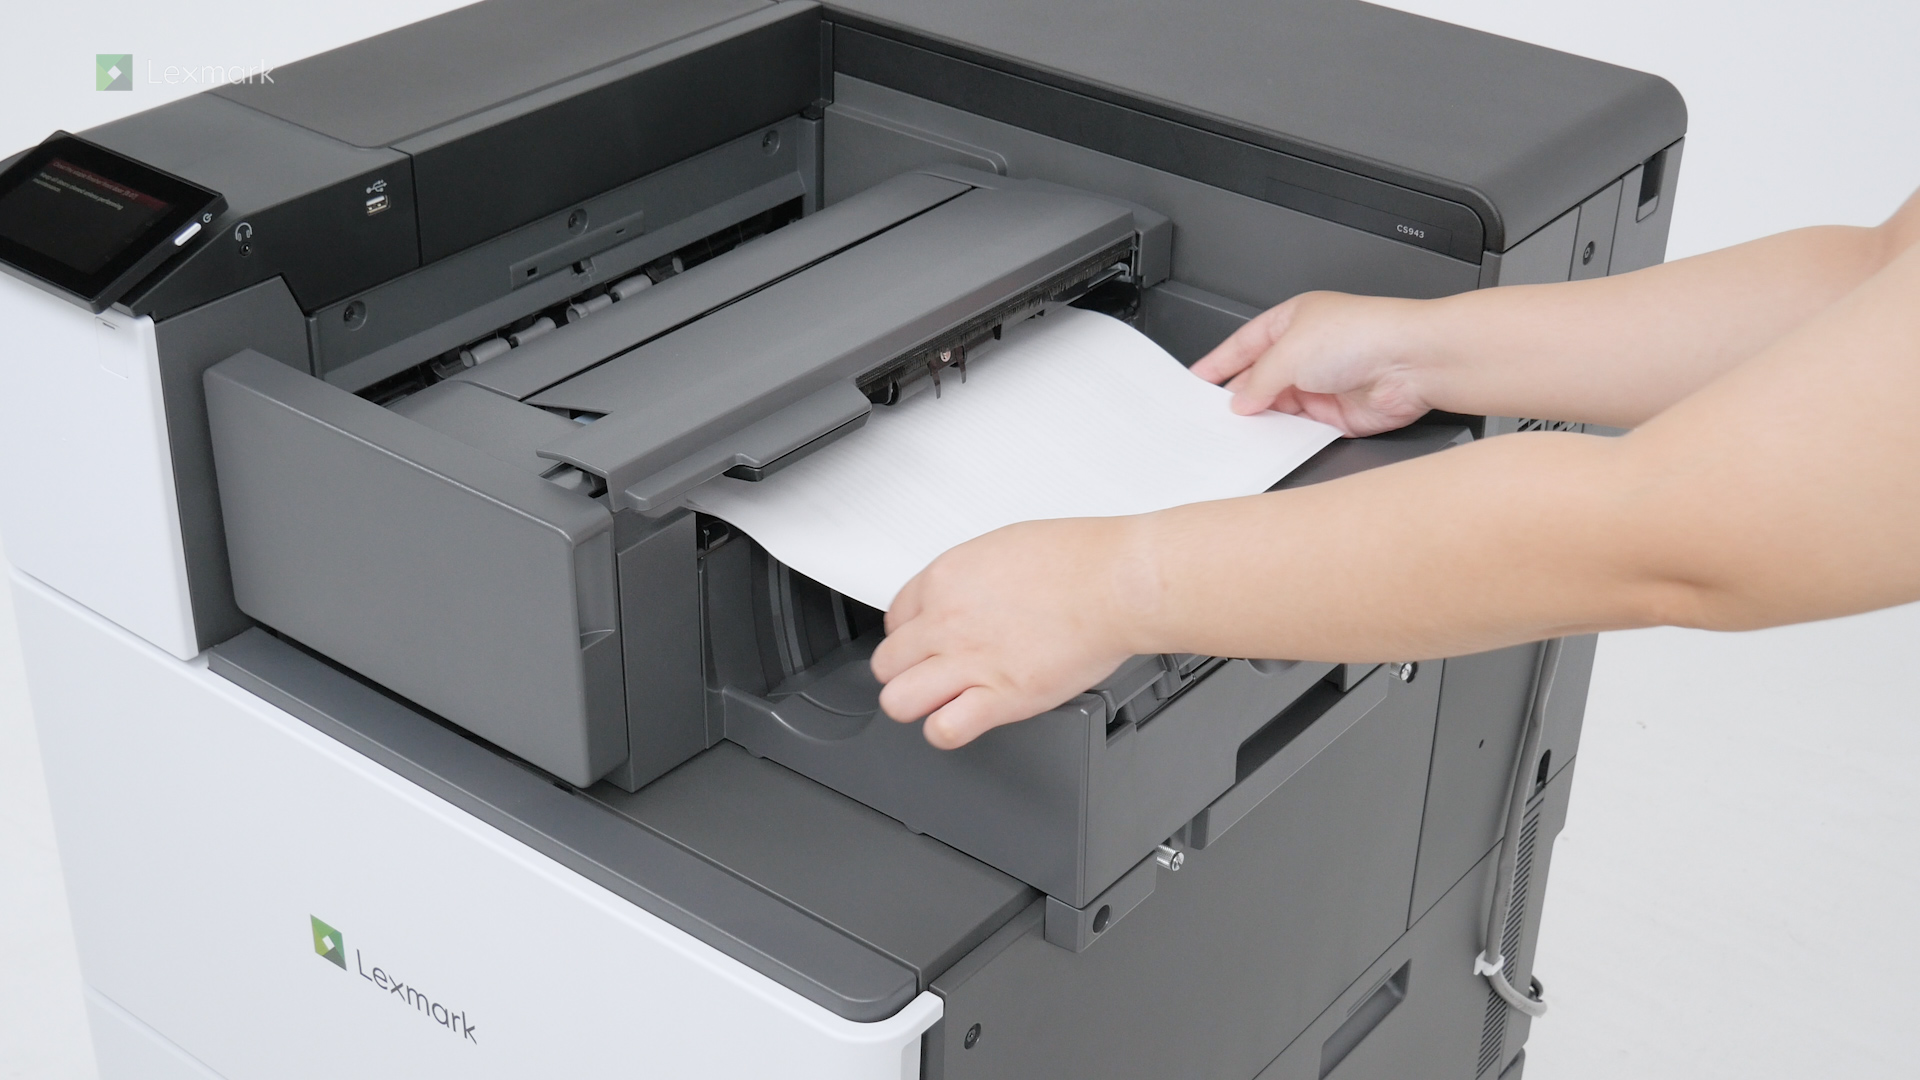
Remove paper that is stuck in trays to continue printing.
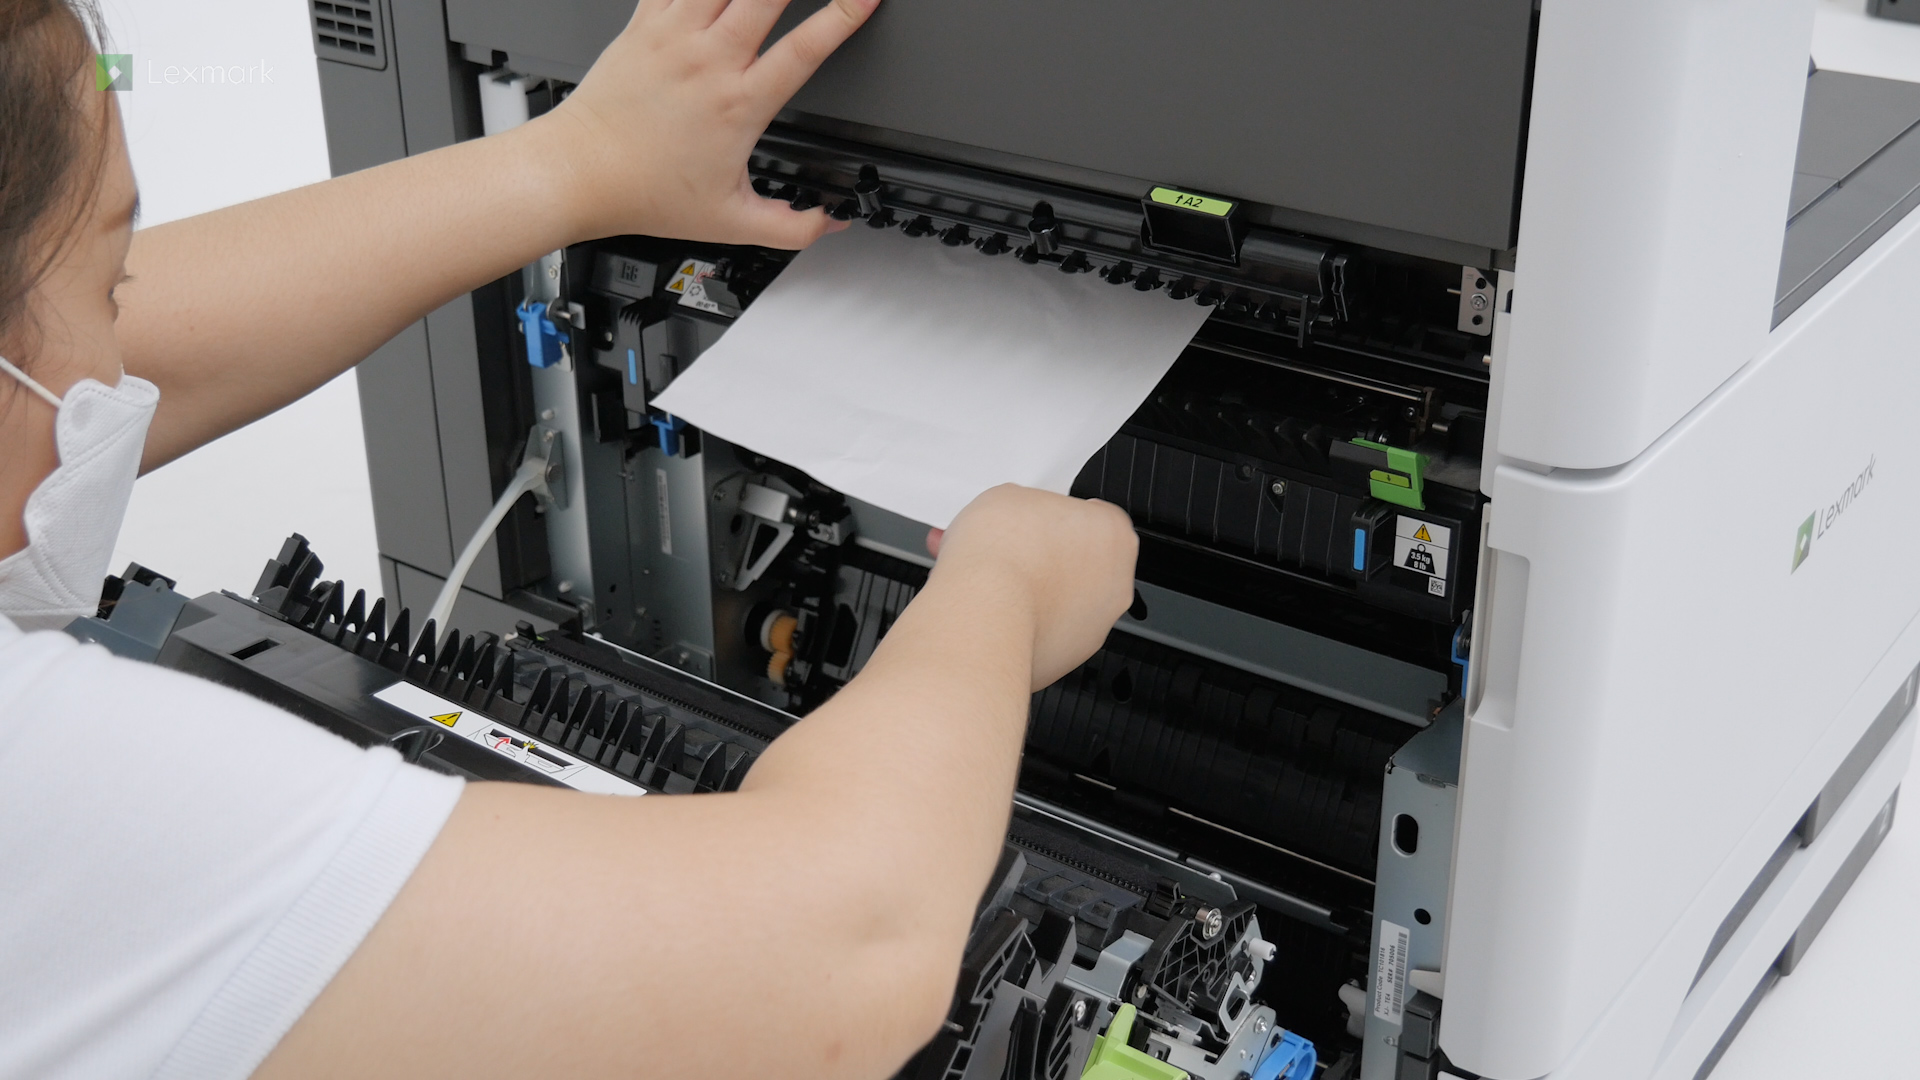
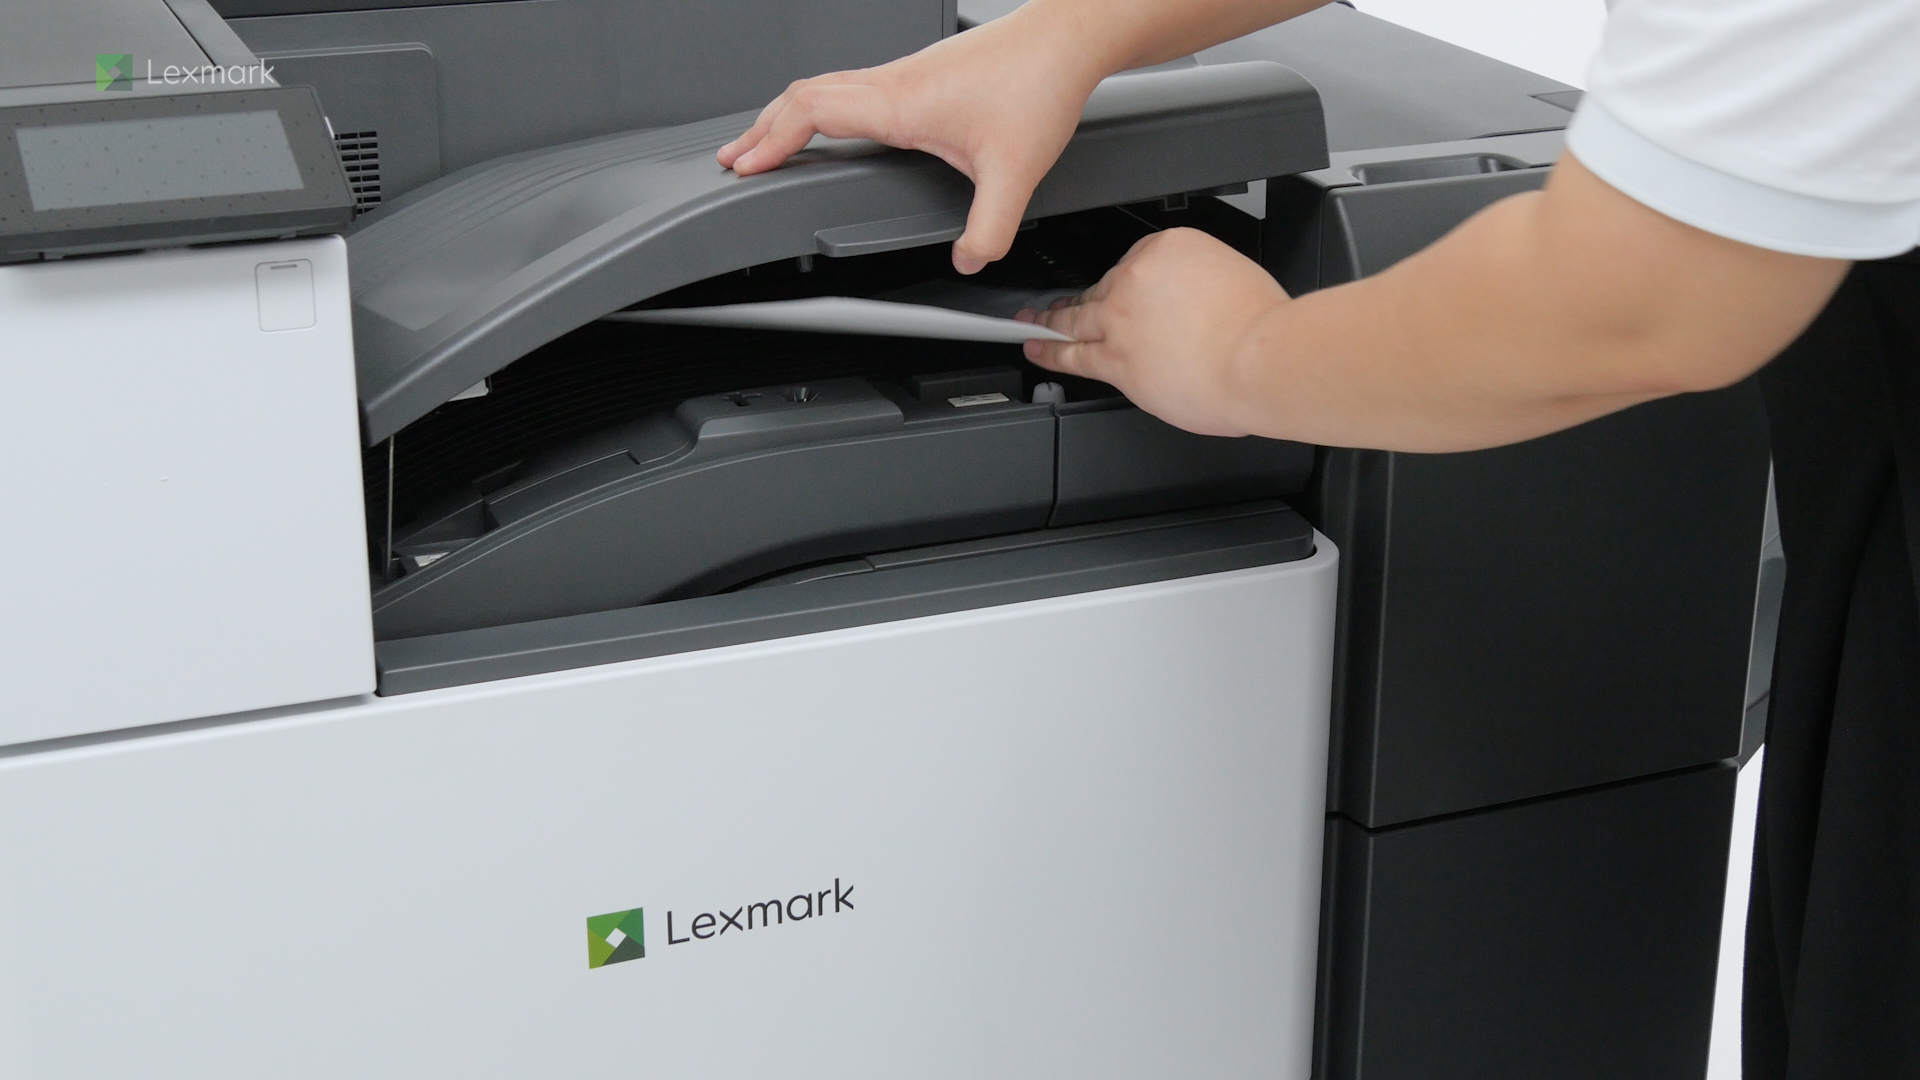
Remove paper that is stuck in door A to continue printing.
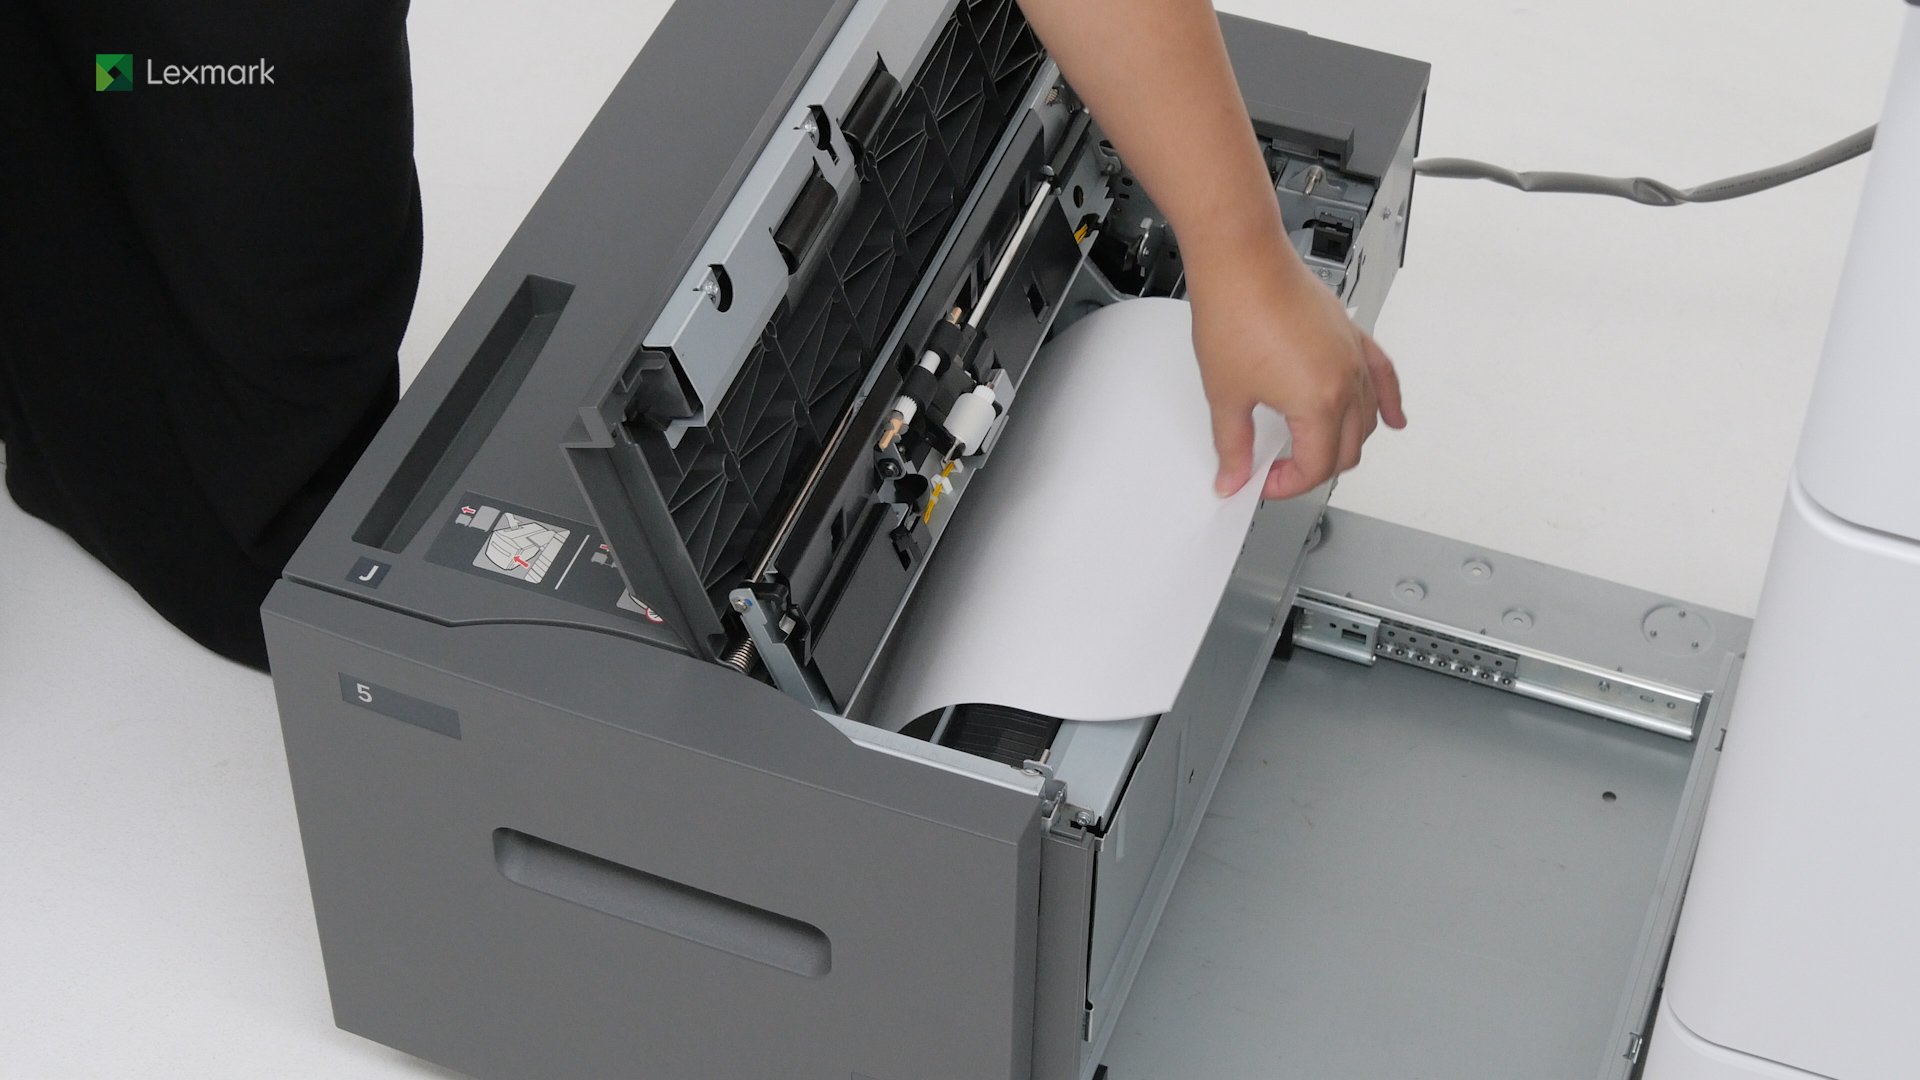
Remove paper that is stuck in the 2000-sheet tandem tray to continue printing.
Remove paper that is stuck in the 2000-sheet tray to continue printing.
Remove the paper that is stuck in the automatic document feeder to continue scanning.
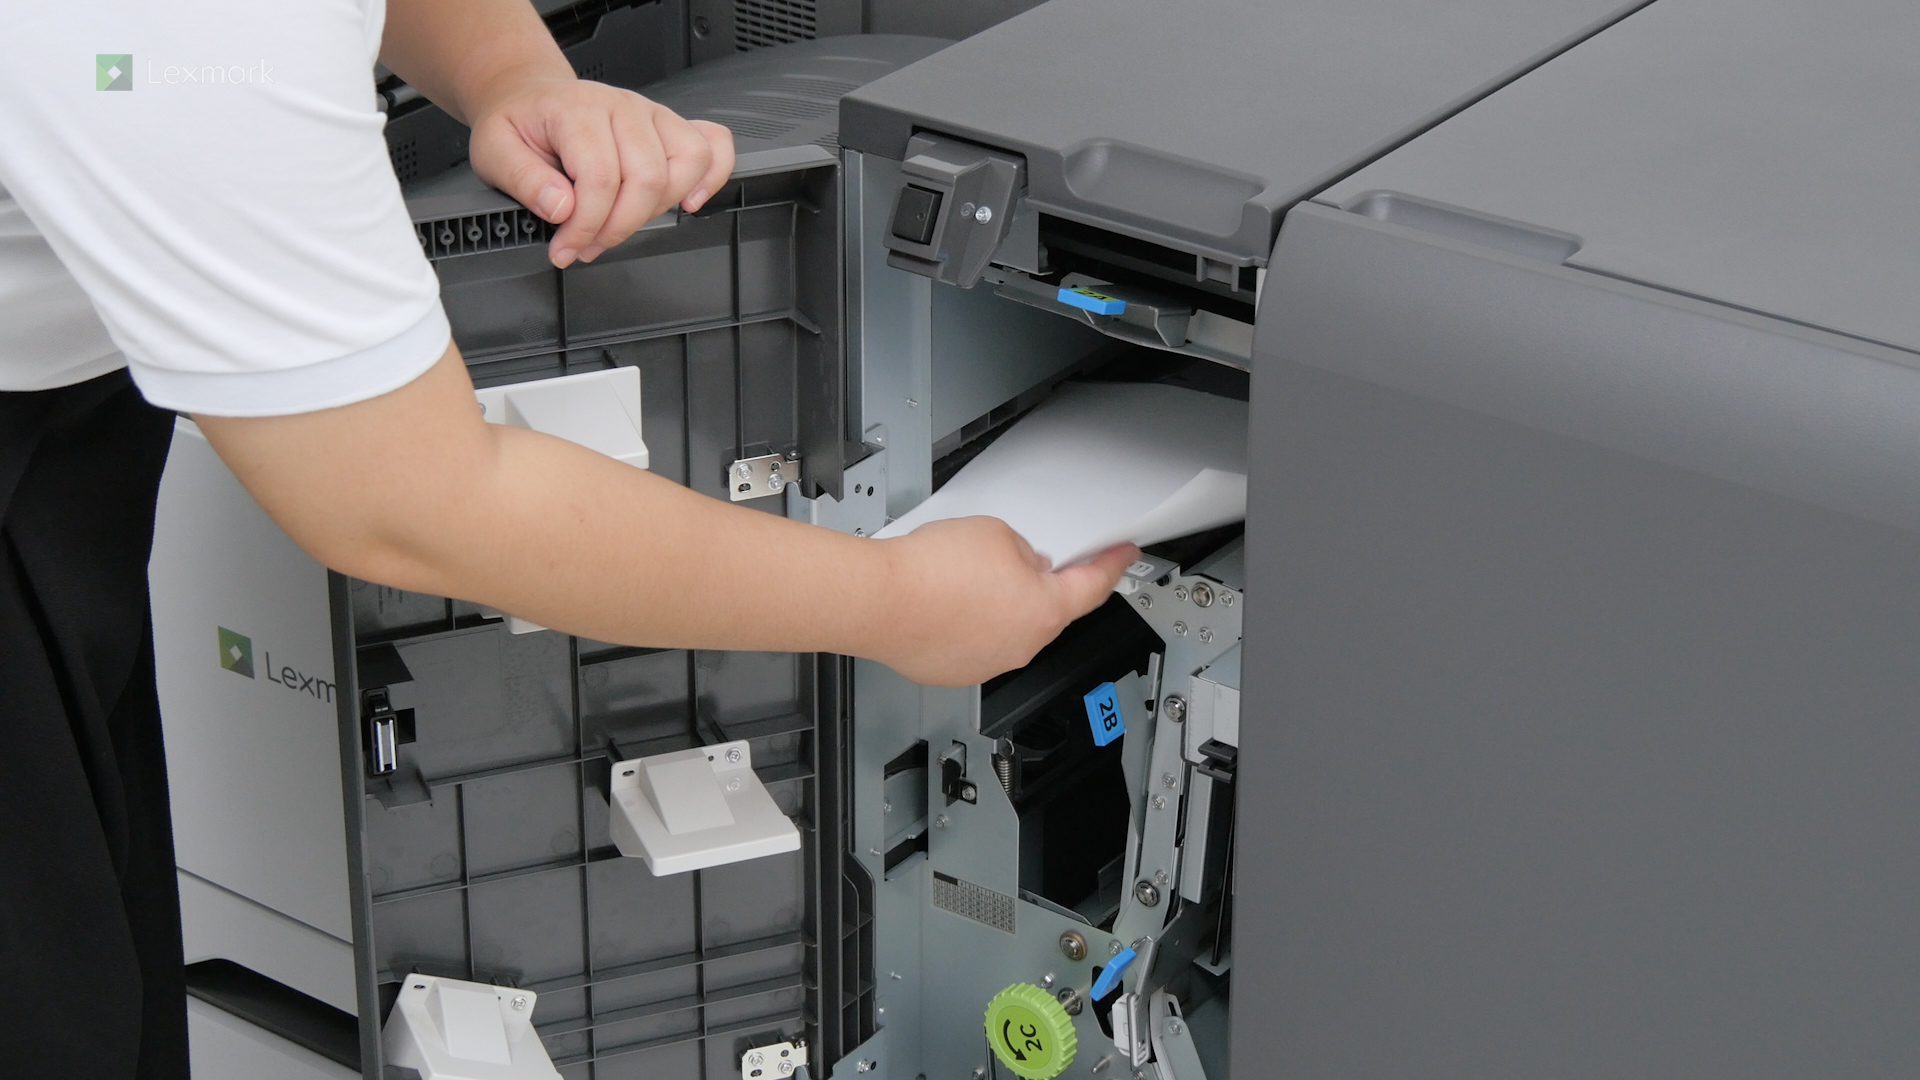
Remove paper that is stuck in the staple finisher to continue stapling and printing.
Remove the jammed paper in the staple, hole punch finisher to continue binding, stapling, and printing.
Remove the jammed paper in the booklet finisher to continue binding, stapling, and printing.
Remove the jammed paper in the trifold/Z-fold finisher to continue binding, stapling, and printing.