Support article for Lexmark CS725
Replacing the imaging kit
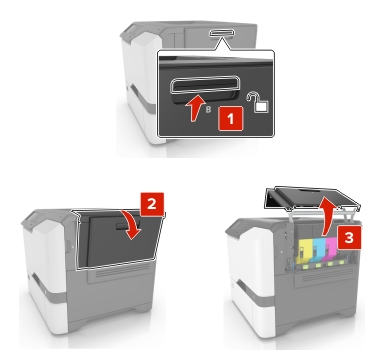
Open door B.
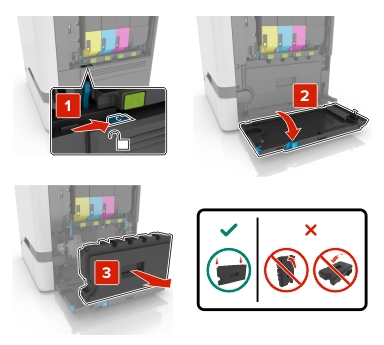
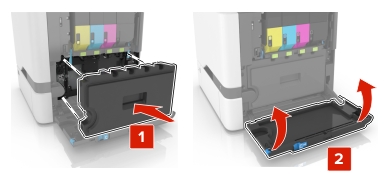
Remove the waste toner bottle.
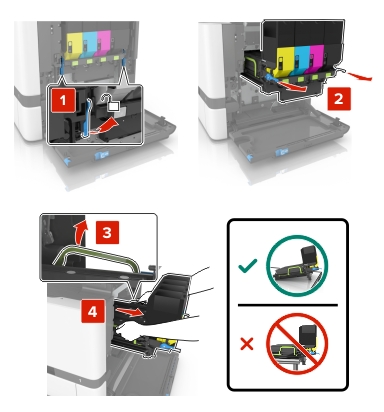
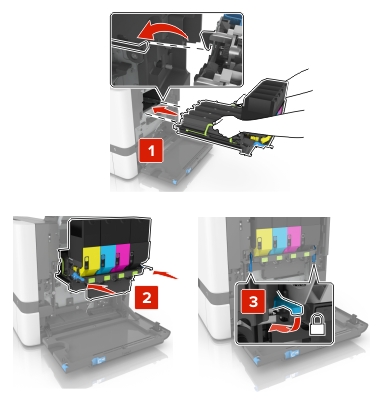
Remove the imaging kit.
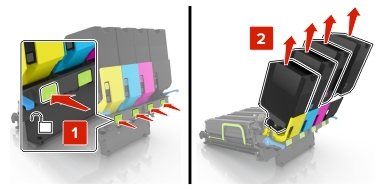
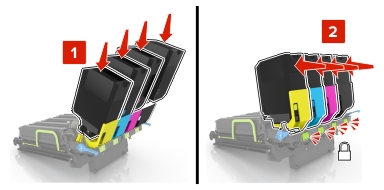
Remove the toner cartridges.
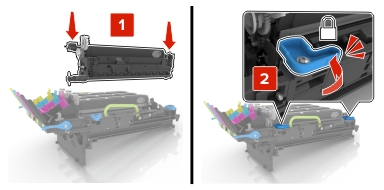
Unpack the new imaging kit, and then remove the packing material.
Note: The imaging kit includes the imaging kit and the cyan, magenta, and yellow developer units.
Remove the black imaging unit.
Warning—Potential Damage: Do not expose the photoconductor unit to direct light for more than 10 minutes. Extended exposure to light may cause print quality problems.
Warning—Potential Damage: Do not touch the shiny photoconductor drum under the imaging unit. Doing so may affect the quality of future print jobs.
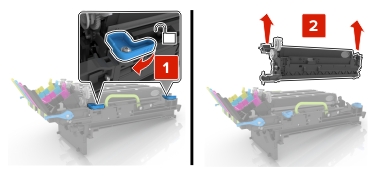
Note: The black imaging unit includes the black developer unit and photoconductor unit.
Insert the black imaging unit into the new imaging kit.
Insert the toner cartridges.
Insert the new imaging kit.
Insert the waste toner bottle.
Close door B.
Rate this article
We appreciate your feedback. We use it to identify content which needs to be updated for accuracy or usefulness.
Thank you for your feedback!