Support article for Lexmark C792
Color planes/images are not aligned to black or other color planes
Issue description
This article outlines the troubleshooting steps for correcting color alignment issues with black or other color planes on a printed image. See sample image below
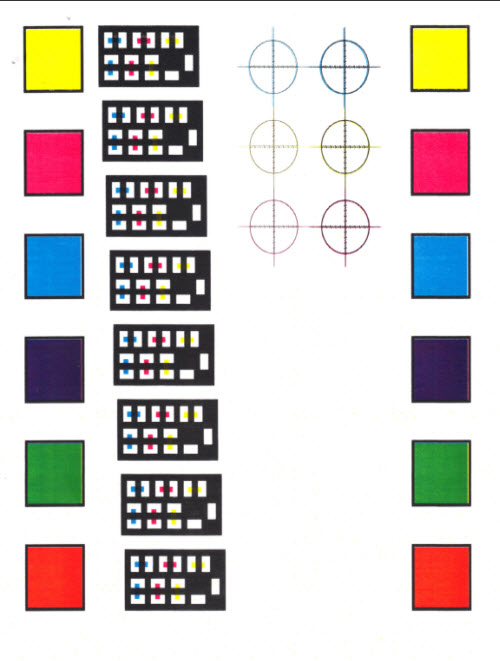 | 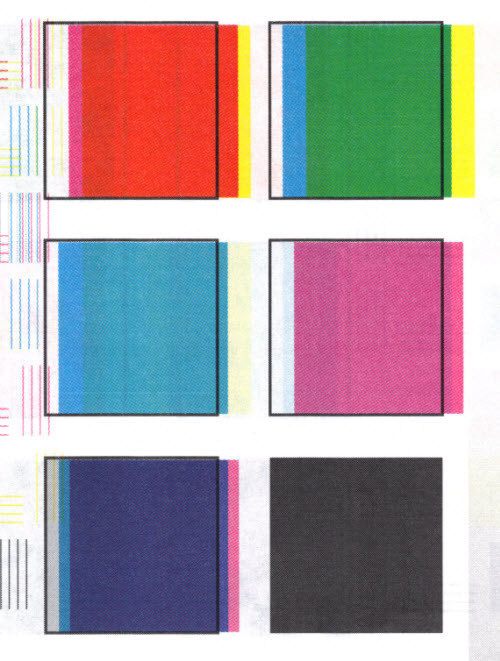 | 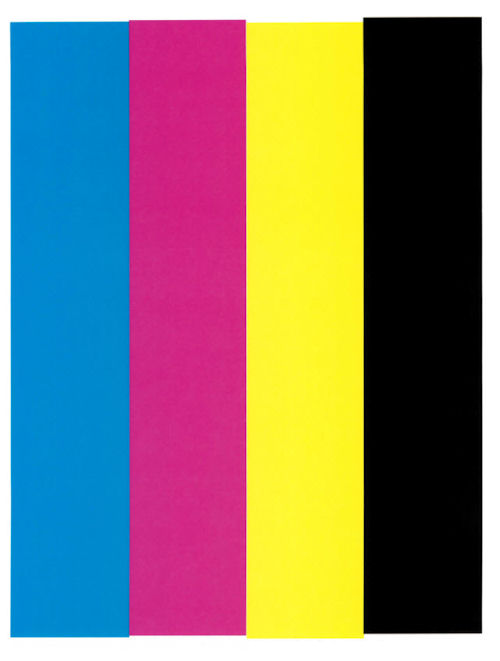 |
Solution
| Step | Action |
|---|---|
1 | Identify any recent changes made in the printer.
|
2 | It is possible that the new ITU was exposed to a colder environment for extended period of time. Allow the new ITU to adapt to the printer’s operating environment. To do this, follow the steps below:
|
3 | Ensure that the cartridges are not low on toner. Reseat each toner cartridge to ensure that the misalignment is not being caused by improper cartridge placement. Do this especially if the issue occurs right after replacing a brand new toner. |
4 | Check if compressed print modes are being used ("Print Area" = "Fit to Page"), set "Print Area" to "Normal" (default). Refer to”Print Area” for the steps. |
5 | If the printer is not set to compressed print modes and/or is not low on toner, perform a manual Color Calibration. Refer to”Manual Calibration” for the steps. |
6 | If none of the suggestions above resolved the issue, upgrade engine code to 129 or higher. please refer to the Firmware Update Instructions for updating the printer firmware. After the update, print a test page and check the result. If the printout does not improve, contact Lexmark Technical Support to be guided in setting the printer’s Registration and Alignment. Otherwise, the issue is resolved. |
How to Perform a Manual Color Calibration
| Step | Action |
|---|---|
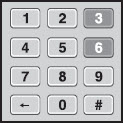
1 | Press the Menu button to button on the operator panel. |
2 | Press scroll down button to scroll on the options and select Settings. |
3 | Press Printer Settings. |
4 | Select Quality. |
5 | Press Color Adjust. |
How to Check / Change the Print Area Settings
For Lexmark C792
| Step | Action |
|---|---|
1 | Press the Menu Button button on the operator panel. |
2 | Select Settings. |
3 | Select Print Settings. |
4 | Select Set up Menu. |
5 | Press Print Area. |
6 | Select “Normal” and press the check mark to submit the changes. |
For Lexmark X792
| Step | Action |
|---|---|
1 | Press the Menu Button button on the operator panel. |
2 | Press scroll down button to scroll down, select Settings. |
3 | Press scroll down button to scroll down, select Print Settings. |
4 | Select Set up Menu. |
5 | Check the current selection shown in the “Print Area” if “Normal” is not shown (default), press the scroll left button or scroll right button to change it to “Normal”. |
6 | Press the Submit button button. |
How to Set the Color Registration and Alignment
Step | Action |
1 | Access the Diagnostics Menu. To do this:
|
2 | Press the scroll down button to scroll down the options and select Printer Setup. |
3 | Select Reset Color Cal. After the printer resets, press Back. |
4 | Go to the Registration menu and print a “Quick Test” page. Click here to see a sample printout. Adjust top and bottom margins so that the tips of the arrows at the top and bottom of the sheet are at the respective paper edges. Note: Positive adjustments move the arrows outward and negative adjustments move the arrow inwards. |
5 | After adjusting the Registration, go to the Alignment menu and choose Magenta. |
6 | Print a “Quick Test” page and follow the instructions to bring the alignment within a few counts or so for each side (Top, Left, & Right). Click here to see a sample printout. |
7 | Repeat steps 5 and 6 for Cyan and Yellow. |
8 | Exit Diagnostics mode and allow the printer to calibrate. Note: If the suggested steps do not correct the issue, please consult your next level support before setting up service for the printer. |
LEGACY ID: TE347
Rate this article
We appreciate your feedback. We use it to identify content which needs to be updated for accuracy or usefulness.
Thank you for your feedback!