Creating a Fleet Agent
Learn how to create a Fleet Agent from the Fleet Management web portal.
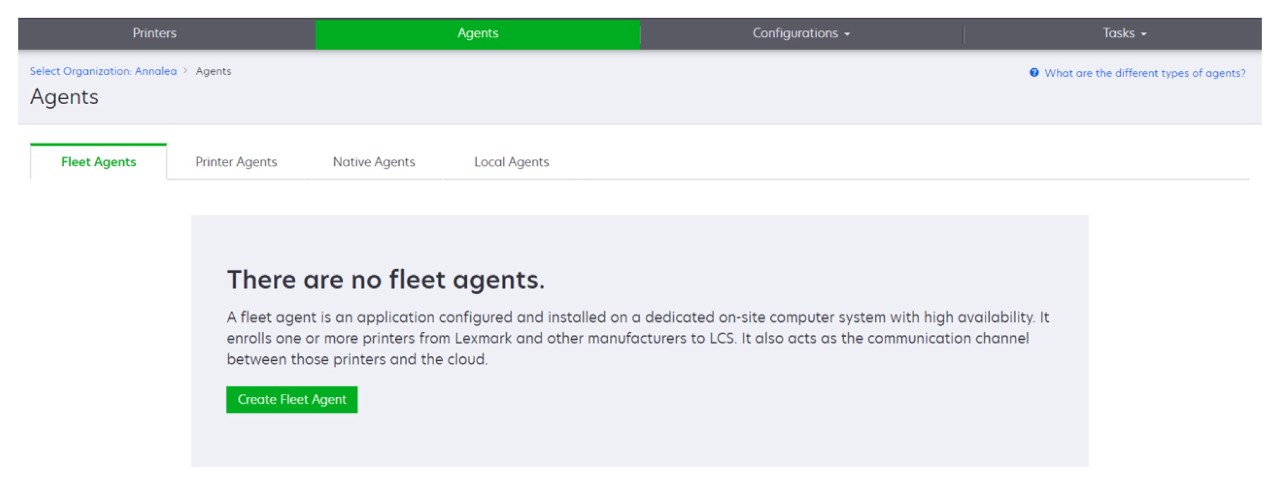
The Fleet Agent discovers and enrolls printers in the Lexmark Cloud Services website.
The Fleet Agent requires a server with high availability and constant Internet connection.
- From the Fleet Management web portal, do either of the following:
- ClickUse Fleet Agent>Create Fleet Agent.
- ClickAgents>Fleet Agents>Create Fleet Agent.
Type a unique name and description.From the Discovery Criteria tab, do one or more of the following:- To prevent the Fleet Agent from taking over the management of enrolled printers, disableTransfer management of discovered printers that are already enrolled through another agent.
- If the setting is enabled, then polling information from the Printer Agent is stopped.
- The Printer Agent application remains in the printer.
- To search for all printers in your local network, set Search Type toSearch Local Network.
- To search for or exclude a specific IP address, subnet, range, or fully qualified domain name (FQDN), set Search Type toAdvanced search. Do one or more of the following:
- From the Include tab, clickAdd Discovery Criteria to Include, and then type the printer information.
- From the Include tab, clickImport, and then browse to thecsvortxtfile.
- To view a sample file, clickDownload sample file.
- To overwrite the existing IP address, subnet, range, or FQDN in the discovery criteria, enableOverwrite existing "included" discovery criteria.
- From the Exclude tab, clickAdd Discovery Criteria to Exclude, and then type the printer information.
- From the Exclude tab, clickImport, and then browse to thecsvortxtfile.
- To view a sample file, clickDownload sample file.
- To overwrite the existing IP address, subnet, range, or FQDNs in the discovery criteria, enableOverwrite existing "excluded" discovery criteria.
You can also export or delete discovery criteria. From either Export or Import tab, select one or more addresses, and then click eitherExportorDelete. - Select an SNMP profile.
From the SNMP Profile tab, create an SNMP profile. Do the following:- ClickCreate, and then type a unique profile name.Select an SNMP version.
- For Versions 1 and 2c, type a community name.
- For Version 3, select a security level, an authentication mode, and a privacy type.
Set the discovery timeout and number of retries.ClickCreate SNMP Profile.From the Scheduled Tasks tab, set the Printer Discovery Task and Refresh Printer Information Task intervals.- The Fleet Agent discovers and enrolls printers based on the Printer Discovery Task interval
- The Fleet Agent scans the printers according to the interval set in the Refresh Printer Information Task setting of the Scheduled Tasks section. The data is sent to the Lexmark Cloud Services server only if there is an alert change or toner level decrement. The data is not sent to the cloud server if there is only page count change. However, even if there are no alert changes or page count changes, the data is sent to the cloud server once every 24 hours.
From the Other Settings tab, configure the Log level and Network utilization delay settings.- Setting the Network utilization delay value below 250 (default) may impact the network performance. We do not recommend setting the value to zero.
- The larger the delay, the longer the discovery takes to complete.
ClickCreate Agent.