Setting up basic SAML configuration
Learn how to set up basic SAML configuration.
The screenshots may vary depending on the latest release
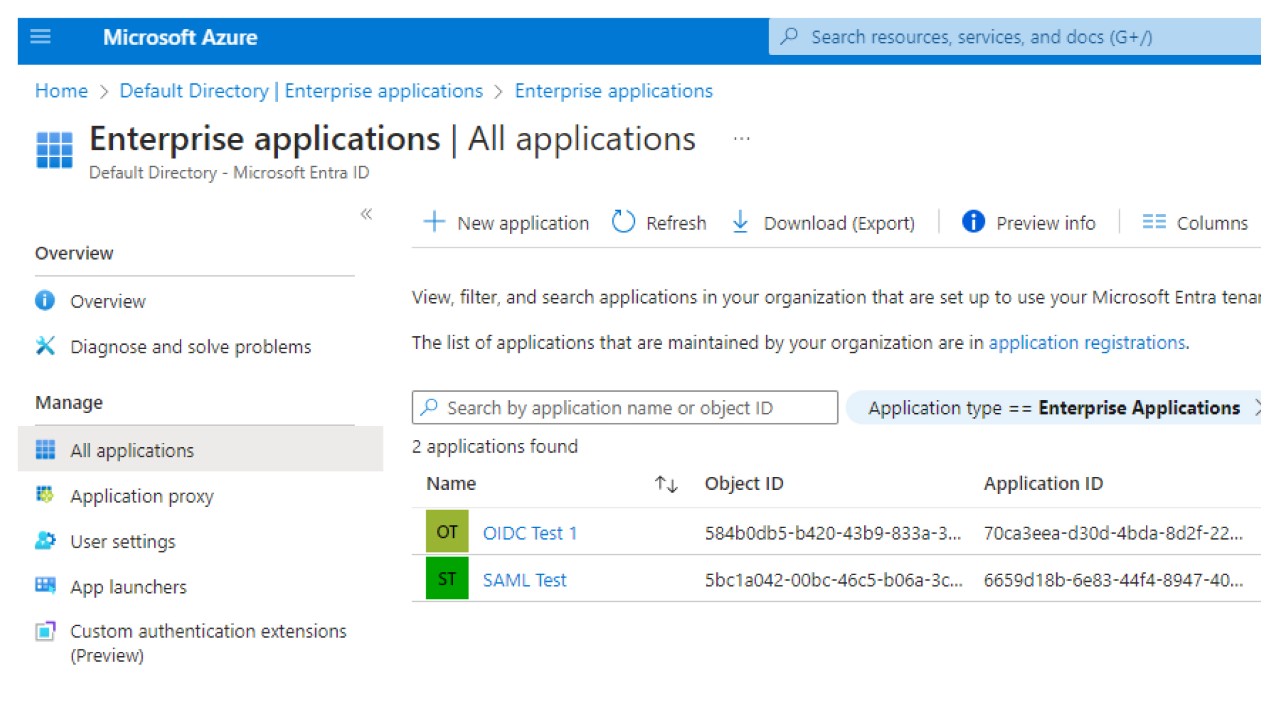
- SelectMicrosoft Azure.SelectMicrosoft Entra ID.In the Manage section, clickEnterprise applications.Select the application that you have created.
 On the application overview page, in the Getting Started section, selectSet up single sign on.
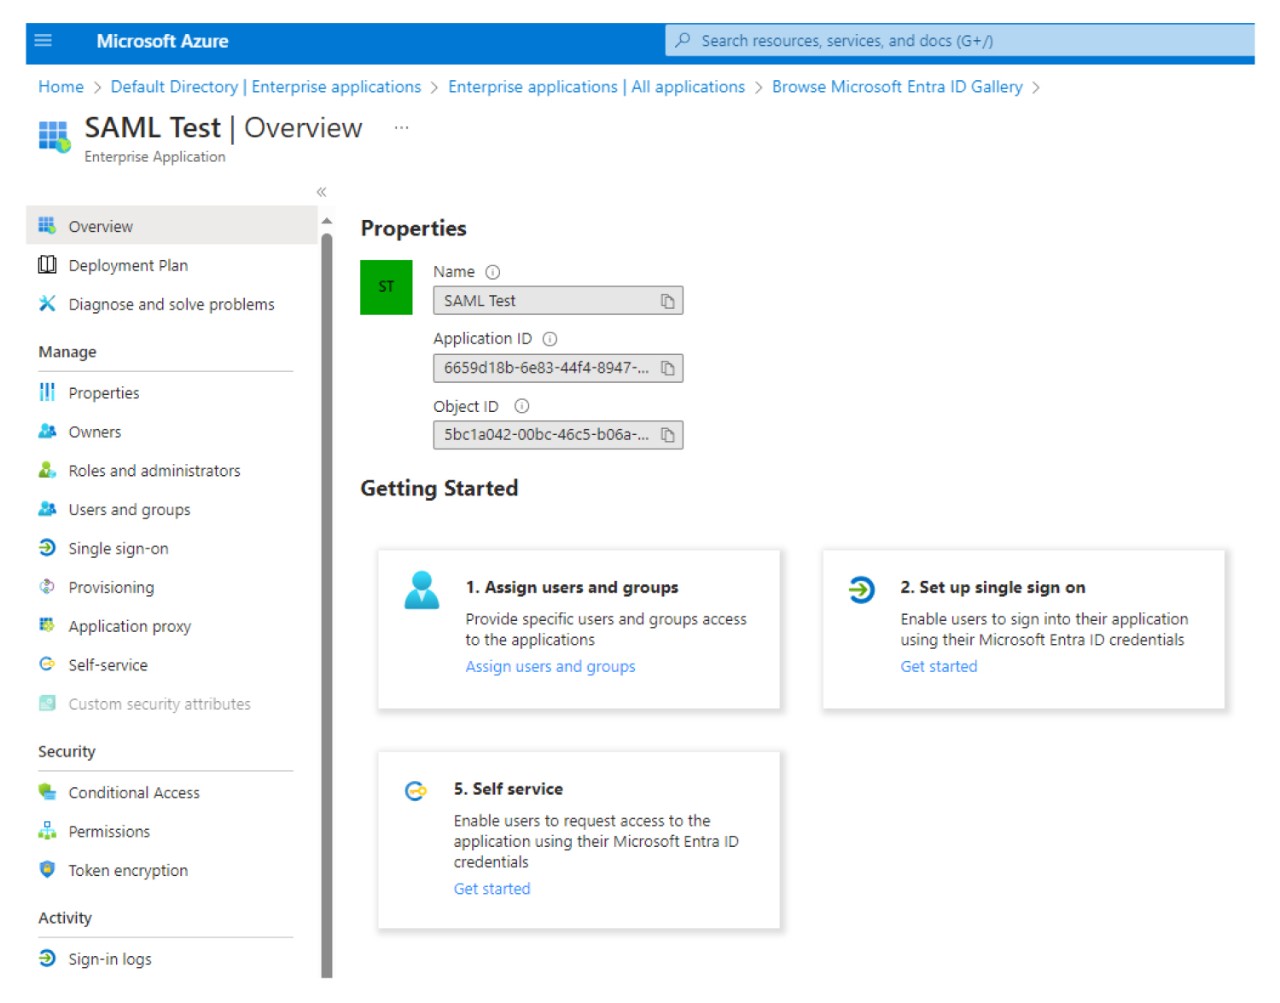 SelectSAML.
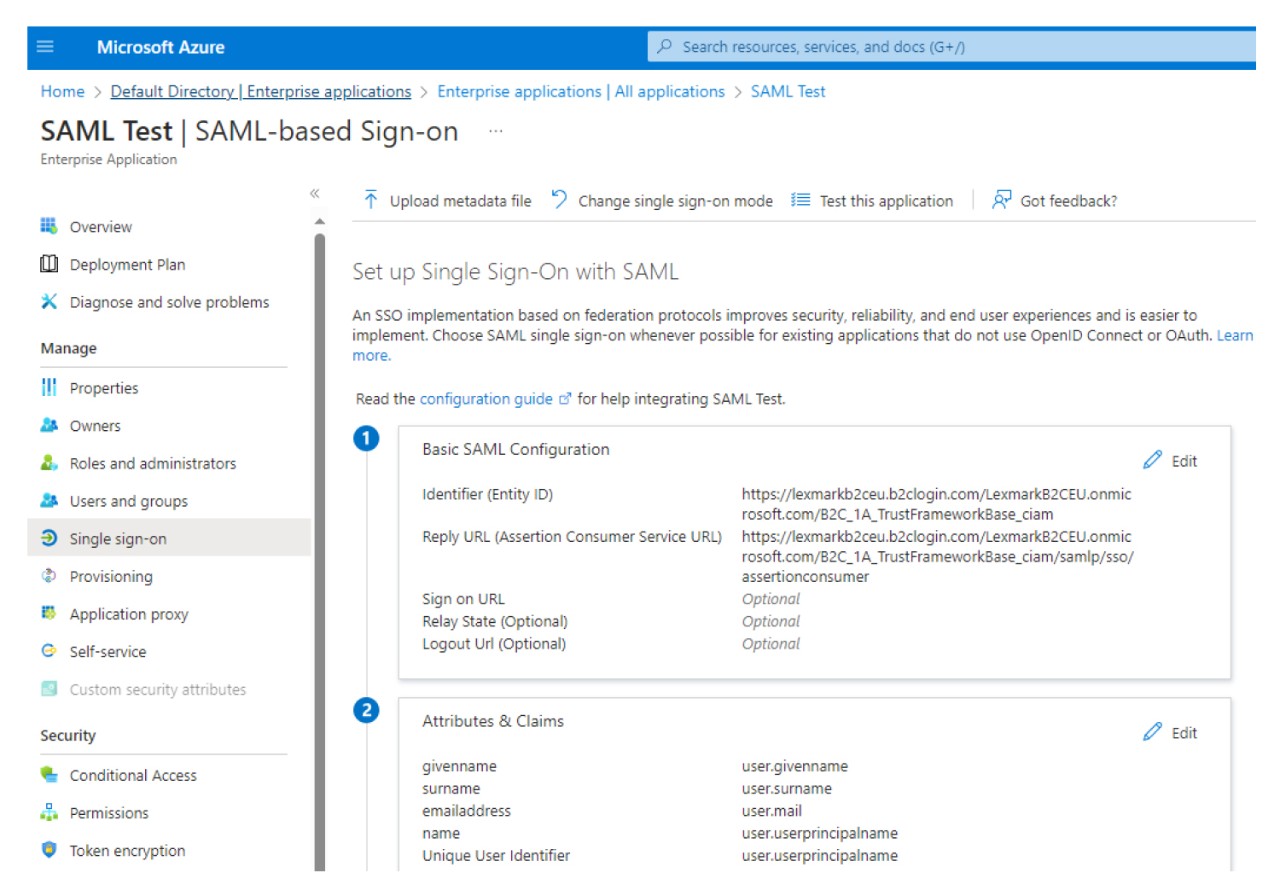
 In the Basic SAML Configuration section, clickEdit.
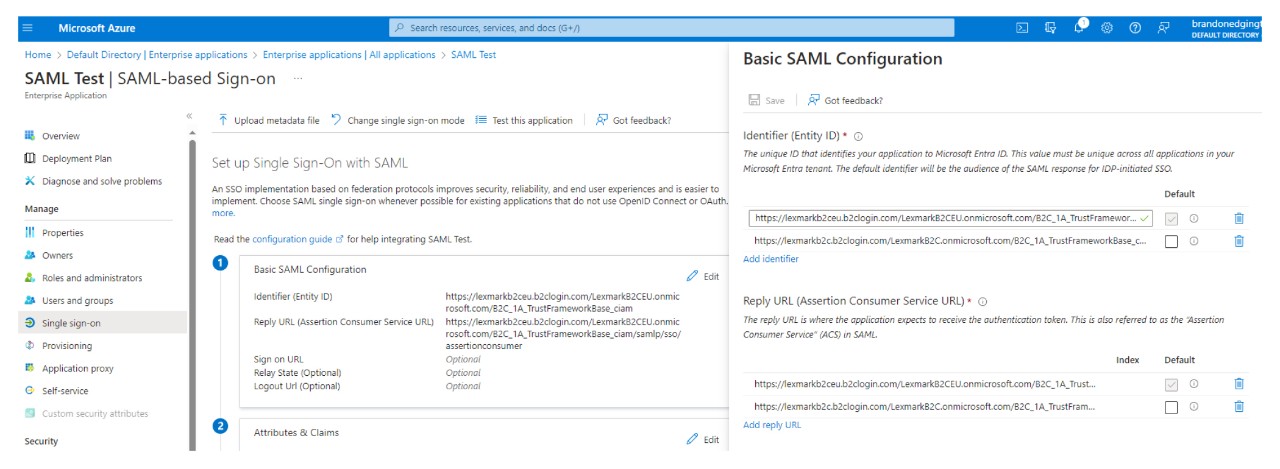
 In the Basic SAML Configuration window, do the following:
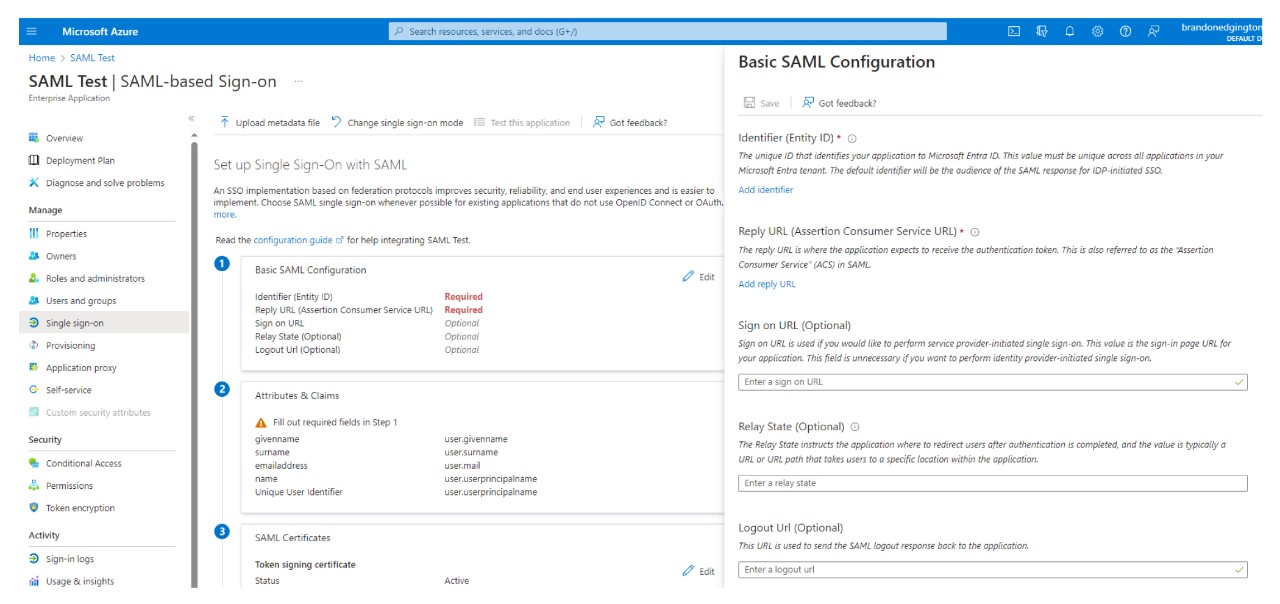
- In the Identifier (Entity ID) section, clickAdd Identifier.In the Add identifier field, depending on your location, type either of the following entity IDs:
- For EU:https://lexmarkb2ceu.b2clogin.com/LexmarkB2CEU.onmicrosoft.com/B2C_1A_TrustFrameworkBase_ciam
- For US:https://lexmarkb2c.b2clogin.com/LexmarkB2C.onmicrosoft.com/B2C_1A_TrustFrameworkBase_ciam
In the Reply URL (Assertion Consumer Service URL) section, clickAdd reply URL.In the Add reply URL field, depending on your location, type either of the following reply URLs:- For EU:https://lexmarkb2ceu.b2clogin.com/LexmarkB2CEU.onmicrosoft.com/B2C_1A_TrustFrameworkBase_ciam/samlp/sso/assertionconsumer
- For US:https://lexmarkb2c.b2clogin.com/LexmarkB2C.onmicrosoft.com/B2C_1A_TrustFrameworkBase_ciam/samlp/sso/assertionconsumer
ClickSave.IdP initiated flow is not supported.