Replacing the transfer module
The following instructions help you install the transfer module quickly and correctly.
- Turn off the printer, and then unplug the power cord from the electrical outlet.Open door B.
 Remove the waste toner bottle.
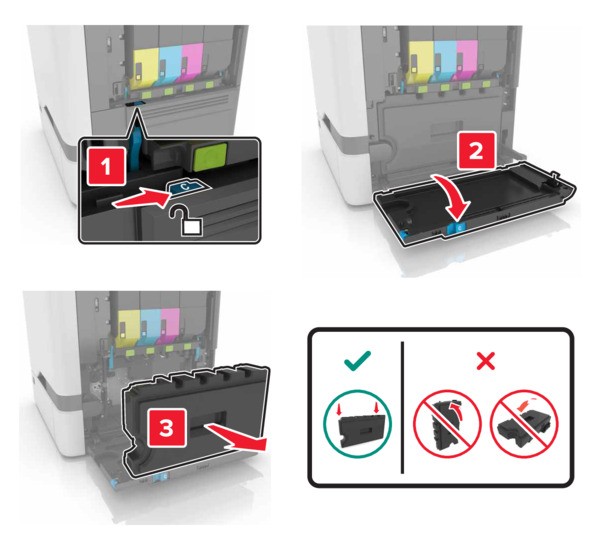 Remove the imaging kit.
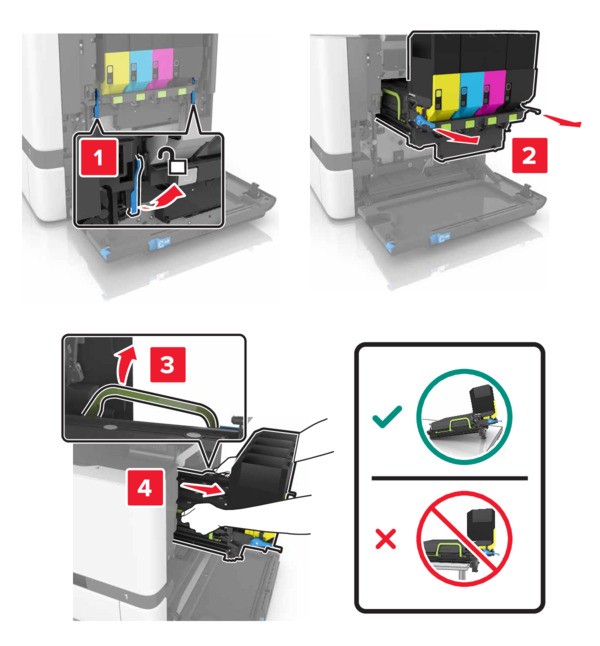 Open door A.The inside of the printer might be hot. To reduce the risk of injury from a hot component, allow the surface to cool before touching it.
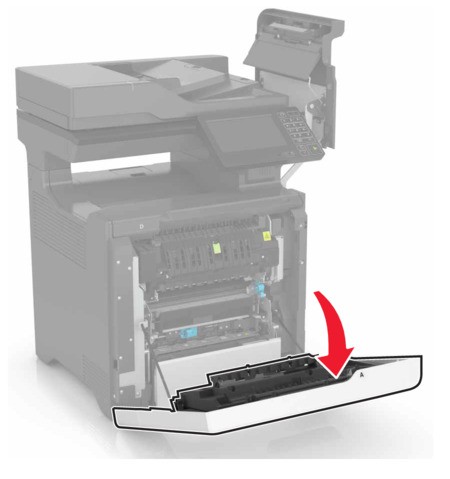 Remove the transfer module.
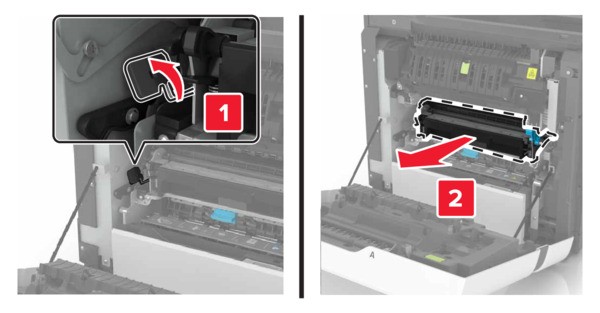 Unpack the new transfer module, and then remove the packing material.Insert the new transfer module.
 Close door A.Insert the imaging kit.
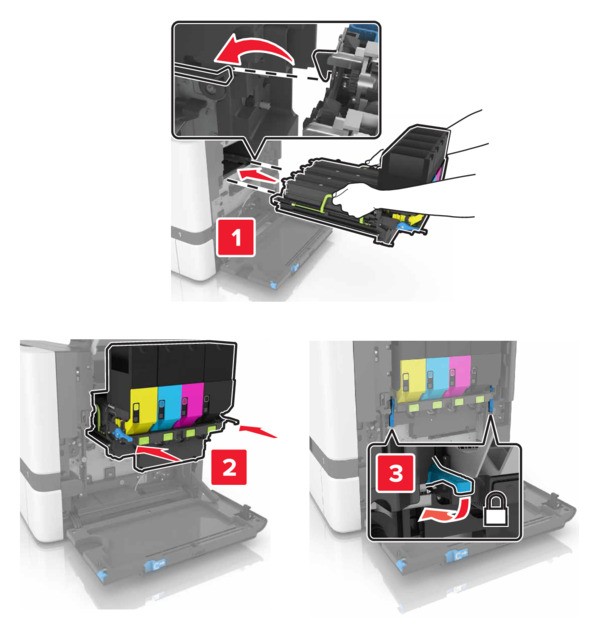 Insert the waste toner bottle.
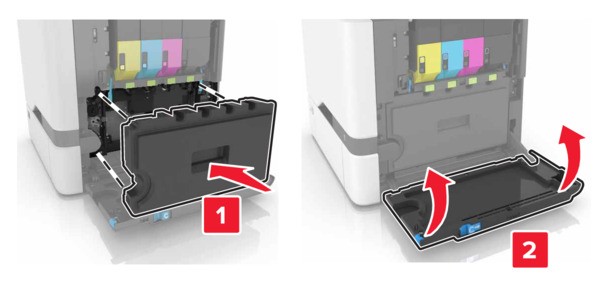 Close door B.Connect the power cord to the electrical outlet, and then turn on the printer.To avoid the risk of fire or electrical shock, connect the power cord to an appropriately rated and properly grounded electrical outlet that is near the product and easily accessible.Reset the maintenance counter. For more information, see Resetting the maintenance counter.