Replacing the imaging unit
Learn how to install a replacement imaging unit on your printer with these simple steps.
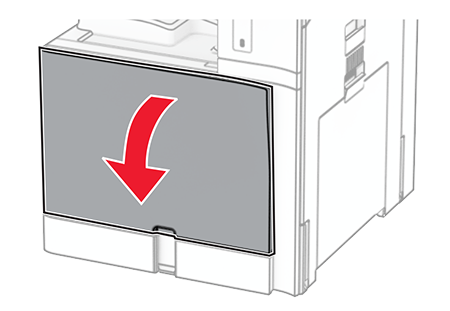
- Open the front door.
 Remove the toner cartridge.
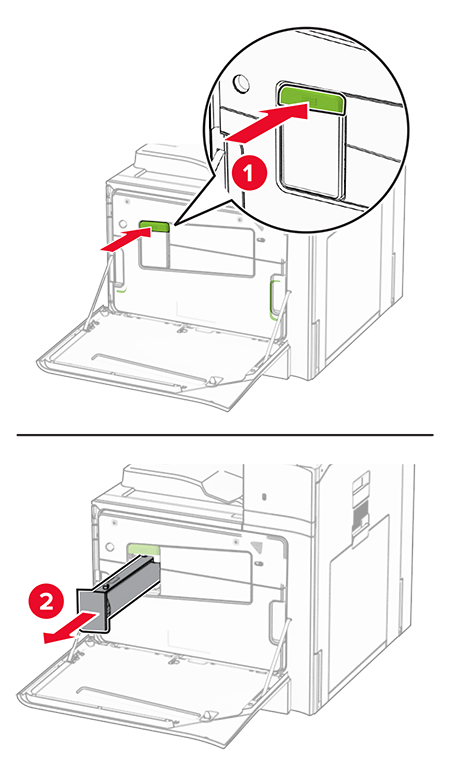 Remove the waste toner bottle.
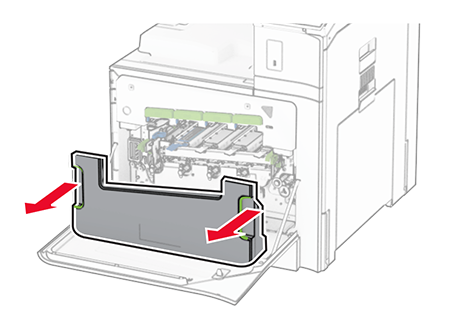 To avoid spilling the toner, place the bottle in an upright position.
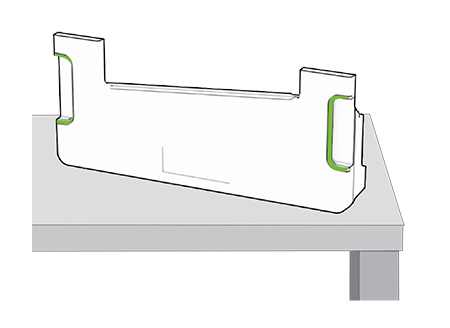 Remove the imaging support basket.
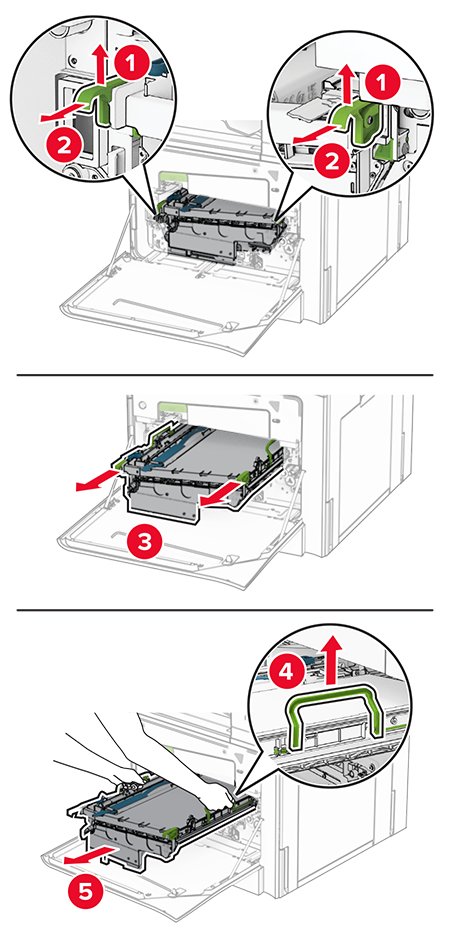 Do not touch the photoconductor drum. Doing so may affect the quality of future print jobs.
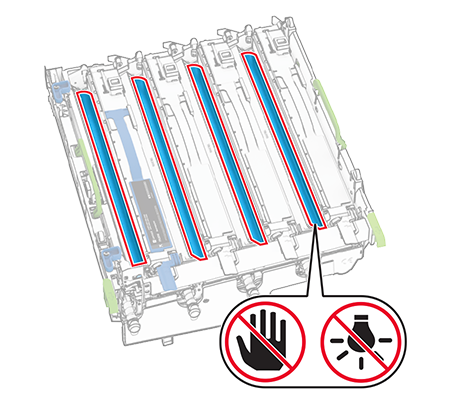 Unlock the used imaging unit.
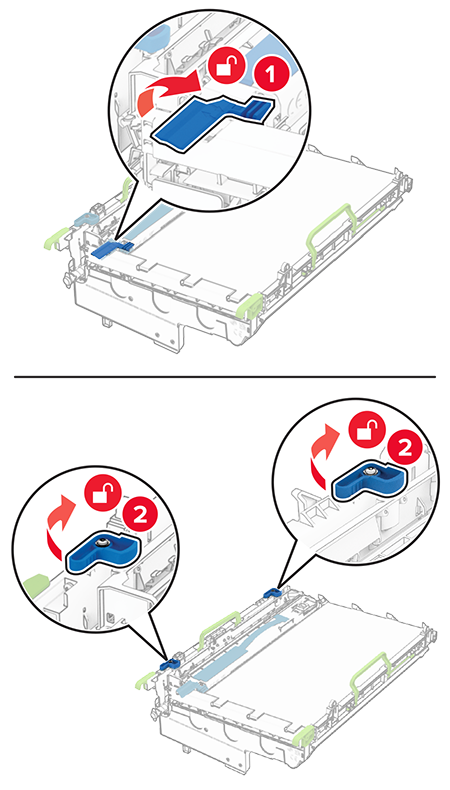 Remove the used imaging unit.
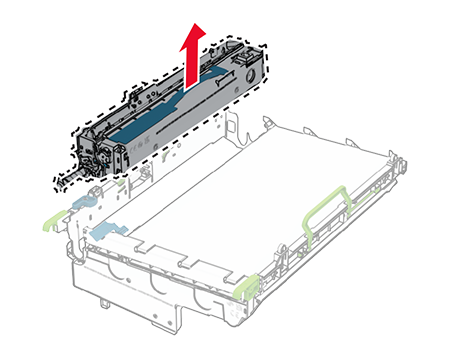 Unpack the new imaging unit.Insert the new imaging unit.
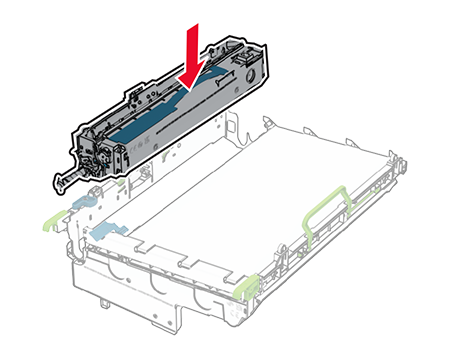 Lock the new imaging unit in place.
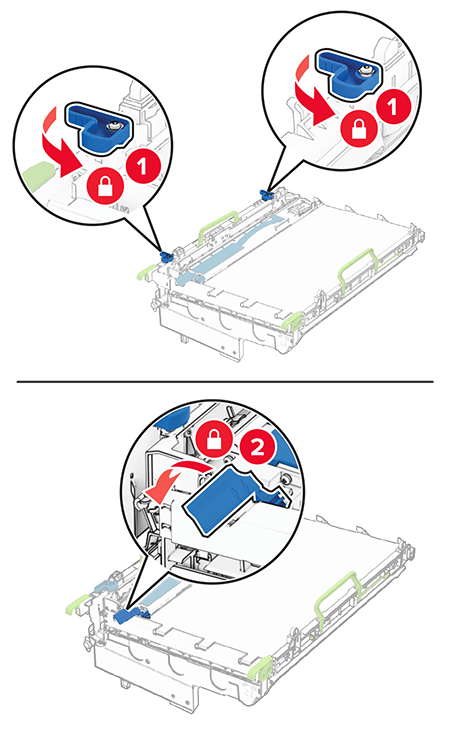 Insert the imaging support basket until it is fully seated.
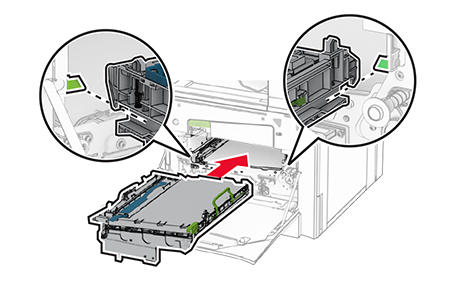 Insert the waste toner bottle until itclicksinto place.
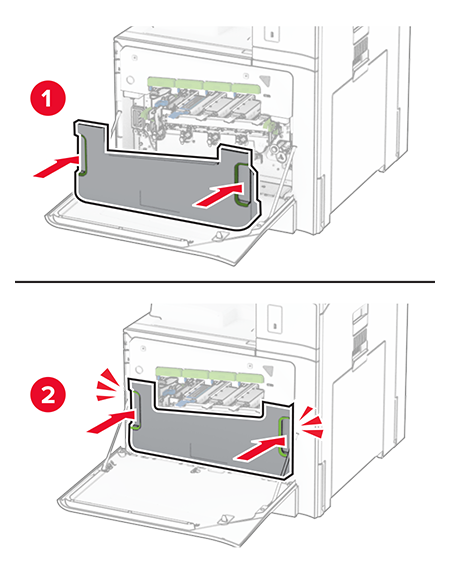 Gently pull out the printhead wiper, and then clean the printhead lens. For more information, see Cleaning the printhead lens.
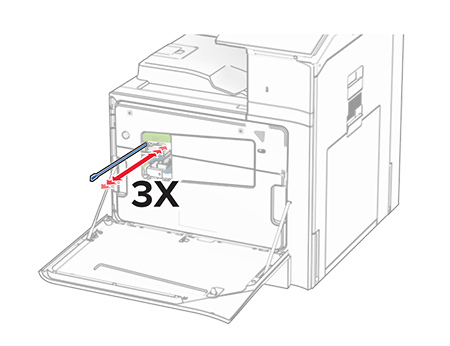 Insert the toner cartridge.
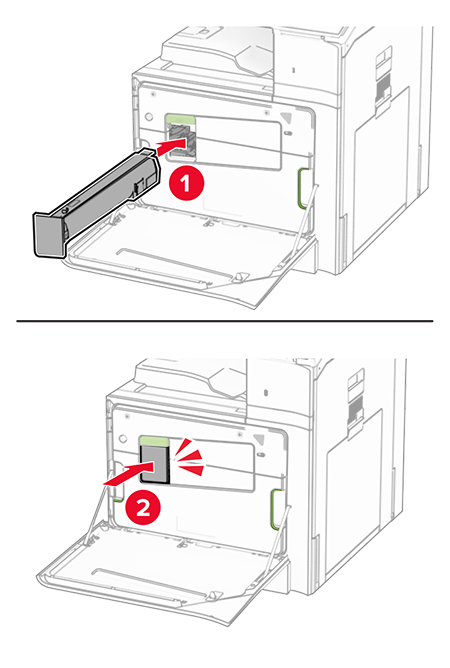 Close the door.