No display, black/blank screen or lines appear in the display
Lexmark C74x&X74x ? No Display, Black/Blank Screen or Lines Appear in the Display
Overview
If the
Operator Panel
screen does not
power on (i.e., light up), or goes entirely blank and unresponsive as though it were not
receiving power, or should lines appear in the display, please follow the instructions below.NOTE:
While this issue often requires service, it may be temporary and capable of resolution without assistance from Lexmark Technical Support
.Troubleshooting
Steps | Actions |
1 | Power off the printer. |
2 | Power on the printer and listen to it for one minute. The printer normally goes through a short warm-up sequence where it sounds as though it were going to print out a page. Note: If the printer's operator panel is blank but you hear the printer power up as normal, try printing a page from the computer. If the page prints, the printer is still receiving power. However, the operator panel is not functioning and will likely need to be replaced (please contact a local authorized service center or Lexmark Technical Support ). |
3 | Clean dust or any other build-up from the printer’s power cord. If the power cord is damaged, it will need to be replaced. This will require a service action on the printer. Please contact a local authorized service center or Lexmark Technical Support .Note: If printer's power cord is plugged into power strips , surge protectors , extension cords and uninterruptible power supplies (UPS ), unplug it and connect it directly to a grounded wall outlet. Some of these devices can interfere with consistent electrical flow and cause the printer to fail to power up properly. This is true even if the printer has worked on this surge device previously. Should this test not bepossible, confirm that the power strip is switched on and functioning correctly. |
4 | If the printer still fails to power up, verify that the wall outlet is working properly by connecting another device to it to see whether it receives power, or try another grounded outlet. |
5 | If the printer still fails to power up, verify whether the Green LED on the front of the printer is still on and the Main Fan is spinning.Note: If the Green LED is ON and Main Fan is running during power-up sequence, the operator panel is not functioning and will likely need to be replaced (please contact a local authorized service center or Lexmark Technical Support ). |
6 | If the above suggestions fail to resolve the issue, or should you find the source of the issue and need help arranging service, please contact Lexmark Technical Support or a local authorized service provider for additional assistance. |
Contacting Lexmark
Please contact
Lexmark Technical Support
if you need additional assistance. NOTE:
When calling for support, you will be asked for your machine/model type
and serial number
(SN
). If you need help locating these, How to Locate the Serial Number, Machine Type, and Configuration ID on a Lexmark C746, C748 or X746, X748 Printer/MFP.Please call from near the printer in case the technician on the phone asks you to perform a task involving the printer.
LEGACY ID:
SO6938
Step | Action |
1 | It is VERY important to have the customer remove any installed options in the system board such as DLE 's, extra memory [DIMM ], Hard Drives , etc. This is especially true if the customer has a code DIMM , an optional network card, or extra memory installed on the system card. After removing the extra memory installed in the DIMM slot, POR the machine.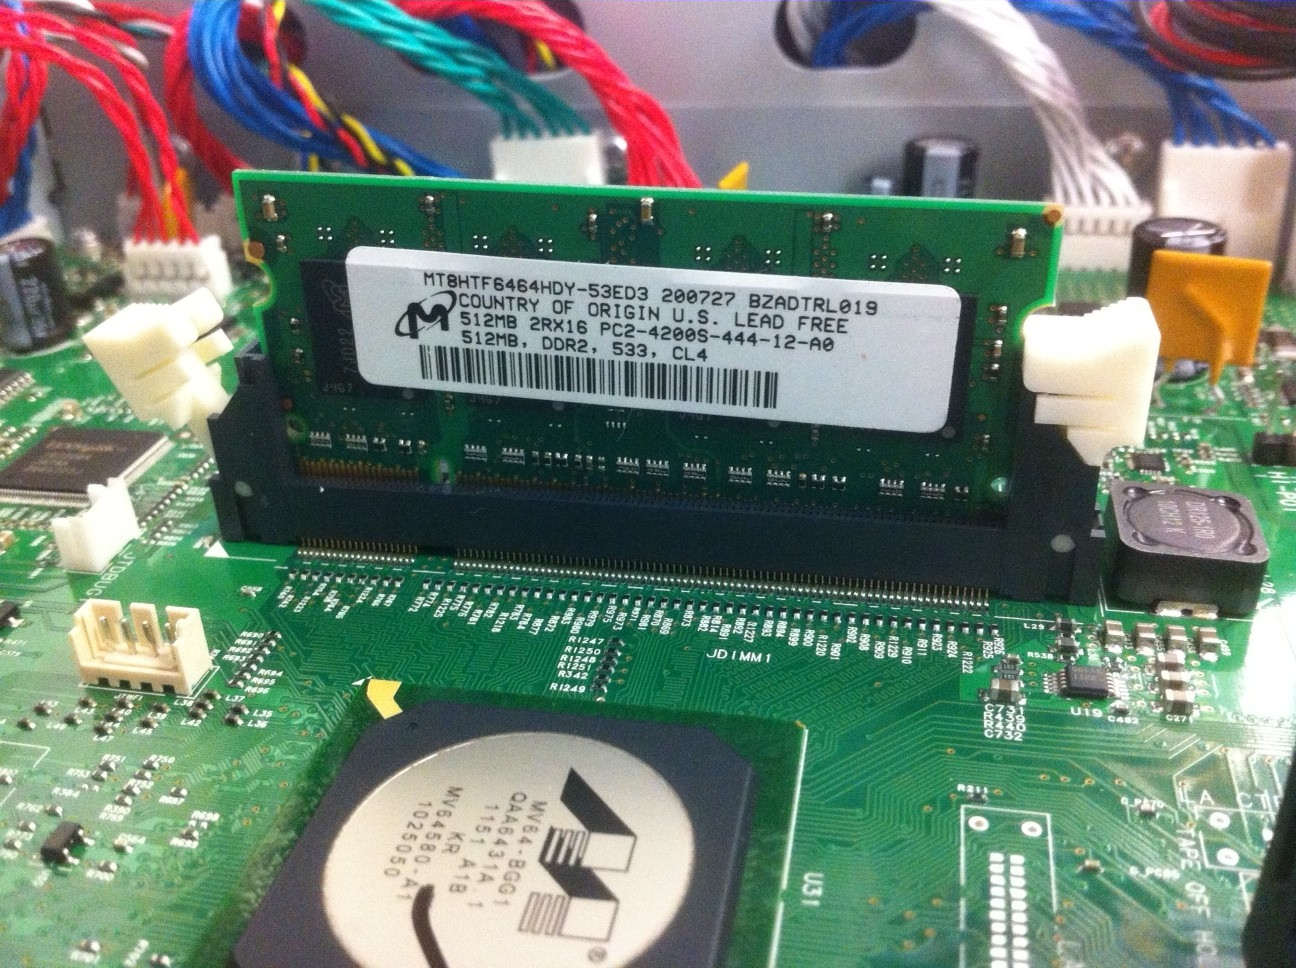 Note: If machine comes up, the memory DIMM was not installed properly. If you press in the top of the DIMM first and then the bottom, it can cause this situation. When installing the memory DIMM you should press in the top and bottom at the same time, see sample image above of the poor seating example. |
2 | Verify that the Operator Panel FFC cable (J2 cable ) is inserted properly and the latch is down. The best way to do verify it is to uninstall it and reinstall it. See image below on how to insert the J2 cable into the J2 connector properly.
Note: Route the cable from J2 cable straight out or upward. Do not allow the cable to angle downward from the connector. See sample image below.Incorrect  Correct 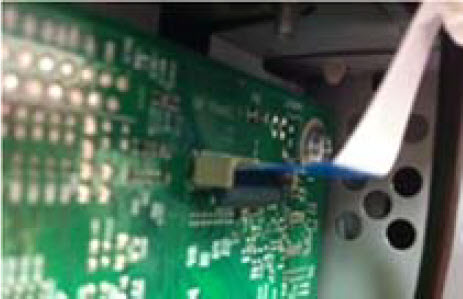 |
3 | Verify that JTPS1 cable is inserted properly, see image below. Notes:
|


