Automatic Document Feeder Produces a Skewed Copy when Copying Large Stacks of Paper/Media on the Lexmark X65x Series Printers
Automatic Document Feeder Produces a Skewed Copy when Copying Large Stacks of Paper/Media on the Lexmark X65x Series Printers
Overview
On a
Lexmark X65xe series printer
, the paper guides have exhibited a tendency to slide out when scanning from the Automatic Document Feeder (ADF
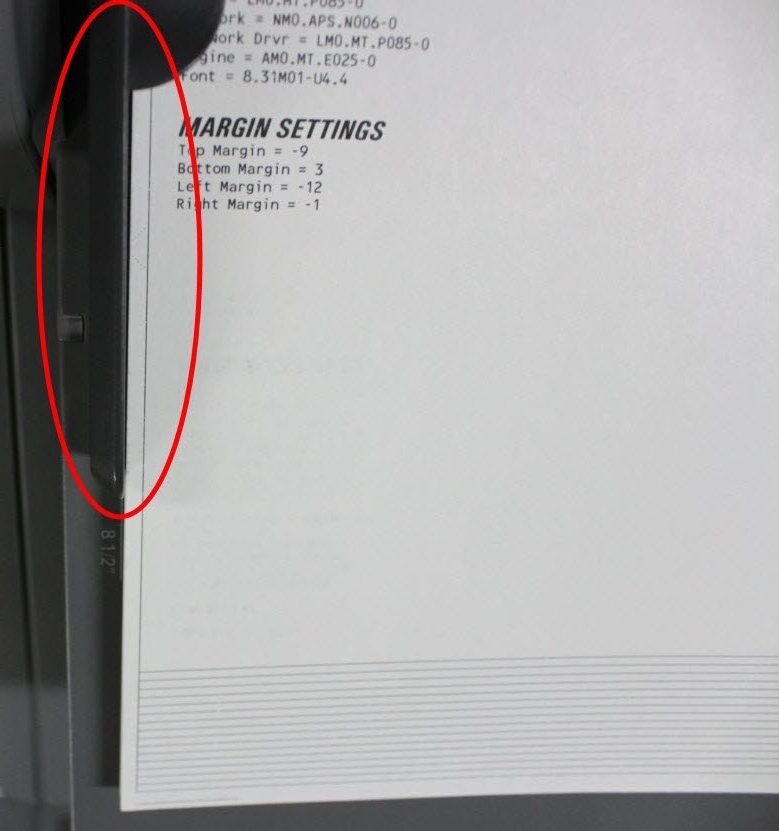
) with a large stack of paper. The resulting scanned or copied images print slightly crooked or skewed, as illustrated below. |
Exaggerated skew examples
|
Troubleshooting
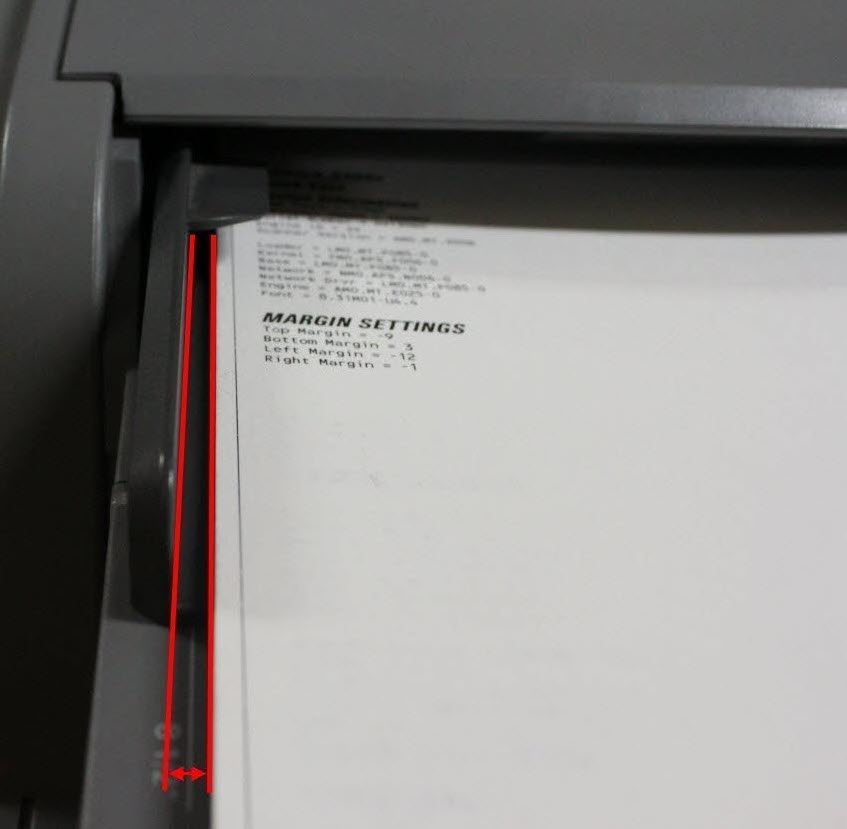
The paper guides should be adjusted to set firmly against both long-side edges of the paper. However, they should not be fitted so tightly against the paper that they buckle the sheets. (See images below.)
Guides correctly adjusted
| Paper Guides too loose
| Paper Guides too tight
|
NOTE:
Paper guides loosen with normal usage. They should therefore be adjusted with every scan. Also, improper settings of the ADF guides can lead to 29x.xx Scanner Jams
.Recommended actions:
Before performing troubleshooting steps with the scanner, try printing a
Network Setup
page to determine which hardware part is causing the issue. To do this:- At theReadyscreen, press theMenusbutton located in the lower right-hand corner.
- A list of menu choices will display. Using the Navigation keys, please selectReports. Another list of menus will then appear in the operator panel. SelectNetwork Setup Page.
- The printer will print out one to three pages, (depending on how many network options it has installed). Each of these pages has a border that will help you to see if they exhibit the same skewing issue.
If any of the borders on the
Network Setup
pages appear skewed as well, then an issue exists with a part on the base printer. To view further suggestions on how to correct the issue, refer to the following document: . If all four borders on the
Network Setup
pages are parallel with the edges of the page, one of the scanner units may require a service action to correct the issue. To determine which unit, please try the steps below:Check the following
if you are using the ADF scanner:
- Do not load different sizes or types of paper at the same time.
- Ensure not to overload the ADF input tray
- Check and clean the paper feed roller and the separator pad on the ADF.NOTE:If either of these parts appears worn, they will need to be replaced.
- Inspect and clean the felt wiper of the ADF paper feed roller.
- If the issue continues after attempting all of the above recommendations, try using the flatbed scanner. When doing so, make sure to properly align the page with the upper-left corner of the scanner glass and fully against the edges.
Did the skew issue occur?
Yes:
The printer requires a service action in order to correct this issue. Please contact Lexmark Technical Support
for additional assistance. No:
Continue to Step 5
.- Try to scan a single document in the ADF input tray.
Did the skew issue occur?
Yes:
The printer requires a service action in order to correct this issue. Please contact Lexmark Technical Support
for additional assistance. If the skew from the ADF scanner is severe, continue to use the flatbed scanner until a service call is arranged. No:
Continue to Step 6
.- Try to scan a large stack of document in the ADF input tray.
Did the skew issue occur?
Yes:
The paper guides are causing the issue. They are sliding out, which causes a skew when copying large stacks of paper using the ADF. Please order CRU Part 40X6398
– Spacer. For further information, please go to Tray Guide Stop Installation
instructions below.No:
Issue is resolved. Continue using the printer/MFP as normal but observe it for the next few days to see if the skew issue returns. Tray Guide Stop Installation
The steps below outline the installation of the Tray Guide Stop, CRU Part
40X6398
– Spacer on a Lexmark X651, X652, X654, X656 or X658.Steps
| Action
| Image
|
1
| Lift the ADF cover and move the tray guides in.
NOTE: The location of the CRU Part 40X6398 –Spacer (see Red Arrow in right-hand image). | 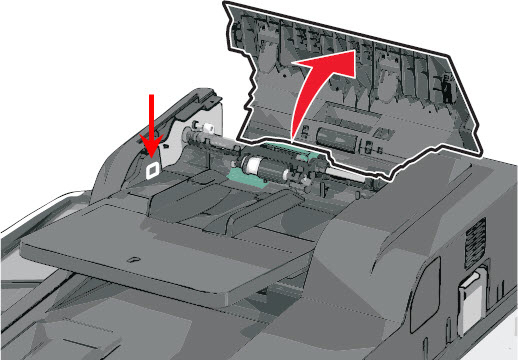 |
2
| Remove the white tape from the back of the stop. | 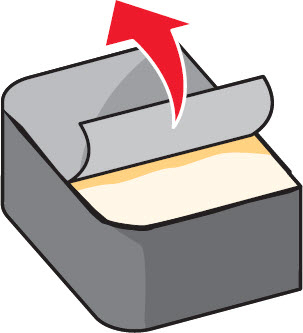 |
3
| Install the stop with the flat edge down. | 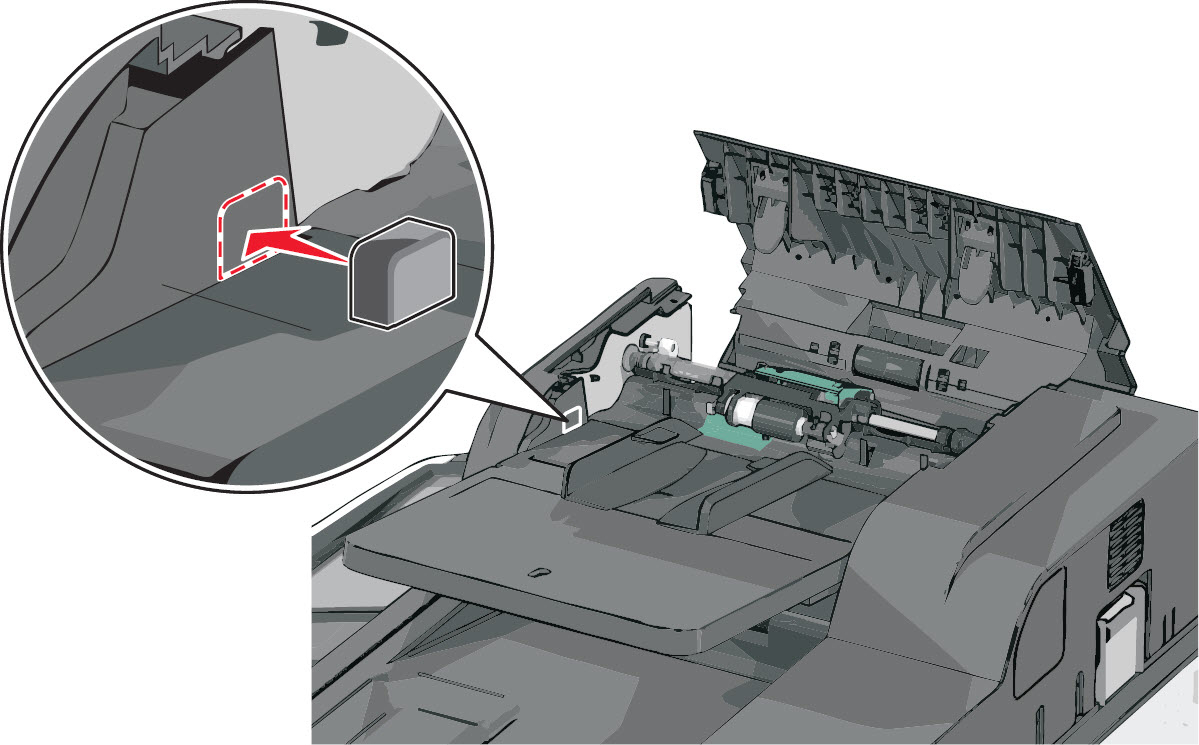 |
4
| Close the ADF cover and set the tray guides back to proper position. |  |
Still need help?
Please contact
Lexmark Technical Support
if you need additional assistance.
NOTE:
When calling for support, you will be asked for your machine/model type
and serial number
(SN
). If you need help locating these, . Please call from near the printer in case the technician on the phone asks you to perform a task involving the printer.
LEGACY ID:
SO5313