The touch screen display does not respond or light up after 'Sleep' mode
Here are steps to troubleshoot when the touch screen display does not respond or light up after entering 'Sleep' mode on a Lexmark X651, X652, X654, X656, or X658 printer.
Issue description
A blank or black screen displays on the device. This occurs if the device remains idle for an extended period of time.
Solution
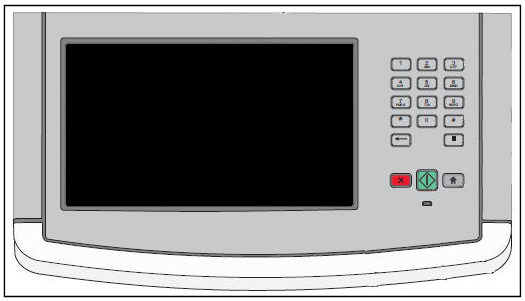
- The touch screen display may be in 'sleep' mode. Lightly touch the display and see if the display panel lights up.
- If the display does not respond, press theCopybutton and see if the printer attempts to make a copy.If the printer attempts to make a copy, updating the Universal Integrated Circuit Card (UICC) code may correct the issue. the-touch-screen-display-does-not-respond-or-light.html#the-touch-screen-display-does-not-respond-or-light-up-after-sleep-mode_SO4762 for instructions.
- If the printer does not respond, power off the printer. Allow the printer to sit powered off for 30 seconds or longer.Do not power the printer off and on too quickly. Doing so can cause a power issue with the display panel and create this type of issue.
- After 30 seconds or more, power the printer on again. See if the display panel powers on correctly. If the display panel powers on correctly.IMPORTANT!Do not power the printer off and on too quickly. Doing so can cause a power issue with the display panel and create this issue.
- If the display panel powers on correctly, theUniversal Integrated Circuit Card (UICC) codeon the device may need to be updated. See the instructions below.
- If the display is readable, but simply too dark to read easily, you may be able to correct the issue by increasing theScreen Brightnesssetting. Click here to view the instructions.
- If the display does not does light up at all, there may be a failure with the power supply. the-touch-screen-display-is-blank-or-black-so4989.html#the-touch-screen-display-is-blank-or-black_SO4989 for additional directions.
Checking and updateing the UICC code
Update the Universal Integrated Circuit Card (UICC) code on the device if the code level is below
v3.14
. Click here for an illustration of the UICC code level location.If...
| Then...
|
|---|---|
You are unsure how to the verify this code level, | See Procedure 1 , and then refer back to this table. |
If the UICC code is below 3.14 , |
Click here to download the latest firmware code, and then continue to Procedure 2 . This procedure explains how to update code . |
If the UICC code is at 3.16 or above, | See Contacting Lexmark below to seek additional fix or service suggestions. |
Procedure 1: How to check current UICC code level
Touch Screen User Interface:
- PressMenus.
- PressReports.
- PressMenu Settings Page.
- Look underDevice Informationand check the UICC code.
embedded web server
:
- Enter the printer's IP address into your Internet browser's URL field;e.g.,http://mfp_IP_address, where IPaddress is the TCP/IP address of the MFP(printer).
- Click onReports.
- Click onDevice Information.
Procedure 2: How to update code
This code update will bring the UICC code up to
3.20
. Click here for an illustration of the UICC code level after the update procedure. Go to the Firmware accordion of this product page for different procedures on how to update.
Check and Adjust the LCD Brightness setting
If the display is readable, but very dim, it is possible that the screen brightness has been set too low. To check this setting, perform the following:
- At the 'Ready' screen, press theMenusbutton in the lower right-hand corner of the touch screen. A series of menu choices should display.
- Press the blue arrow next toSettings. A new set of menu choices should appear.
- Press the blue arrow next toGeneral Settings. Another set of menu choices should appear.
- Look forScreen Brightness. If Screen Brightness is not showing, press the blue arrow down icon until you see the Screen Brightness setting.
- The current value for Screen Brightness will be displayed. The number should be somewhere between20and100.
- If the number is less than 100, press the blue arrow right icon and increase this number to100. Press theSubmitbutton in the lower left-hand corner to save the new value. If this corrects the issue, press the home icon button to return to the 'Ready' screen and continue using the printer as normal.
- If the Screen Brightness setting is already at100, or if increasing the Screen Brightness setting has no effect, the printer may require a service action to correct the issue. For additional assistance, please contact Lexmark Technical Support or a local authorized service center.
As alast resortbefore service, you can try resetting the printer back to its factory defaults. This will resetalluser settings on the printer. To do this:- At the 'Ready' screen, press theMenusbutton.
- Press the blue arrow next toSettings.
- Press the blue arrow next toGeneral Settings.
- Look forFactory Defaults. If Factory Defaults is not showing, press the blue arrow down icon until you see Factory Defaults.
- 'Do not Restore' should now display. Press the blue arrow right icon once and change this to 'Restore Now'. Press theSubmitbutton in the lower left-hand corner. The printer will reset all user settings back to their factory default values.If the display panel remains dark after this, please contact Lexmark Technical Support for further assistance.
LEGACY ID:
SO4762