Paper jams in the fuser
Paper Wrap Jams in the Fuser on the Lexmark C792 or X792 Series Color Laser Printer
Overview
The printer experiences a paper jam in the fuser because paper/media wraps around the fuser roll.
IMPORTANT:
As with any paper jam, the following can help preventing paper jam issues;- Confirm that the media being used are within the printer's specifications for supported media.
- Never mix media types within a tray.
- Flex the print media back and forth to loosen the sheets and then fan them. DoNOTfold or crease the print media. If possible, straighten the edges of the stack on a level surface.
- Ensure that the media trays are being loaded correctly.
- Do not load too much paper. Make sure the stack height does not exceed the indicated maximum height.
- Ensure that the guides in the tray or the multi-purpose feeder are properly positioned and are not pressing too tightly against the paper or envelopes.
- Ensure all sizes and types are set correctly in the printer control panel menus.
Clearing the paper jam
NOTE:
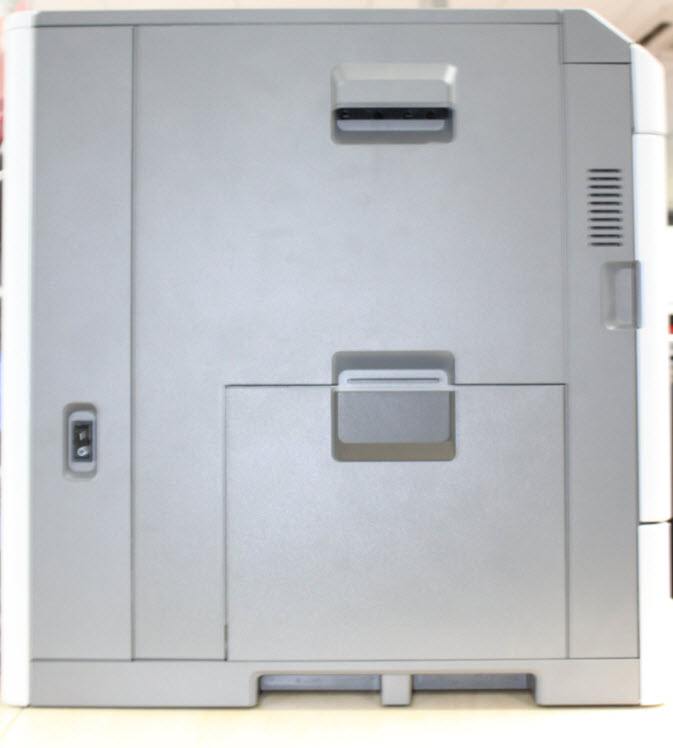
The images in the following table show the Lexmark C792
models. However, these directions also apply to the Lexmark X792
models.Steps | Action | Image |
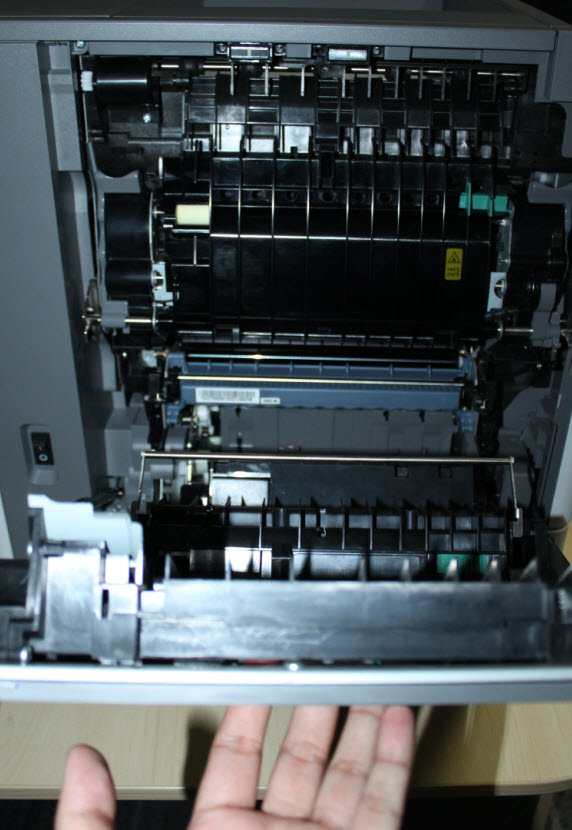
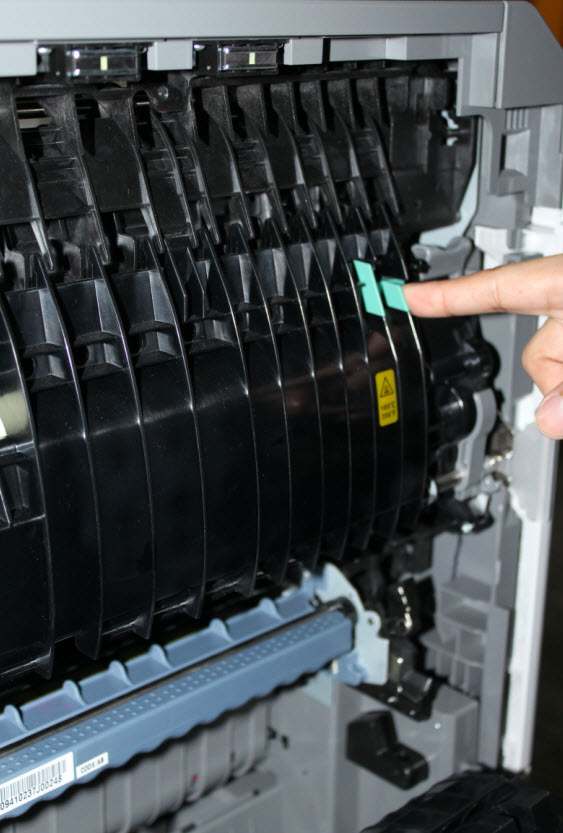
2 | If paper is inside the fuser unit, press the green lever and pull the fuser access door down.Caution! The inside of the printer/MFP may be hot. Allow it to cool before continuing. | |
3 | Firmly grasp the jammed paper on each side, and then gently pull it out to prevent tearing. Ensure all paper fragments are removed. Note: Do not touch the center of the fuser unit. Doing so will damage the fuser. | No Image |
6 | From the operator panel, touch Continue, jam cleared . | No Image |
Try printing a test page. If the page prints, the printer is functioning correctly. If the paper jams continue, try the following suggestions below.
Steps | Action | Image |
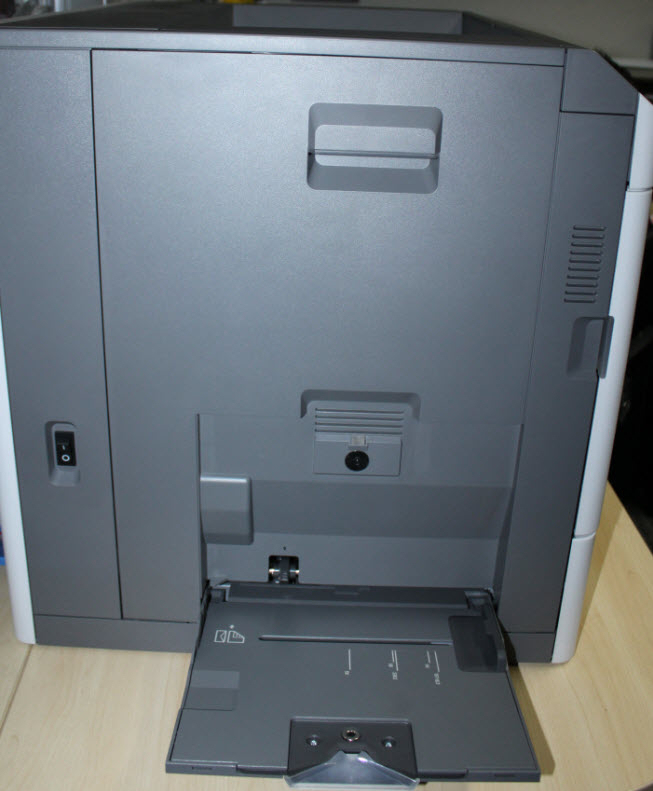
1 | Power off the printer/MFP completely and disconnect the power cable from its power supply. | No Image |
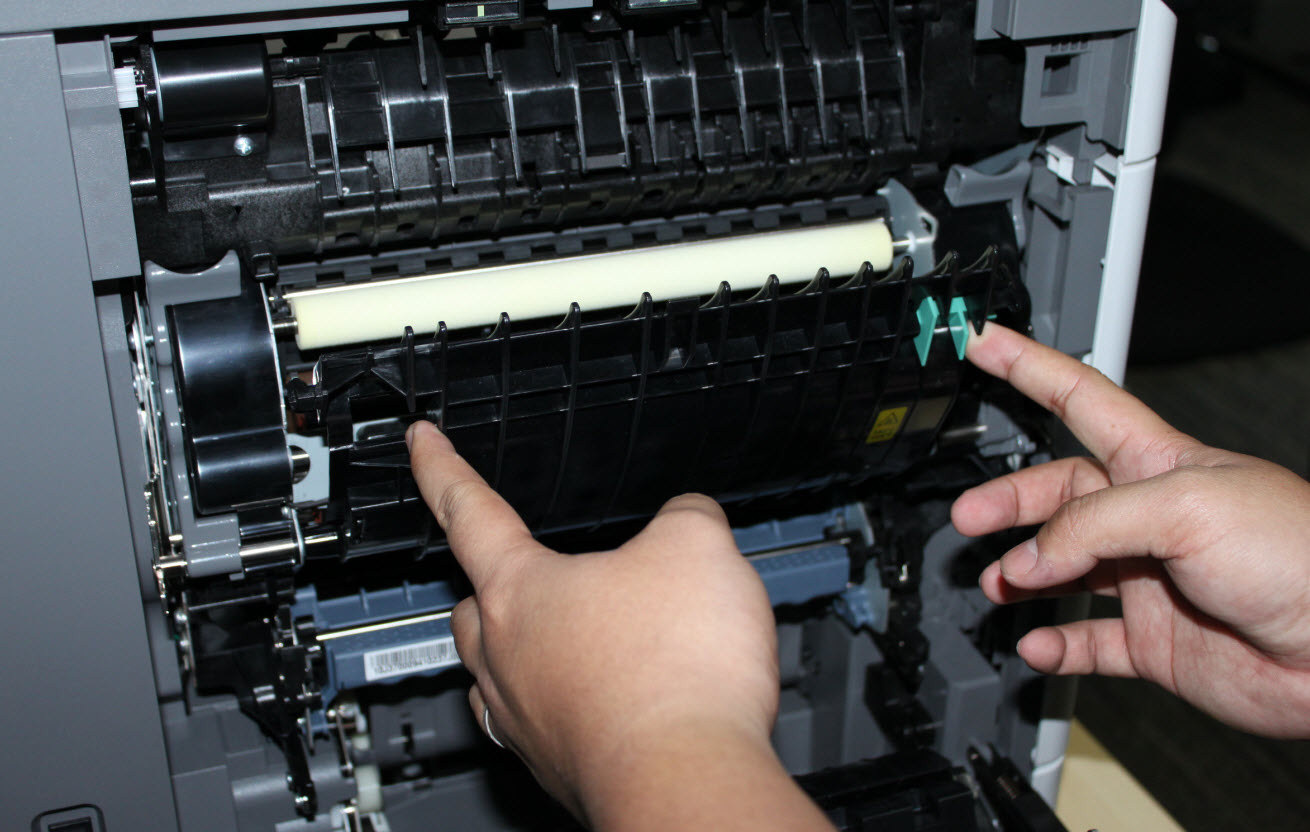
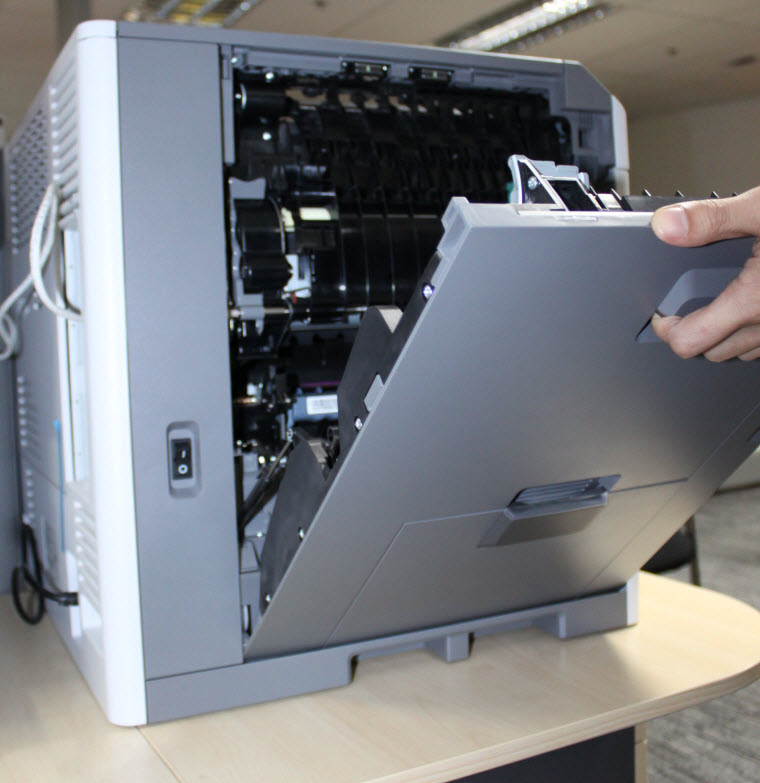
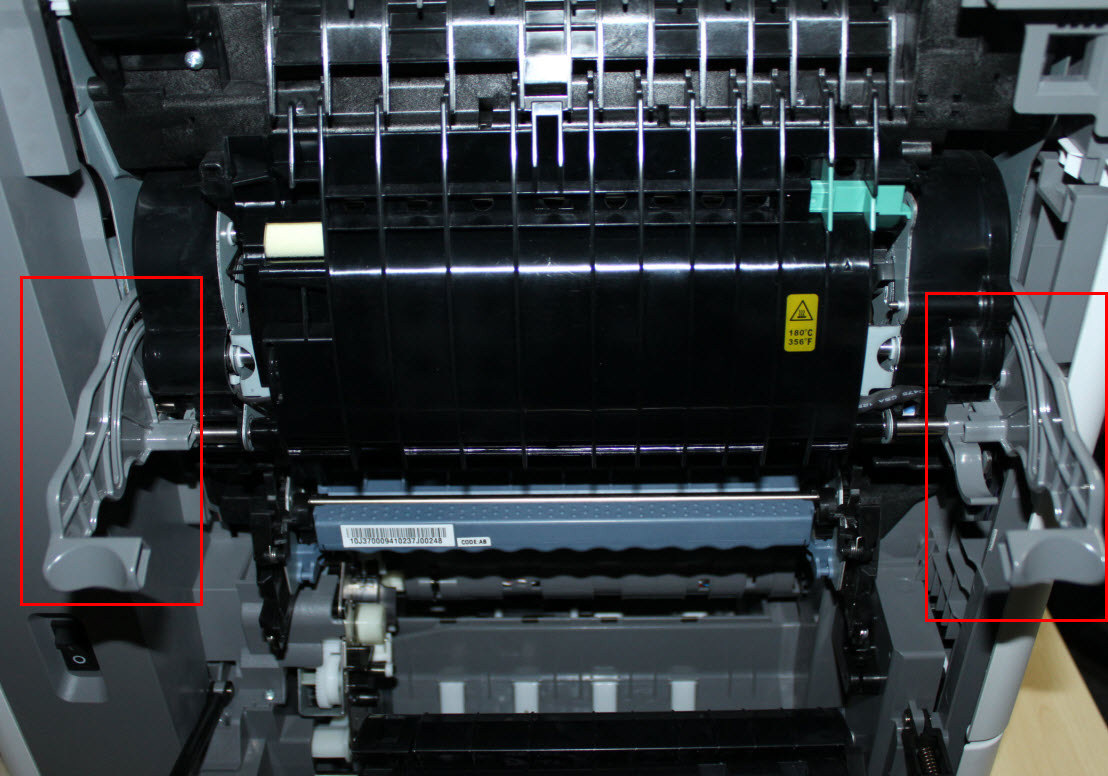
3 | If the paper is not visible, pull down the two fuser latches and pull the fuser unit toward you, (see red in right-hand image).Caution! The inside of the printer/MFP may be hot. Allow it to cool before continuing. | |
4 | Firmly grasp the jammed paper on each side, and then gently pull it out to prevent tearing. Ensure all paper fragments are removed. Note: To prevent any possible damage to the fuser, please do not use sharp objects (i.e., screwdrivers) when removing the jammed paper. | No Image |
5 | Check for any broken or loose parts on the fuser assembly. If damage exists, a service call will likely be required to resolve the issue. | No Image |
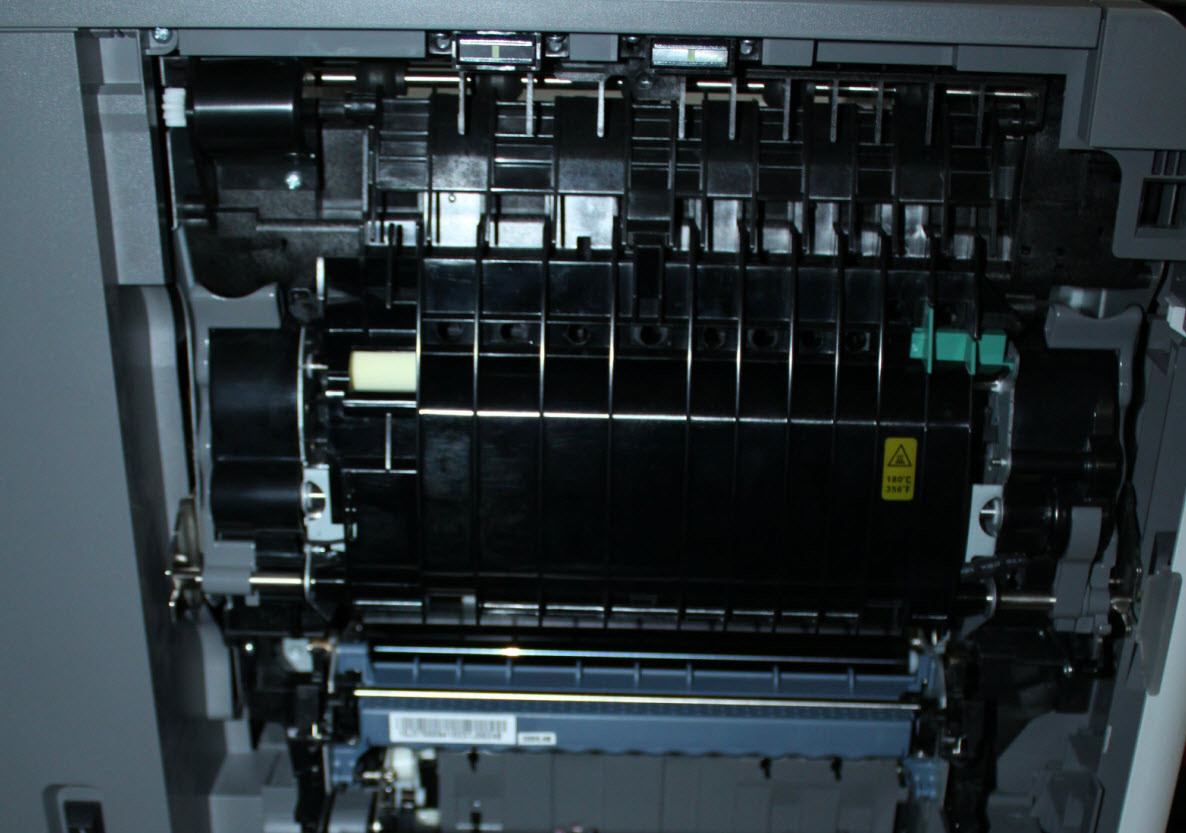
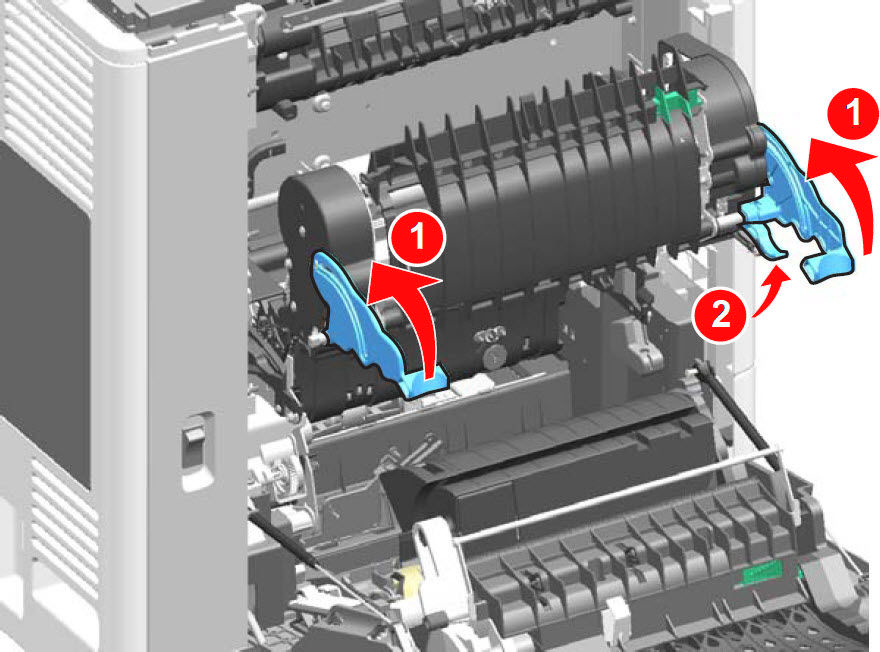
6 | Install the fuser back to the printer. Close all doors and covers completely. Note: After inserting the fuser assembly, push up the handles (1 ) and then push up the tab under the right handle (2 ) as illustrated in the right-hand image. | |
7 | Power on the printer/MFP and try printing again. If the page prints, the printer is functioning correctly. If the issue returns, please contact Lexmark Technical Support or a local authorized service provider for additional assistance. | No Image |

Still Need Help?
Please contact
Lexmark Technical Support
if you need additional assistance. Please call from near the printer in case the technician on the phone asks you to perform a task involving the printer.
LEGACY ID:
SO6330