Random Marks and Dots on Printed Page
Random Marks and Dots on Printed Page
Issue description
When printing a document, random dots and marks appear on the page.
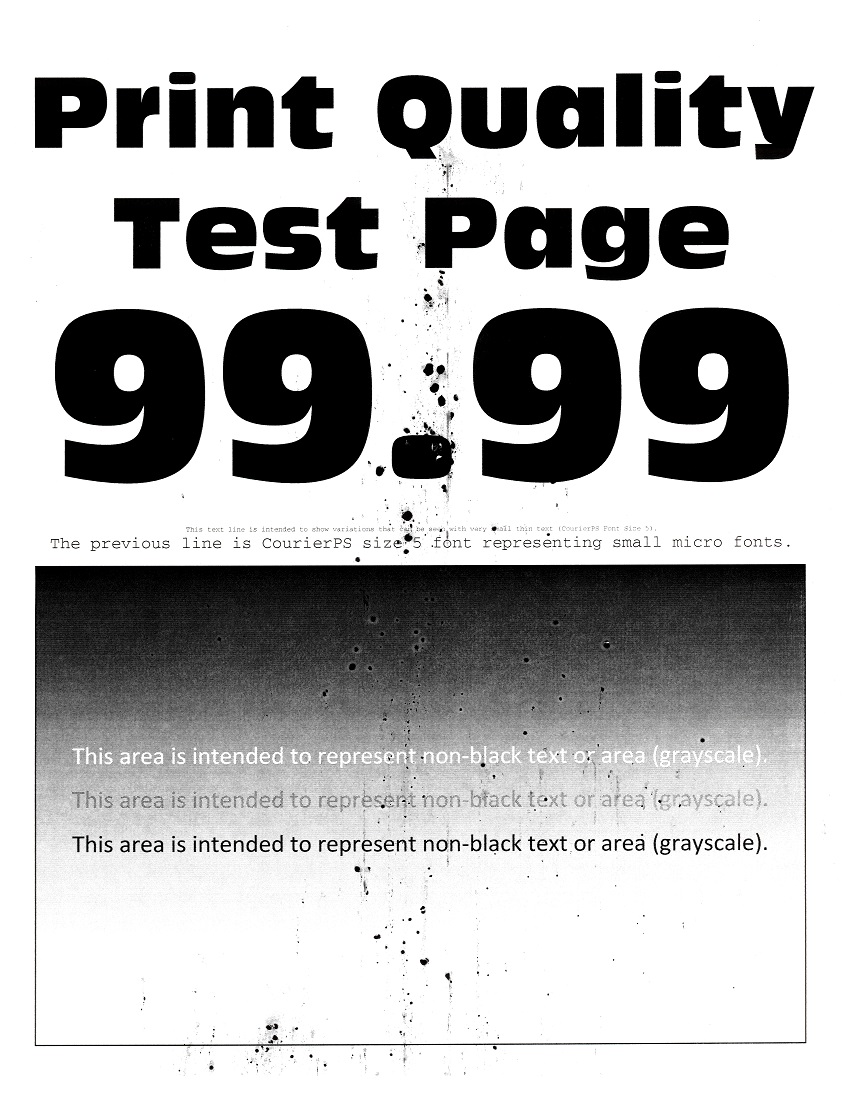
Possible cause
This print quality issue is caused by excess developed toner on the printer.
Solution
- Make sure that the latestfirmware(FW) is installed.
- Perform apower-on-reset(POR) by powering the printer off and power it back on.
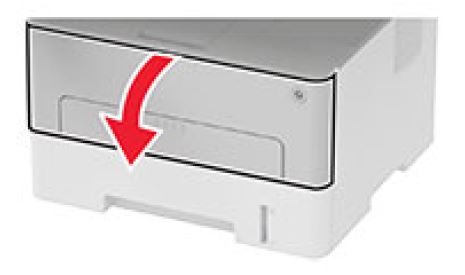
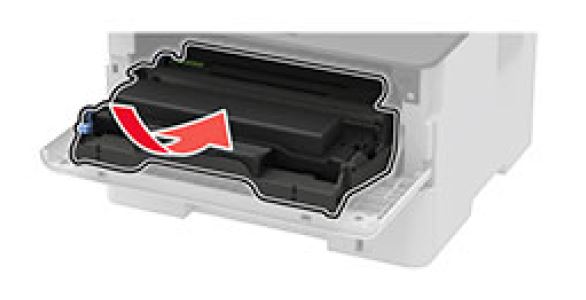
- Open the printerfront doorand remove the supplies.

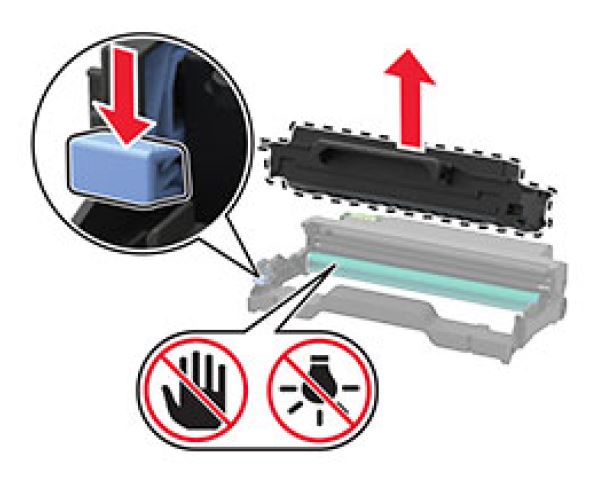
- Remove thetoner cartridgefrom theimaging unitto separate the two supplies.
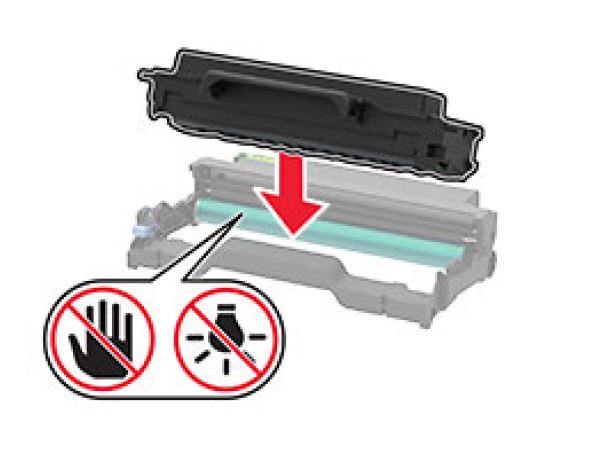
- Insert the toner cartridge back to the imaging unit, install back the supplies to the printer and close the front door.
- Perform a test print and check if the PQ issue still appears.
- If the issue appears, proceed to the next step.
- Access theDiagnostics menufrom the home screen by pressingBack,Right arrow,Back, andRight arrowon the control panel.
- Navigate toPrinter setup>EP setup>Charge adjustand set it to 'High'.
- Should the issue persist, replace theImaging Unitwith Part number:B220Z00.
LEGACY ID:
SO8751