Configuring the 802.1X/EAP authentication on Lexmark wireless devices
How to Configure 802.1X/EAP Authentication on Lexmark Wireless Devices
Overview
This article describes:
- The supported802.1X/EAP(Extensible Authentication Protocol) authentication types.
- Summarizes certificate installation.
- Explains how to enable and configure802.1X/EAPafter installing the required certificates.
Supported EAP Types
The 25XX dot matrix printers support the following EAP types:
- EAP-MD-5(Message Digest Algorithm)
- EAP - Cisco WirelessorLEAP(Lightweight Extensible Protocol)
- EAP-TLS(Transport Layer Security)
- EAP-TTLS(Tunneled TLS)
- PEAP- Protected EAP
- EAP - MSCHAPv2
802.1X/ EAP Configurations: Certificate Installation (2009 - 2011 Lexmark Devices)
To install and use certificates for
TLS
, TTLS
, and PEAP
authentication:- Access the printersEWS(Embedded Web Server) by typingin the address bar, using the IP address of the printer.http://printer's_IP_address
- ClickConfiguration.
- ClickSecurity.
- ClickCertificate Management.Click here for image.
Configurations for 802.1X/ EAP (2009 - 2011 Lexmark Devices)
- Access PrintersEWS.
- ClickConfiguration>Security>802.1X.
- Turn on802.1X thenplace a check next to authentication type.Deselect the authentication types that are not needed.
- If using TTLS, select the proper password protocol. Click here for the sample image.
Configurations for 802.1X/ EAP (2012 - 2019 Lexmark Devices)
- Connect the printer over a wired connection.
- Access the printersEWS, go toSecurity/Certificate Management>Certificate Authority Management.
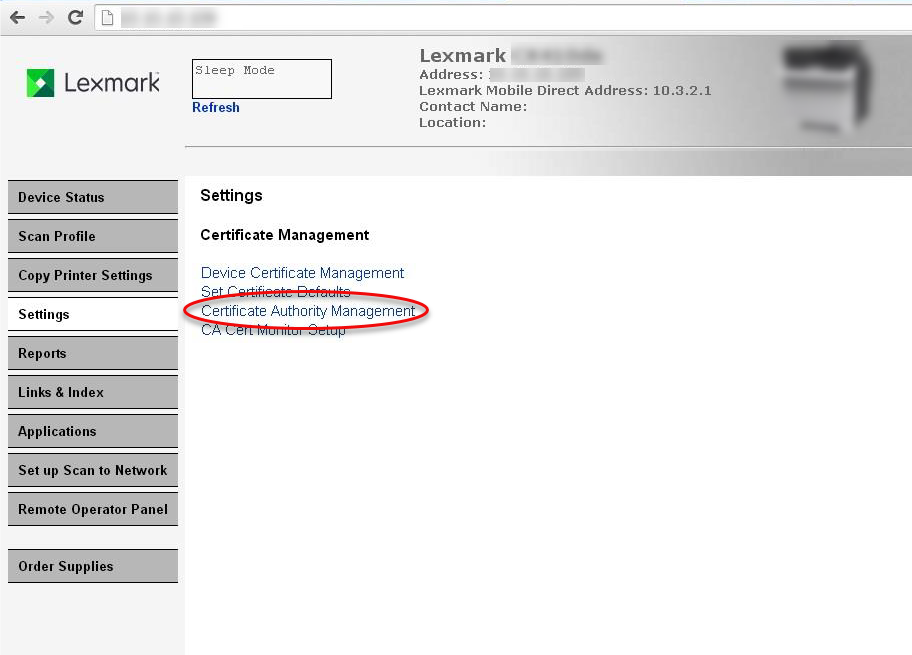
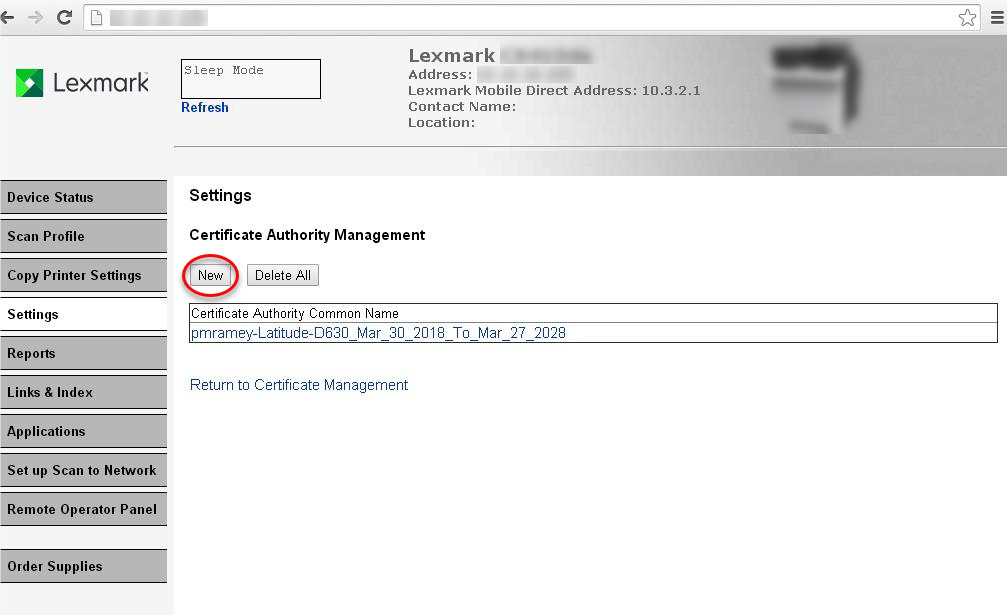
- Click New, then UploadCA(Certificate Authority) from Radius Server (must be in). After upload, you should see the CA appear as noted below..pem format
- On EWS, go to "Security/Certificate Management/Device Certificate Management".
- Hit New, Fill in the fields. You should see it in the list as shown below.

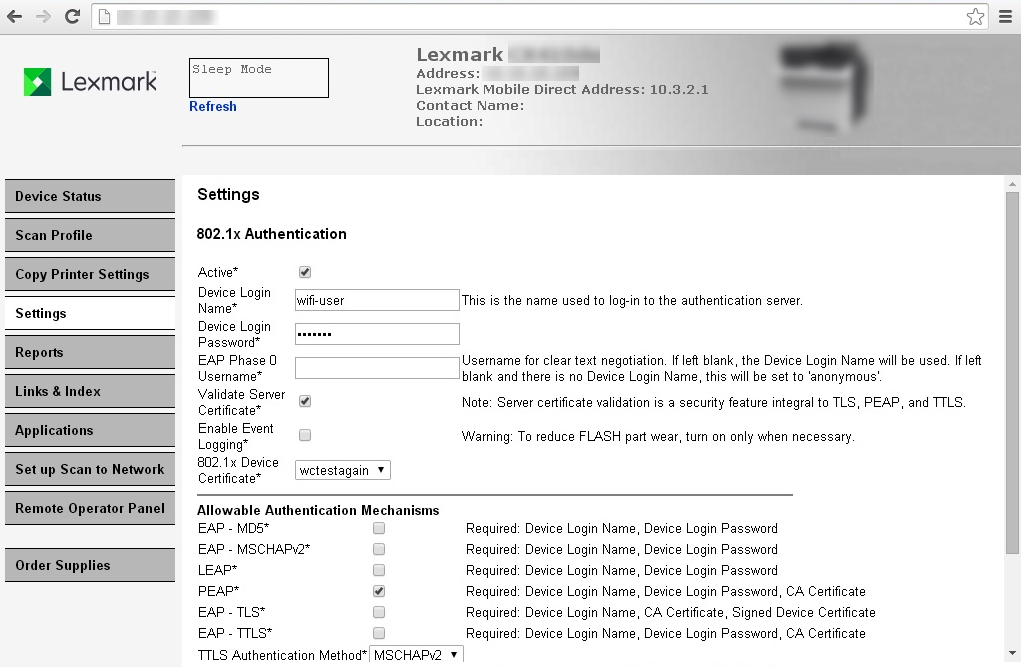
- Click on the link for the name of the new entry that is generated (not the default). For instance in the above picture, it is "".wctestagain
- Select "Download Signing Request". This will have to be signed by the Radius Server, usually via a script.

- After getting request signed by the Radius Server, go back into the Device Certificate Manager as in step 4, click on Name of entry (i.e. "") as before, and choose "Install Signed Certificate".wctestagain
- Go into Wireless setup. Enter the SSID of the AP for the network with the radius server. For security select 802.1x-Radius, fill in other fields.
- In Wireless Setup, for 802.1x Certificate, select the name created in step #6 (for instance "wctestagain") from pulldown.
- Under wireless setup, for 802.1x entries, select only the authentication mechanism desired.
- Device login name should correspond to the login name defined for the radius server, usually in the conf file on the radius server.
- Likewise, device login password must correspond to the password defined in the radius server conf file (for example it's not the shared secret entered during cert signing necessarily). Note that some authentication mechanisms do not require a password.
After setup is complete, disconnect wired connection so it will come up wireless. Monitor radius server logs if unable to connect to network.
LEGACY ID:
HO3290