Installing a Fleet Agent
Learn how to install a Fleet Agent.
Fleet Agent installation package
After creating a Fleet Agent, install it on a server or host computer within the customer’s network. The Fleet Agent installation package can be downloaded or provided through a link emailed from the Cloud Fleet Management portal.
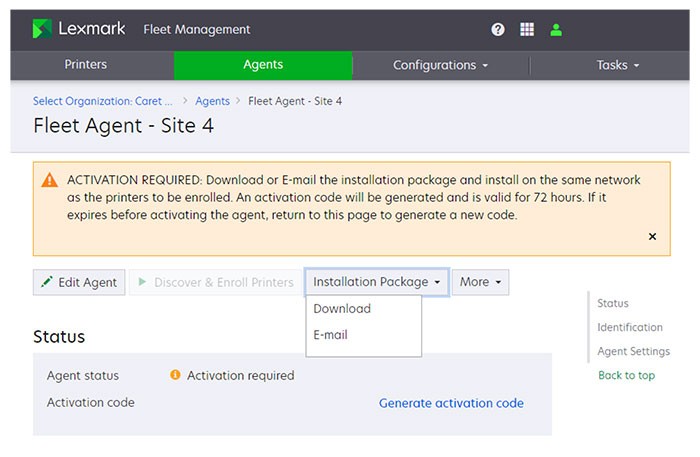
The size of the installation package is about 140MB.
Fleet Agent activation code
You need an activation code during setup of the Fleet Agent. You can obtain the code by clicking the
Generate activation code
link. The code registers the installed Fleet Agent with a Fleet Agent definition. You can associate a Fleet Agent definition with only a single Fleet Agent installation. If the code is not used within 72 hours, then you must generate a new code.Installing and activating a Fleet Agent
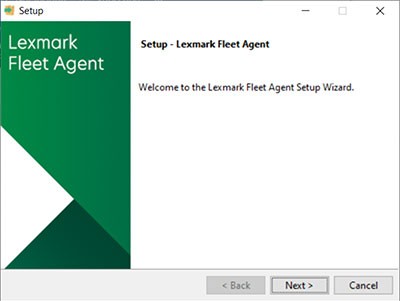
- From a server or host computer, run the Fleet Agent installation package.
 Accept the End-User License Agreement (EULA).Enter the port number.
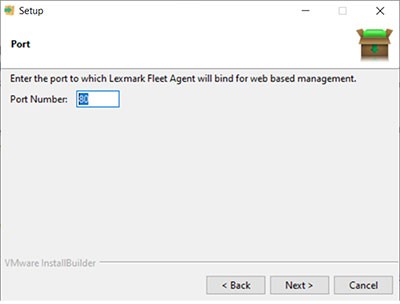
- The default port number is 80.
- If port 80 is not available, then enter any available port, such as 8080 or 8088.
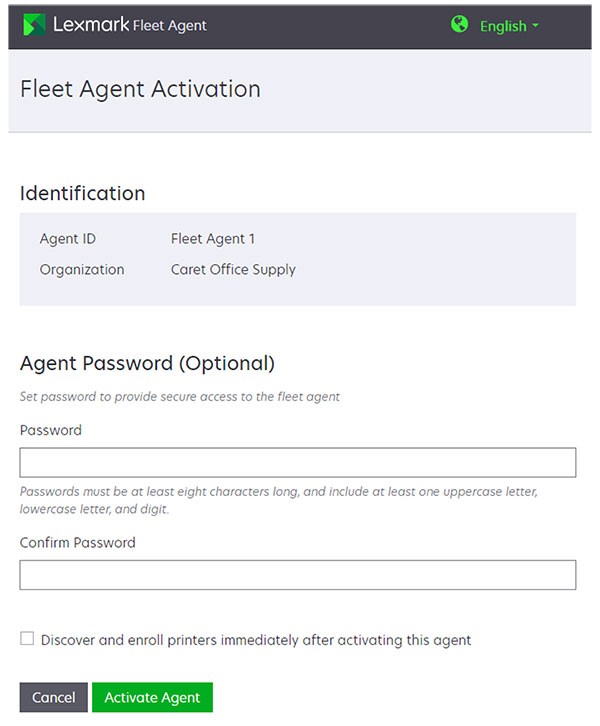
ClickFinishto close the installation window, and launch the Fleet Agent on a web browser.Enter the Fleet Agent's Activation Code, and then clickContinue.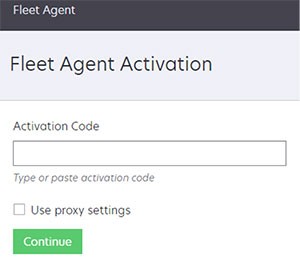
- A proxy can be set.
- You can apply a password to restrict access to the Fleet Agent.
- You can also set the initial printer discovery and enrollment to be performed automatically after the Fleet Agent is activated.
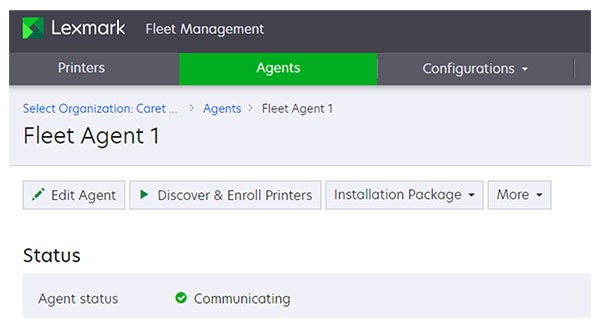
- After activation, the Fleet Agent details page shows its status as Communicating.
Using a proxy with the Fleet AgentSometimes you must change the proxy configuration after the Fleet Agent is installed. To change the proxy configuration, do the following:- Open a web browser, and then typehttps://localhost:.<portnumber>is the port used when the Fleet Agent was installed. The default port number is 80.<portnumber>Click
 on the upper‑right corner of the Fleet Agent home screen to access the Proxy Configuration settings.
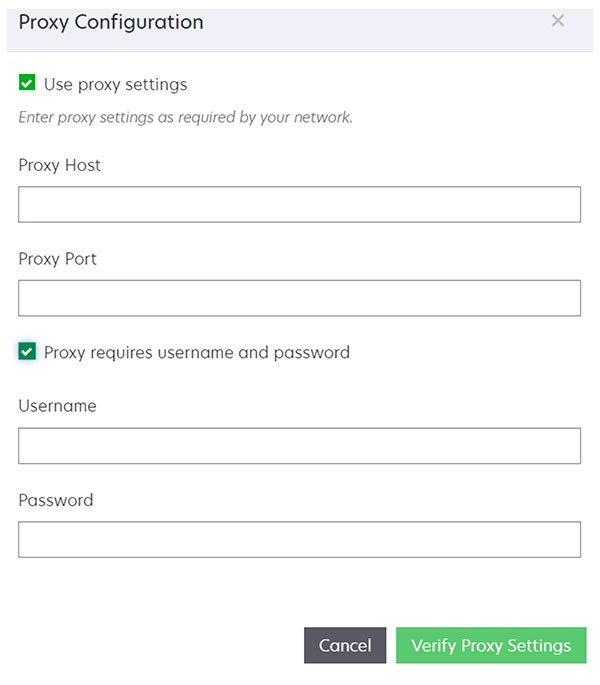 ClickVerify Proxy Settings.