Managing user PINs
Learn how to manage user PINs.
If users are authenticating at the printer, then set up a badge or PIN for each user. For more information on PIN configuration, see "Managing printer logins" group in
Lexmark Cloud Services Administrator's Guide
.Assigning PINs
If identity federation is used and PINs can be retrieved using claims from your identity management service, you can automatically populate PINs from the service.
- A user must log in to the Lexmark Cloud Services portal once before their PIN is retrieved, and it can be used to authenticate at a printer.
- If PINs are retrieved from your identity management system, then you must set the PIN Generation menu toAdministrator manually setand toNever expire.
- Any PIN changes made in Lexmark Cloud Services is temporary. These temporary PINs are overwritten from your identity management system when the user logs in the next time.
If identity federation is not used or PINs are not available from your identity management service, then you can assign user PINs in two ways. The method to use depends on how much of the process you want your users to participate in.
- Assigned by an Organization Administrator or User Administrator in the Account Management portal—Can be done manually, one user badge at a time, or by importing from a CSV file, for multiple user badges
- Assigned by the user—Can be done manually from the user’s My Accounts page, which requires users to provide their PIN
PIN generation options | Administrator | User |
|---|---|---|
Automatically generate and email | Can request Lexmark Cloud Services to generate a new PIN for users 2 | Can request Lexmark Cloud Services to generate a new PIN for themselves 2 |
Administrator manually sets | Can set or reset user PINs | Must request a new PIN from an administrator 1 |
User sets | Cannot set or reset user PINs | Can set or reset their own PIN |
1
Administrator applies to Organization Administrators and User Administrators.2
PINs are sent to the user through email from Lexmark Cloud Services.PINs assigned by an Organization Administrator or a User Administrator
An Organization Administrator or a User Administrator can set PINs for users one at a time or for multiple users at once by importing a file. New or reset pins are emailed to the user.
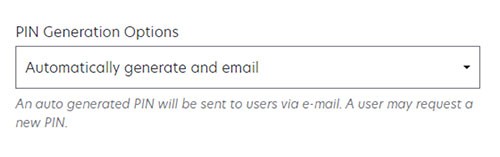
Make sure that PIN Generating Options is set to either
Automatically generate and email
or Administrator manually sets
.Setting the PIN for a single user
The Organization Administrator or User Administrator can use one of the following methods to set or reset a PIN for a user:
- Using the users list
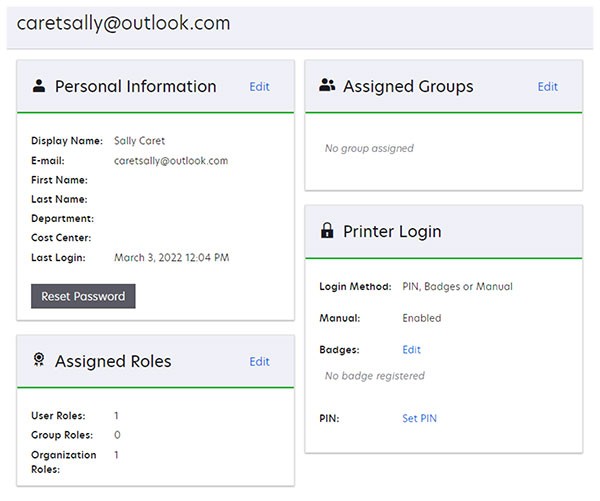
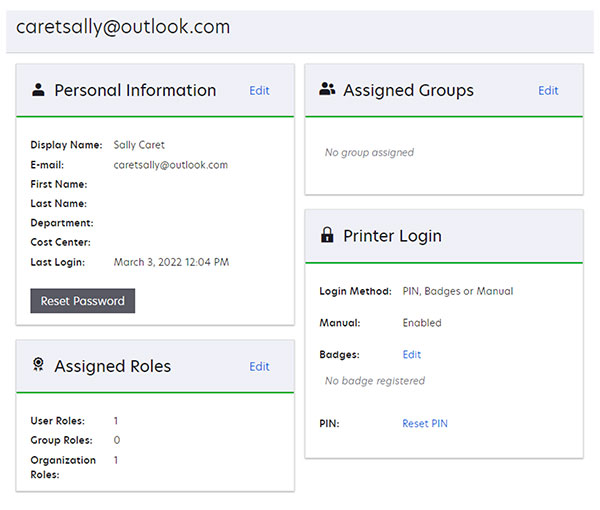
- From the Account Management portal, select theUserscard, or clickUsers>Users.

- In the E‑mail column, click the user email.
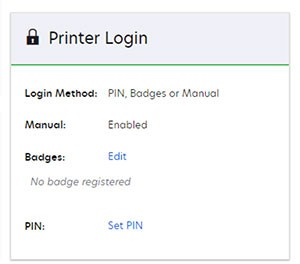
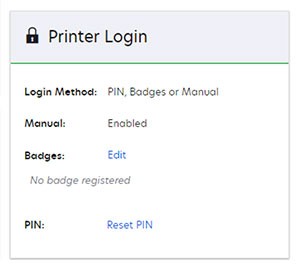
- In the Printer Login section, for the PIN login, click eitherSet PINorReset PIN.
- Based on the option chosen in the PIN Generation Option for the Organization Printer Login Configuration, do any of the following:The result of clickingSet PINorReset PINdepends upon the PIN Generation Option chosen for the Organization Printer Login Configuration page.
- IfAutomatically generate and emailis selected in the PIN Generation menu, then an email with the new PIN is sent as soon as you clickSet PINorReset PIN.
- IfAdministrator manually setis selected in the PIN Generation menu, then a user must submit a request outside of Lexmark Cloud Services to an Organization Administrator or a User Administrator to set or reset their PIN.
- IfUser setis selected in the PIN Generation menu, then you can clickSet PINorReset PIN, and then enter the new PIN, and then clickGenerate PIN.
An example of PIN received by the user.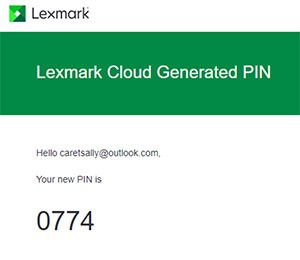
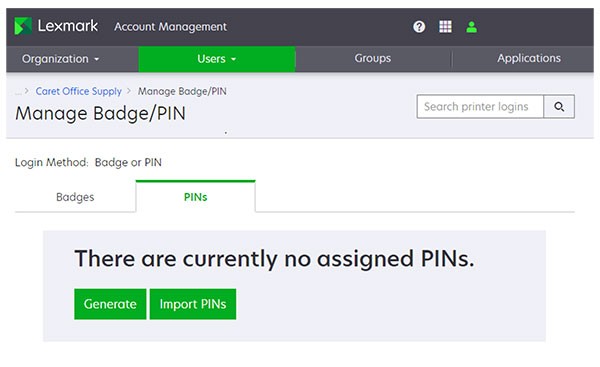
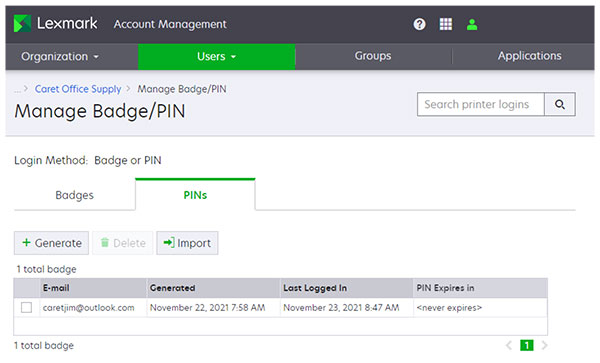
- Using Manage Badge/PIN
- From the Account Management portal, clickUsers>Manage Badge/PIN.
- Click thePINstab.
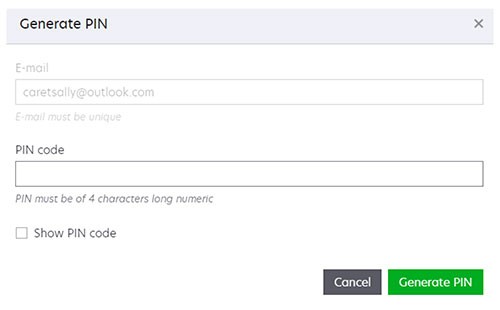
- ClickGenerate.
- In the E‑mail field, type the email address of the user, and then clickGenerate PIN.
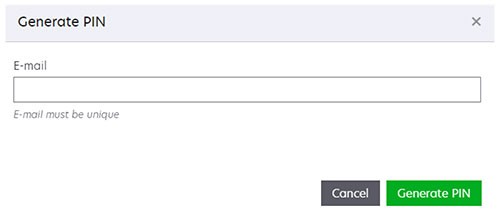
The user receives an email with the PIN.
Importing user PINs
The Organization Administrator or User Administrator can set the PIN for one or more users by importing the PINs using a CSV or TXT file.
- PINs can be imported when user accounts are created using the file import method.
- If PIN Generation Options is set toAutomatically generate and email, then any PINs set in the imported file are ignored. The PIN field should be left empty.
- For more information on the CSV and the TXT file, seeLexmark Cloud Services Administrator's Guide.
- The headers of the import file are case-sensitive.
- Count the commas. All columns must be accounted for on each line of the import file.
The Organization Administrator or User Administrator can use one of the following file import methods to set or reset a PIN.
- Using the users list
- From the Account Management portal, select theUserscard, or clickUsers>Users.
- ClickImport.
- In the Import Users window, browse to the CSV or the TXT file that contains the users list.
- ClickImport Users.
The user receives an email with the PIN. - Using Manage Badge/PIN
- From the Account Management portal, clickUsers>Manage Badge/PIN.
- Click thePINstab.
- ClickImportorImport PINs.
- In the Import PINs window, browse to the CSV or the TXT file that contains the PINs.
- ClickImport PINs.
The user receives an email with the PIN.
- How PIN data in the imported file is used depends on the PIN generation options selected on the Printer Login Configuration page.
- If the Automatically generate and email option is selected , then PIN values in the imported file are ignored. Lexmark Cloud Services automatically creates a PIN for each user in the file.
- In the Administrator manually set option is selected , then users are assigned the PIN value associated with their entry in the imported file.
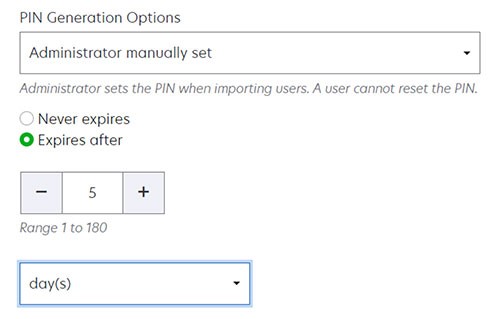
Setting PIN expiration
Administrators can select whether PINs will expire and how long before they expire by clicking
Organization
>
Printer Login Configuration
. If a PIN expires, then you must use one of the methods to reset the PIN. The PIN expiration and reset options depend on the selected PIN generation options.- Automatically generate and email—You cannot set an expiration for the PINs.
- Administrator manually set or User set—You can set the PIN to never expire or to expire after 1 to 48 hours or 1 to 180 days.
PINs assigned by the user
Users can set or reset their PINs from their My Account page.
- From the username menu, selectMy Account. In the Printer Login section, you can view following:
- Set PIN
- Reset PIN
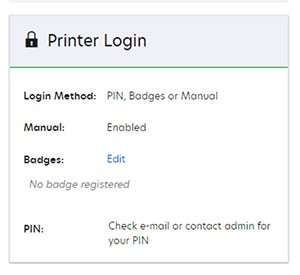
- Check e-mail or contact administrator for your PIN
If you do not currently have a PIN, then in the Printer Login section, click
Set PIN
. If you currently have a PIN, then click Reset PIN
.Setting and resetting the PIN
Depending on the selected PIN generation option, clicking
Set PIN
or Reset PIN
results in either of the following- If PIN Generation Options is set toAutomatically generate and e-mail, then Lexmark Cloud Services generates and emails a new PIN to the user.
- If PIN Generation Options is set toUser set, then users are allowed to manually set or reset their PINs. They can do this task by entering a PIN with the required number of digits, and then clickingGenerate PIN.
If “Check e-mail or contact admin for your PIN” appears, then it means that PIN generation is manually set by the administrator. To set or reset their PIN, users must submit a request outside of Lexmark Cloud Services to an Organization Administrator or a User Administrator.